Extreme Air Mail! Mailing Tube Rocket Project!

Thanks!

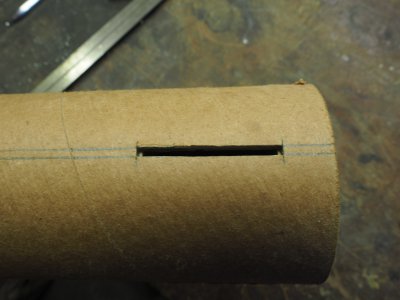
I got the slots cut into the tube to accept the fin tabs. Just used an aluminum angle for a straight edge and a utility knife. You can see where the knife slipped and cut all the wat to the end of the tube. It didn't cut all the way through though so I'll repair it with a little glue.

EM520347.JPG


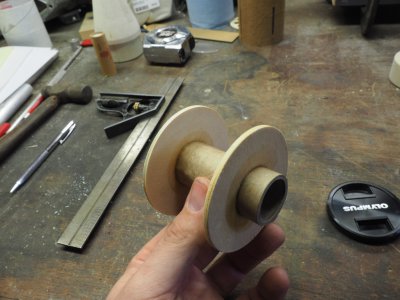
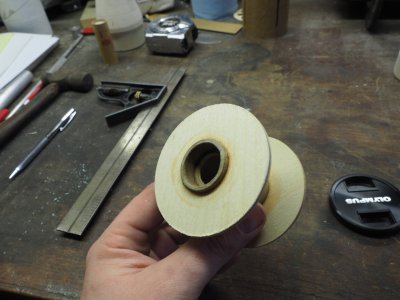
Here's the motor mount all glued up. Titebond 3 was used.

EM520348.JPGEM520349.JPG


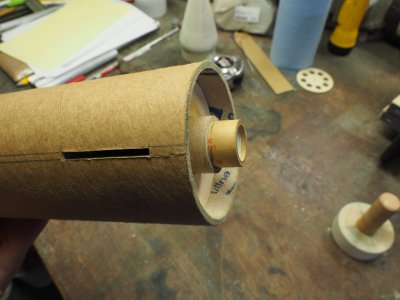
With the motor mount inserted you can see just about 1/16" of each centering ring through the tube slots.

EM520351.JPG


I'm waiting for the fins to be done and dry fit before the mount gets glued in. But a test fit is looking good!

EM520353.JPG

I'm going to wait til about 2:30 to unclamp the fins, that'll be 24 hours. Like Tom Petty said, "The waiting is the hardest part."
 
Took the fins out just now. Hit a little snag. The glue was not fully cured on some of the surface so there’s some imperfections that’ll have to be sanded out after it fully cures. I’ll let it cure out of the press. Also the fins did adhere just lightly enough that when I tried to lift one off of the fin press a small corner of the tab broke off. It can be glued back on but it’s disappointing.

For the second pair I’m trying something different. Firstly I’ll be trying a silicone sheet instead of the HDPE cutting mat in the press. Second since this glue cures by moisture I’ll wipe down the balsa with a lightly damp cloth before spreading the glue.

We’ll see if it works any better tomorrow.
 
I just had a thought about the fact that some of the glue in the fin press did not cure. It's happened before where the glue around the perimeter of the fin has cured and some bits in the center did not, even after 24 hours.

It think what's happening is that the glue cures around the perimeter because it has at least some exposure to the moisture in the atmosphere. When this perimeter has cured it forms an airtight seal to the center portion and very likely will not allow it to cure ever.

The reason the original article recommended using epoxy for this process is that epoxy hardens chemically, so it cures fully no matter what. I'll try epoxy next time.

Hopefully the little water on the balsa helps alleviate this problem, and the silicone sheet should be easier to peel the parts off instead of the stiffer plastic.
 
This is taking forever, when does it fly!? :p

I'm 2 years into this project with a couple more to go. Wings are built but still a long ways to go.
 

Attachments

  • 20200210_205926.jpg
    20200210_205926.jpg
    2.9 MB · Views: 12
That’s quite a project you have brewing there! That framework looks like steel, right?
 
Fin time!

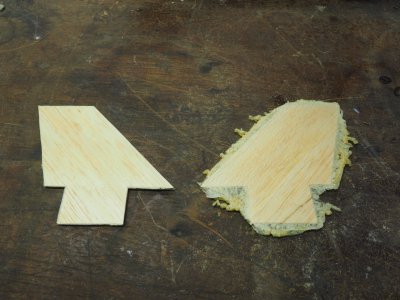
Below are the fins as removed from the first pressing where I used the HDPE sheets. The left one is trimmed up with a utility knife.
EM520354.JPG


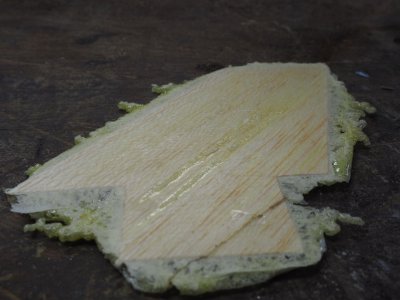
This is the one that gave me problems. You can see the corner that cracked off upon removal from the press and the strips of glue that were yet uncured upon removal.
EM520356.JPG


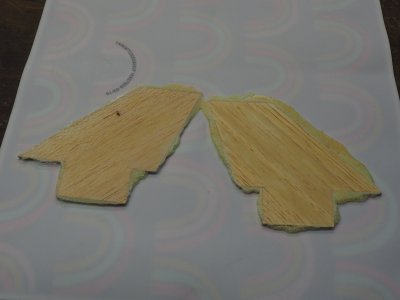
Here's the fins from the second pressing with the silicone mat. They were much easier to remove than from the HDPE. Also there was no uncured glue after the 24 hours wait. I think the light application of moisture to the balsa is what helped that. This glue cures by exposure to moisture.
EM520359.JPG


Notice the somewhat darker stripes. I don't know if the glue was thicker here or there was some waviness in the silicone. It feels smooth and I don't think it's an issue. Maybe the grain absorbed the glue differently here?
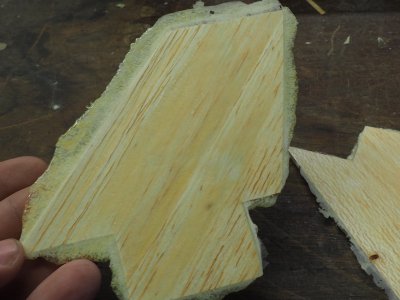
EM520360.JPG


I also noticed one area that had thinned out, presumably from excess clamping pressure. Maybe I need a more even way to clamp. This pic is sighting down the trailing edge from root to tip.
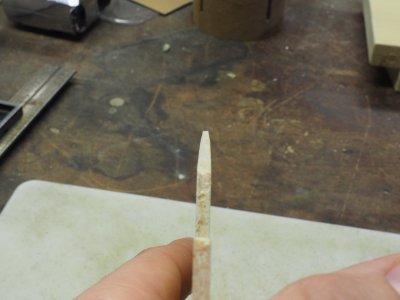
EM520362.JPG


After they are all cleaned up the fit is checked. They go in snugly!
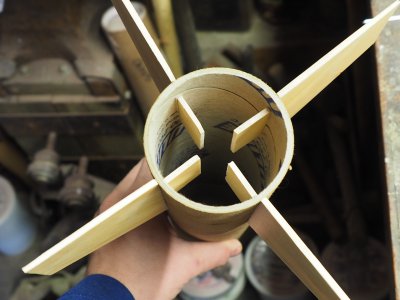
EM520365.JPG


Here's how they fit with the motor mount installed. A little trimming is in order.
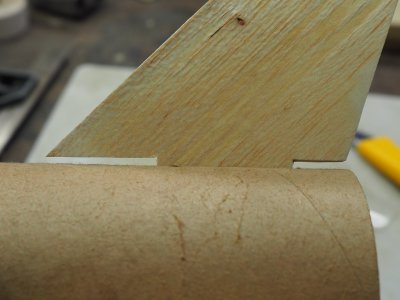
EM520369.JPG


The fins were sanded down to just touch the motor mount. I should be able to get some glue from the fin to the motor mount as well as the body tube to make a very solid connection.
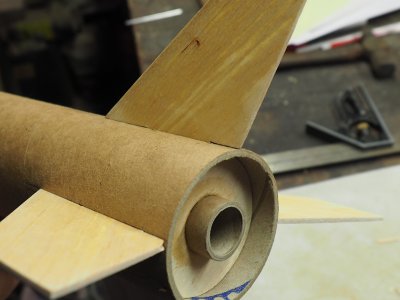
EM520370.JPG


This is the most robust rocket I've ever handled!
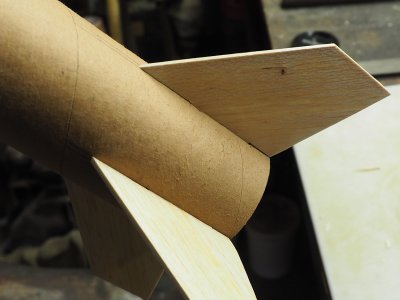
EM520372.JPG


I still want to round over all the edges before gluing. Also I think I should glue in the bulkhead first since it'll be a bit more fiddly.
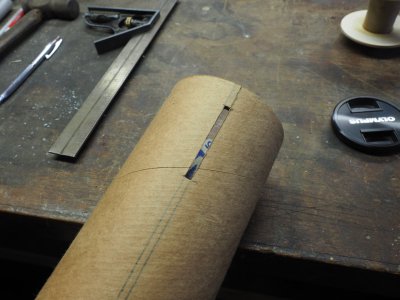
 
Got the bulkhead in!

I used the cut off from the nose cone as a plunger to ensure the bulkhead is pushed in squarely.

EM520374.JPG


Got a decent glue fillet on the motor side.

EM520381.JPG


When the motor side dries I'll add a good fillet to the nose cone side.

EM520379.JPG
 
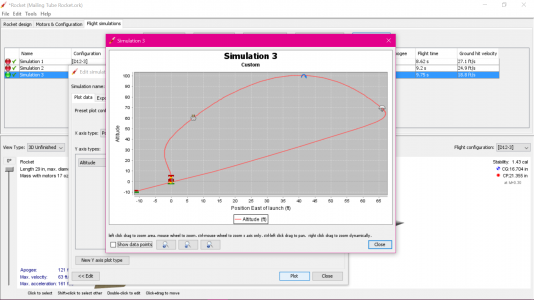
I was just playin around in OpenRocket running simulations on different chute sizes and wind speeds. I happened upon this configuration...

With a 24" mylar chute, launching in worst case scenario 15mph wind from the east, the rocket will land exactly back at the launch pad!

1582844599420.png

I wouldn't launch in 15 mph winds, and I don't think I'm going to make a 24" parachute, but I thought this was funny. I'm learning how to use the simulation function. This is an incredible software!
 
Nice progress. Maybe fly it without paint first to see the performance? Paint will add some mass.
Robert
 
Back
Top