Current Project

Thanks Bill...I haven't really kept track of the hours as its been an hour or two here and there mostly, but yes....a lot of those type sessions. I keep telling myself how ideal this crankcase, as well as a few other parts of the engine would be if they were castings rather than bar stock but to my knowledge no such castings exist. The number of hours needed would likely be cut to about 1/10th of doing it in barstock, but that what I have to work with and it has been an interesting challenge to make the parts look as much like castings as possible.

Bill
 
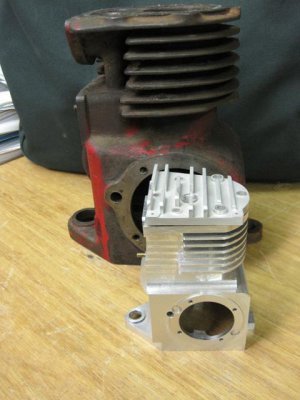
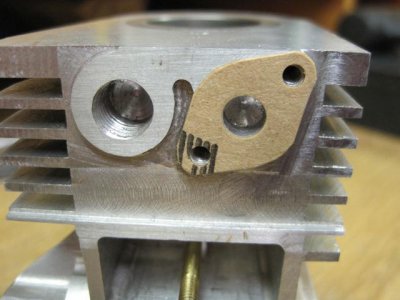
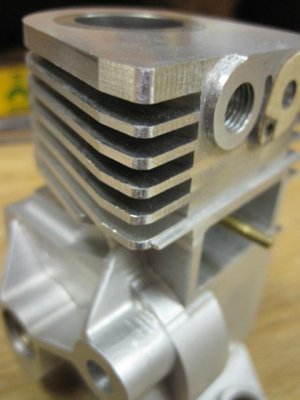
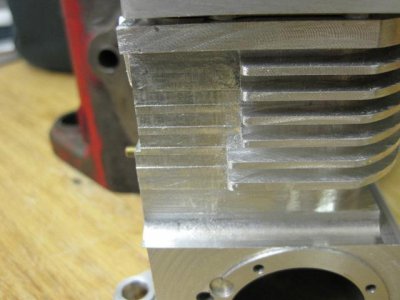
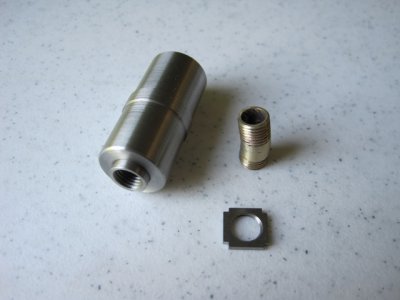
A couple more small things checked off the list...the gasket for the carb mount (photo 1), rounding the fins on the pulley side of the crankcase (photo 2), and shortening the fins on the flywheel side of the crankcase (photos 3 & 4). Tomorrow I want to get the cylinder head mounting bolt holes drilled in the top of the crankcase.

Crankcase 003.jpg Crankcase 001.jpg Crankcase 002.jpg Crankcase 004.jpg
 
Last edited by a moderator:
Hi Mac, thanks for sharing that story. For most of us of a certain age...the old Briggs engines were probably our first introduction to such engines. For me it was my granddad's reel type lawnmower which probably had a 5S or 6S on it...hence my desire to find one (which ended up being more like three in order to find all the parts) and try to model it in half scale. In their own way I have to agree they are "cute" but more than that...after having disected them, drawn them, and whittled out all the various parts... I have come away with the a healthy respect for the designers, engineers, and manufacturing people that made them back in the 40's and 50's

Again, thanks for looking in and sharing your story.

Bill
 
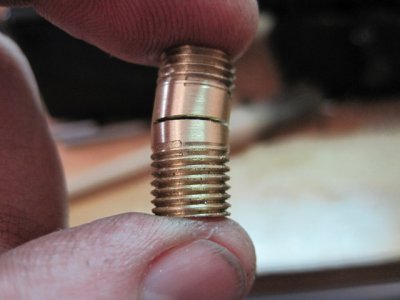
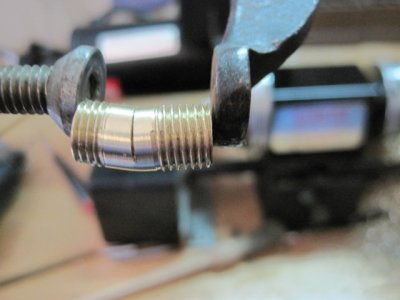
krv, the reason it was made from brass is that both ends had to be threaded and then i had to slit it partway down in the middle in order to bend it to the proper angle. The slit was then silver soldered to reseal it after bending. This was just more easily done out of brass. Given that the engine wont be run for extended periods, i don't think it will be an issue, but if so the manifold elbow can be remade from mild steel or stainless. The muffler is already stainless. Your point may well be valid...time will tell

Bill
 
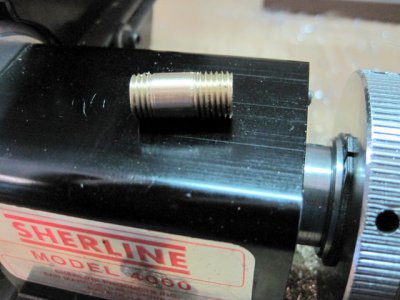
krv....as a follow up here are some pics from earlier in the build when this part was made. This may make it clearer than the verbal description above. In the last picture you can see that the wall thickness of the elbow is relatively thick and with the ends screwed into the muffler and crankcase respectively, whatever heat there is should be disipated, some of it exiting through the muffler and some of it absorbed by the crankcase acting as a heat sink. Again, I don't anticipate long or continuous running of the engine.

Bill

IMG_0038.JPG IMG_0031.JPG IMG_0032.JPG IMG_0035.JPG
 
Last edited by a moderator:
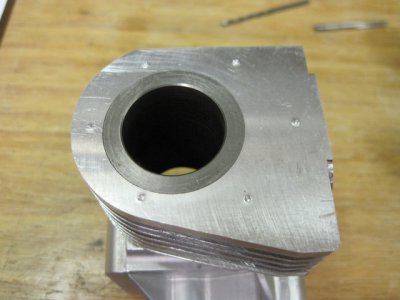
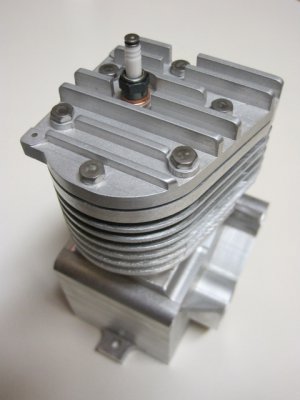
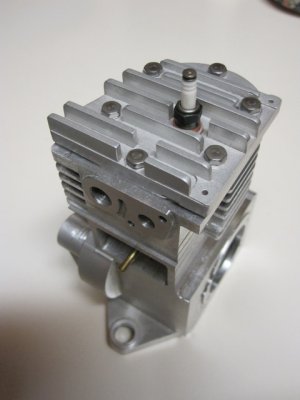
Today I carefully lined up the head on the cylinder and sort of locked it in place with some tape long enough to transfer the 6 hole locations to the top of the crankcase (photo 1). Then after drilling and tapping I was pleasantly surprised at how well the holes lined up. Nothing much to show really. Photos 2 & 3 just show two views of the head bolted to the crankcase. Another check mark ticked off and on to some more stock removal in the area of the carb mount.

Photo 2 makes it look like the sides of the fins are all chewed up. What is actually showing are the machine marks on the top of the fins from the slotting saw and the way the lighting hits them.

IMG_0633.JPG IMG_0634.JPG IMG_0635.JPG
 
Last edited by a moderator:
If you have access to a bead blaster, the fins will clean up quite nicely, giving it the look of cast ali. I have used the one here at work, and it makes a huge difference, giving a smooth, matte finish that takes plating or anodizing very well. I have used it on several types of aluminum, steel and even brass. It won't cover up deep scratches, but it removes machining marks quite well. So much so, that some people will question whether you bought a casting.

HF sells a cheap one that will do the trick.
 
rleete, I do have access to a bead blaster at work and have used it already on several of the parts. The head in the above pics has been blasted with good results. The con rod was blasted as well and in each case the result is much more the appearance of a casting. Once I get all the machining done on the crankcase it too will be blasted with the exception of those surfaces (like the carb mount,etc.) which were the machined surfaces on the full size engine casting. I agree this will further clean up the fins, stray machine marks and so on and I hope the final result will look like an aluminum casting just as you say.

Bill
 
In my experience, glass bead blasting tends to sharpen edges, so if you want the rounded edges of a casting, such as on the fins, you will need to use some mechanical method to round them over before blasting.
 
Tony, the edges will be rounded slightly with a file and or some hand sanding first. I use very fine beads which remove very little material...its more the matte finish I am after.

Bill
 
Back
Top