Craftsman 6" 101.07301 tear down and rebuild thread (and some questions)

thanks Jim! It's hard to believe isn't it? There was a really solid lathe under all that grime and rust. I couldn't think of a better home to pass it on to in my cousin(in law) and his young son - his wife is a mechanical engineer too, so I'm sure she'll be fighting them for time on it. To think as well that this would be the lathe I would have been thrilled to keep if I hadn't found a 618 from a friend at a price I could (by selling my old lathe!) afford. Joe and I will always be grateful for your generosity Jim!
 
Last edited by a moderator:
Very nice looking job that you did on it.
 
Thanks Robert!

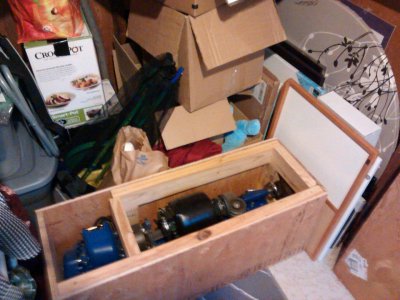
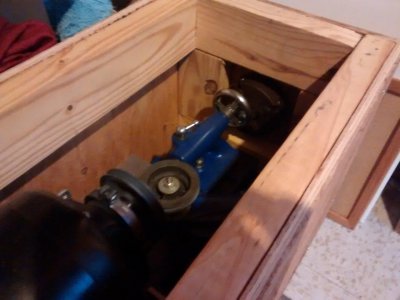
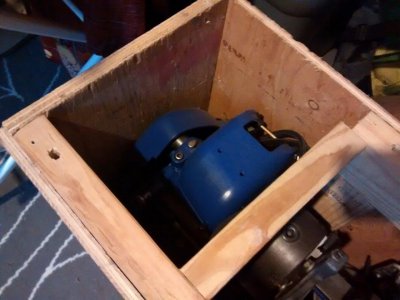
finished up the crate last night and got a 3PL (Fastenal) quote to ship it to Virginia of $175, which I thought was pretty reasonable, so fingers crossed it'll get sent off on Saturday. It's going to be interesting getting it into the car, it easily weighs 150lb with the motor and crate!
 
Matt,

The early 10" and 12" and at least according to the drawings in the parts manuals all of the 6" had the square end of the scroll (cam) shaft peened to hold the lever on. The later 10" and 12" had a lever that was cast with the square hole not quite going all the way through. The lever was then drilled through and the hole countersunk. On the later scroll (cam), the square part on the end was shorter, and was drilled and tapped for the flat head machine screw that holds the lever on. What I would do is to face off the square end of the shaft so that when you slide the lever on, the end of the shaft is maybe .005" to ,010" below the outer face of the lever. Then drill and tap it and use a binding head screw and flat washer to hold the lever on. Or you could partially countersink the end of the shaft before tapping, countersink the washer, and use a flat head screw. The latter would probably look better.

(My first post)
Matt - Very nice restoration; an inspiration as I just acquired one of these lathes, and am starting from scratch down the same road you traveled...

Robert D. - Thanks for the detailed description of the means by which cam lever is attached and alternate approaches to reattaching - this is exactly the information I was looking for. I hit this point in disassembly of my lathe, and was rather befuddled to find the shaft simply peened to hold the lever. I guessed it might be a PO's jury rigged solution. Now to discover a way to "unpeen" it w/o breaking anything. Thanks again.
 
I've never owned one of the early machines so have never actually encountered a scroll with a peened shaft. I don't know of an elegant method to use for removing it. Perhaps someone who had to do it could report how they did it, and how well it worked.
 
I've never owned one of the early machines so have never actually encountered a scroll with a peened shaft. I don't know of an elegant method to use for removing it. Perhaps someone who had to do it could report how they did it, and how well it worked.

Thanks for the suggestion. I haven't started prying / pulling / grinding yet, so WOULD love to hear from anyone who's done this successfully. I may need a new split nut cam - looks like the little spring-loaded ball has worn a grove in the side, but need to get lever off and remove it to confirm.

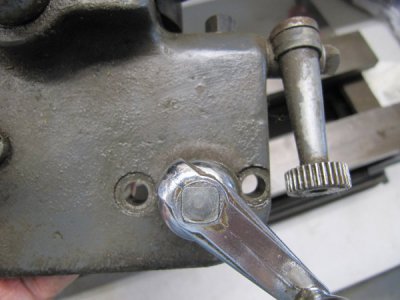
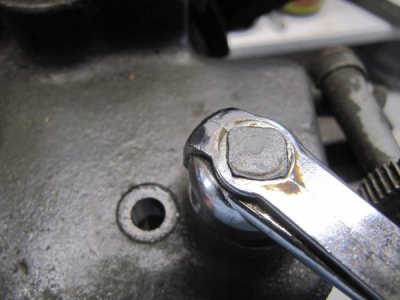
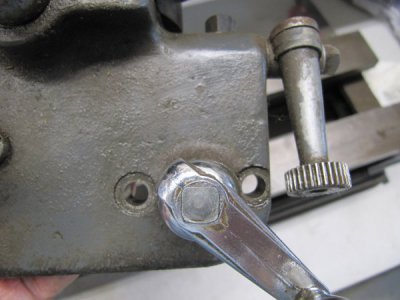
Here are a couple photos of the peened end of the shaft:
IMG_0917_sml.jpg IMG_0919_sml.jpg

(I'm unclear about protocol here - is it acceptable to add inquiries like this to an existing thread that addresses the same topic? Any advice is appreciated...)

Larry

IMG_0917_sml.jpg
 
Larry,

For specific questions, generally yes. Especially if you feel that some specific post in the thread will, if quoted, help explain a problem you are having and want to ask a question about a detail (the only way in Zenforo to quote a post from one thread into another thread is by manual copy and paste). But if you plan for example to detail your own restoration as you go through it, then it's better to start a new thread.
 
Hi Larry,

I have an atlas 618. I bought if from a person who had ordered a number of replacement parts, and those include the long auto feed parts.

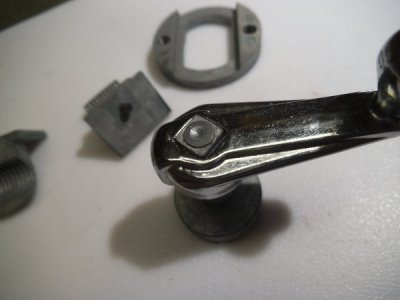
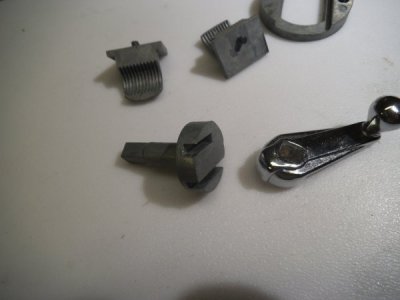
My lever is indeed peened over like your picture. If you look at the new parts, the square shaft is slightly proud of the lever when it is installed and there is a bit of a counter bore in the lever around the square hole so that the square piece can be peened into the counter bore.

You should be able to take a rotary tool and just carefully remove the swagging to remove the lever. After that drill, tap and hold on with a capscrew as stated.


long feed lever.JPG long feed parts.JPG

David
 
Back
Top