Craftsman 6" 101.07301 tear down and rebuild thread (and some questions)

Good deal Matt, and good for you, Jim. I believe generosity comes around. Matt sent me some lathe tools from a large lot he scored on ebay some months ago asking nothing for them in return.

Keep adding pictures Matt - I love these refurbish stories. Sure looked like junk in the "before" photo in the other thread. Lots of Atlas knowledge around here, and lots of parts available on ebay.

-Ryan
 
Yes, But mark the ground rod as I suggested earlier before removing the headstock.

thanks Robert, I appreciate the advice!

Good deal Matt, and good for you, Jim. I believe generosity comes around. Matt sent me some lathe tools from a large lot he scored on ebay some months ago asking nothing for them in return.

Keep adding pictures Matt - I love these refurbish stories. Sure looked like junk in the "before" photo in the other thread. Lots of Atlas knowledge around here, and lots of parts available on ebay.

-Ryan
thanks Ryan, I like to think that, but it's good to help people out whether or not anything comes back :)

The lathe is in surprisingly good condition underneath the grime. It either wasn't used heavily or it was kept well oiled and greased (or both, who knows). It's tatty for sure, but that's way easier to fix than mechanical stuff.

Had a very productive session last night.

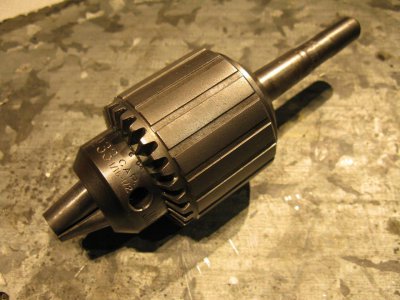
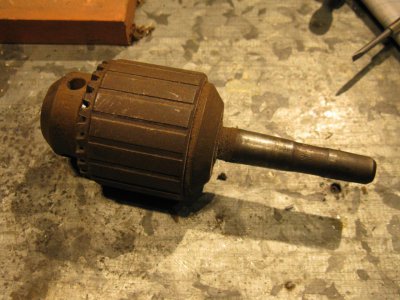
Drill chuck before
IMG_3749.JPG

and after
IMG_3754.JPG

works very smoothly with no hitching. We'll see if there's any runout but for now it's looking good

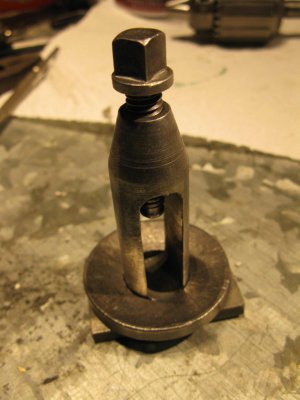
Lantern tool post
IMG_3755.JPG

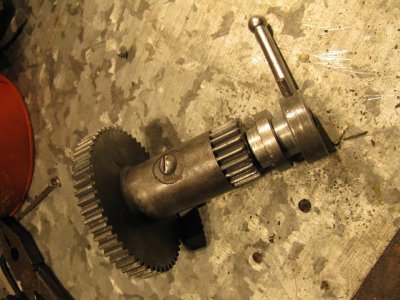
Backgear/ countershaft thing
IMG_3756.JPG

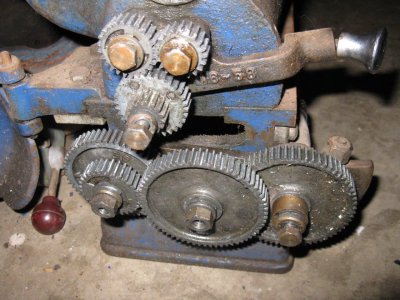
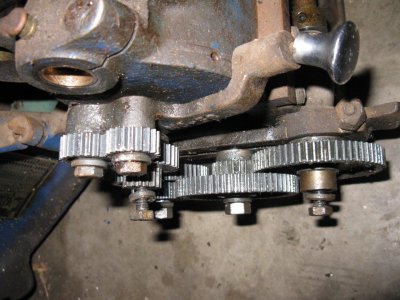
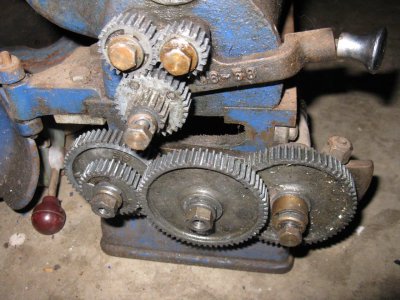
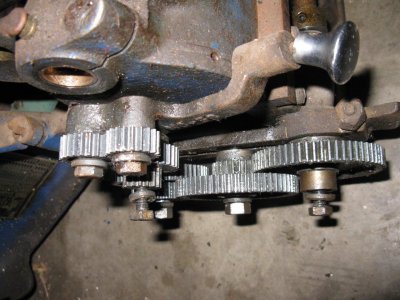
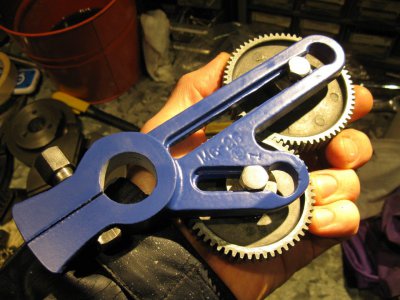
Gear train and banjo before
IMG_3757.JPGIMG_3758.JPG

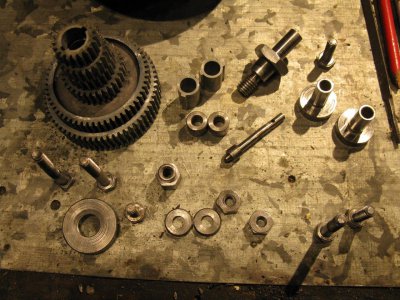
Gears and bolts after (paint thinners are very effective, thanks Robert!)
IMG_3763.JPG

The tumbler bracket and banjo are in the spoodge so I'll fish them out today and clean them off. Fingers crossed I'll have enough time around writing my lectures and fitting my wife's b'day present (car stereo) to the car to nip out to HD for some paint.

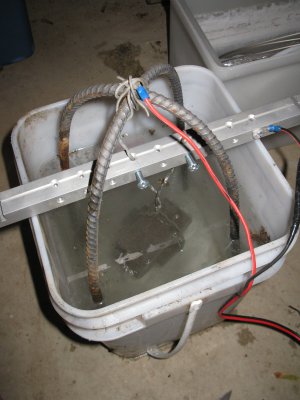
I'm also going to try and set up an electrolysis tank so I can start on the chuck and other bits'n'pieces

IMG_3749.JPG IMG_3754.JPG IMG_3755.JPG IMG_3756.JPG IMG_3757.JPG IMG_3758.JPG IMG_3763.JPG
 
got the reverse tumbler bracket and banjo undercoated and a 1st coat of topcoat (a lovely satin blue!), but no pics yet. Also tried my hand at electrolytic derusting which is awesome! Only used baking soda as that's all I had (added washing soda to the shopping list), but it still did a good job on the chuck. Waiting on the washing soda to give that a try and to do the tool holder.

IMG_3765.JPG

bubbles! Using part of the anodising set up that I was given a while back, still need to give that a try :)

IMG_3765.JPG
 
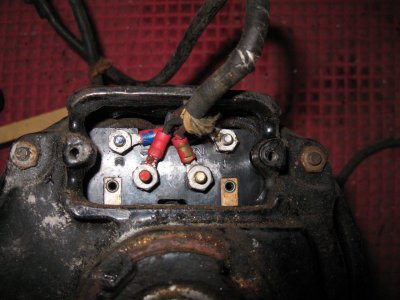
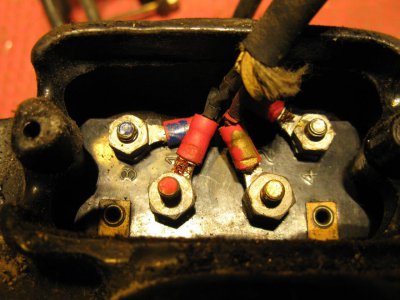
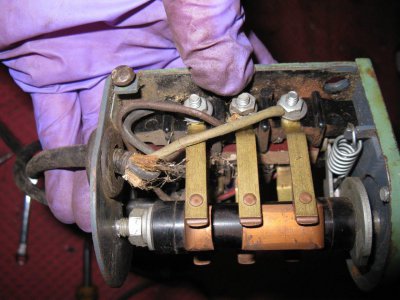
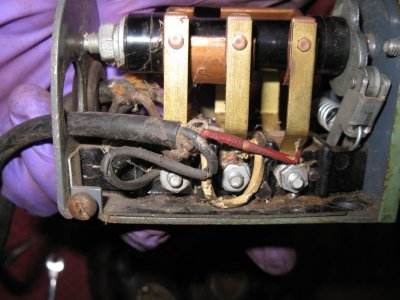
Woohoo! Super success with the motor. Opened up the switch and, along with a large and very dead spider, was a loose wire (presumably for one end of the start winding). Connected it to the free post next to the end and the motor started right up and I could reverse direction after the motor had coasted to a stop! Motor sounded good too, so I'll take it apart for a clean and paint, then it's good to go.

IMG_3771.JPGIMG_3773.JPGIMG_3774.JPGIMG_3775.JPG

I'll dig out a new 2 strand wire from my collection and see if I can find a 4 strand wire from somewhere to re-wire the switch and motor.

Chuck is still in the electrolysis tank, now joined by the toolholder that was on the lathe when I got it and the cross slide cover.

Another coat of paint and I'll be able to reassemble the reverse tumbler and banjo, which would be a neat little milestone!

IMG_3771.JPG IMG_3773.JPG IMG_3774.JPG IMG_3775.JPG
 
finished derusting and cleaning the chuck last night. Bit of a fiddle to get it apart, as the pinion gear has to be removed to drive out the backplate, but a few magnets and fiddles got that done. I'll finish tarting it up and put it back together tonight.

the two brackets had their last coat of paint this morning, so they'll get put back together tonight, which'll be neat.

waiting on a pulley puller from a friend to remove the pulley from the motor so I can take it apart and clean it.

lots to do!
 
Hey, Matt. Good work so far!

Here's a tidbit on the lantern tool post.
The thick concave washer that the rocker sets on may be slightly warped from decades of use.
If the bottom isn't perfectly flat, the post may demonstrate some flex.

It's extremely hard, probably shouldn't try to flatten it.
I've successfully resurfaced the bottom using a disc sander, takes a while.

For raw exposed steel, like the lantern parts, I like to use Brownell's Oxpho-blue.

http://www.brownells.com/aspx/Search/ProductDetail.aspx?pid=1072
 
thanks Steve! I appreciate the tips too, I'll have to look into the Oxpho-blue as it sounds like it would be useful for a lot of other steel parts. I haven't checked the flatness of the washer, I'll do that this weekend. I'm planning to make a simple post style QCTP in the near future, but this will work just fine in the meantime.

I notice that you have the exact same lathe! I'll be picking your brains in the future, that's for sure.

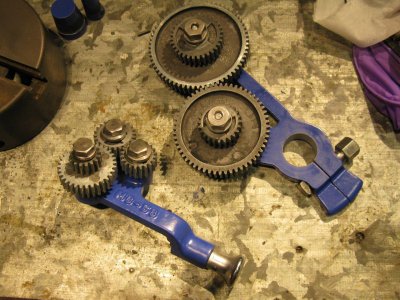
Achieved a little landmark last night - finished painting and reassembling some parts!

Before
IMG_3757.JPGIMG_3758.JPG

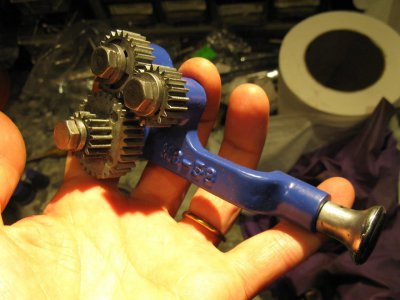
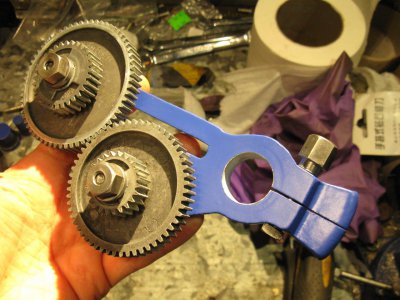
After
IMG_3776.JPGIMG_3777.JPGIMG_3778.JPGIMG_3779.JPG

I wasn't 100% sure about the colour, but I rather like it! I think it will look great when it's finished and help brighten up the garage :)

Didn't get time to finish the chuck or do any other painting last night as I finished work late and I was bushed. Should get to that this weekend and hopefully start on the motor too.

IMG_3776.JPG IMG_3777.JPG IMG_3778.JPG IMG_3779.JPG IMG_3757.JPG IMG_3758.JPG
 
Quick Q - on the reverse tumbler there are 3 different size gears. The lower 16/32 double and then two above that which are engaged by the spindle depending on position. On mine one is 24t (left, looking that the end of the spindle) and the other is 20t. They fit like they're meant to be there and that's how they were when I got the lathe. But wouldn't that change the feed per revolution in reverse? In other words, there's a slight step down in leadscrew revolutions due there being a 20>24>32t reduction instead of 24>32t. Just curious, especially for doing threading away from the spindle, say for an internal thread from a shoulder.
 
I can't say why they are different, but the parts list in the manual lists them as 20 and 24, so it looks correct. You may find the manual on this website or the Yahoo group for Atlas lathes. Robert has been very diligently uploading all sorts of Atlas documentation. M6-59 Reverse Tumbler Gear 20 Teeth, M6-60 Reverse Tumbler Gear - 24 teeth.

-Ryan
 
Back
Top