Bridgeport X & Y feed screw nut replacement ...

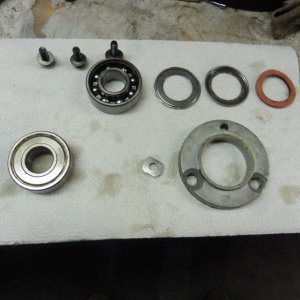
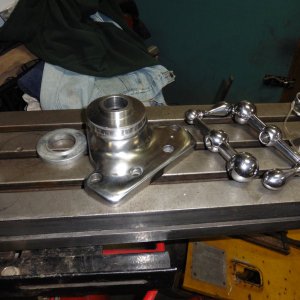
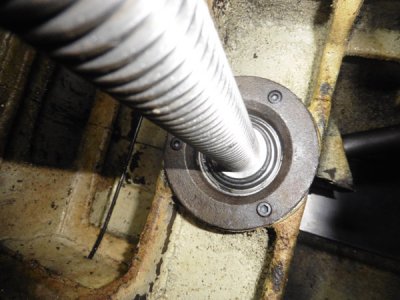
I went ahead and cut both the X & Y nuts and faced them off on the lathe. Used a Dremel to clean up the thread to match the factory end, which you can see was done by hand originally. Mocked up the Y axis (which was the worst) in the screw casting and it appears to have taken out all of the backlash. Will adjust them to spec when it all goes back together. Pulled the metal seals off all the feed screw end bearings including those for the knee crank and cleaned out the old dried grease and repacked them and replaced the metal seals. They turn nice and smooth now. Just got the ferules and nylon tubing in to replace all the oil lines. Will have about $50 total in the rehab. May get it all together before we head down to PR for the winter. If not it will have to wait until spring. Going down to Denver over the weekend to see our new grand daughter. Being my first, I'm pretty excited. Mike
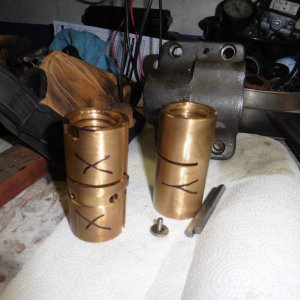
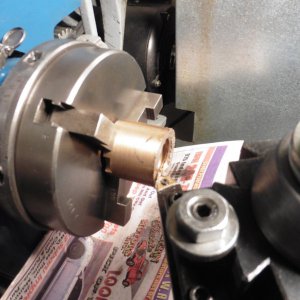
P1010626.JPG

P1010642.JPG

P1010645.JPG
 
Expressline99, replace or modify? The modification makes sense, and is relatively easy to do.

I'm going to make a new set. My X axis leadscrew has some wear. I'm going to mount that on my lathe and attempt to make the wear more conformed along the length. Once I've got that done I am going to make a nut to match the fit.

On my y axis I found a new screw for cheap so I'll just make a new nut for that.

I'm very new to chasing existing threads so it'll be fun! But if I ruin any of it I know there are parts that can be bought. So I'm going to do my best with help from the board here.

Paul
 
I'm with chips&more, no ballbearing lead screws on a manual mill. For CNC, yes but not a manual machine.
 
As said and needs repeating. Ball screws on a conventional mill is not a good idea.
A rolled thread ball screw has less resistance than a acme nut and screw ....but much more resistance than a ground thread...in my opinion...a rolled thread ball screw is an upgrade for a manual mill.. They do not move as easially as a ground thread... JOHN
 
If anyone is interested, I just did the "split nut" modification and installed it. Worked like a champ. Only cost was about 30 mins of machining time, and $1.98 at Advance Auto for the battery felt washers (which I placed between the 2 pieces after splitting). I recommend this to anyone on a budget that is battling mucho backlash on their Bridgeport feed screws....................
 
Last edited:
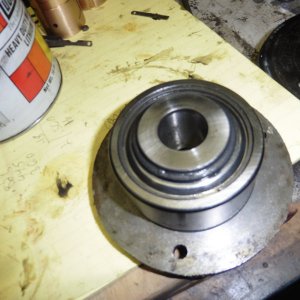
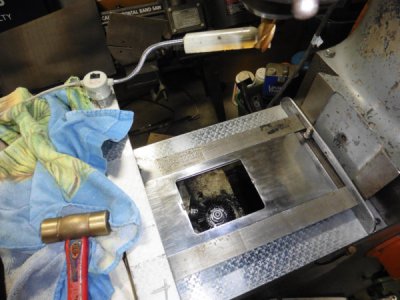
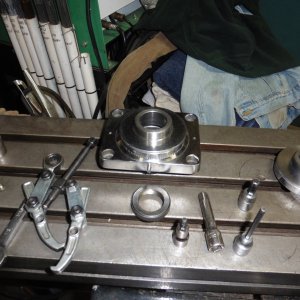
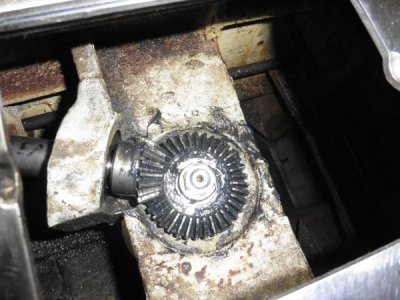
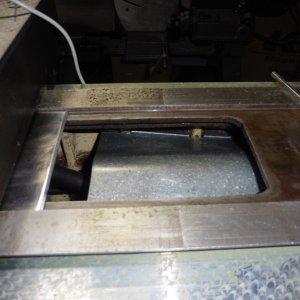
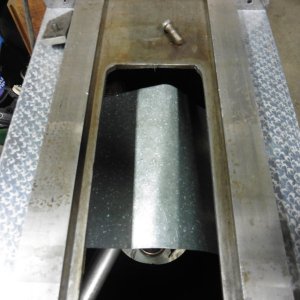
Finally got a little time away from home repairs here in PR, so a little update on the Bridgeport rehab. Pulled and cleaned all of the knee screw, elevation crank, and gear assembly. Repacked all the bearings, used some valve spring spacers to adjust up the ring gear for the knee crank and adjusted the the pinon gear to optimize the back lash. The bearing for the knee screw is a shielded (not sealed) bearing and would normally get its lubrication from whatever finds it's way from X/Y screws above. It didn't seem to be getting much, and I added a sheet metal shield to protect ring and pinion gears from swarf (got that idea from someone here, thanks). So I did a back yard modification to the Knee screw bearing. After repacking it placed a suitable o-ring and slid it up against the bearing shield and then used RTV to seal it in place creating more of a sealed assembly. I decided I'm going to drill and tap the knee for a grease zerk with a soldered on copper tube to give the occasional shot to the ring and pinion assembly as plan on powering the knee, and using it more, and extending the quill less to preserve rigidity. Also considering running a separate oilier line to the Y axis as it relies on oil dripping down from the X axis above, and though it would normally see less use than the X, it shows considerably more wear.
While I had it apart, decided to do a little polishing on the cranks and related assemblies. Which according to e-bay analysis should convert my $2500 mill instantly to a $15000 wonder machine.:grin: Looking forward to getting home in April and finishing up. Mike
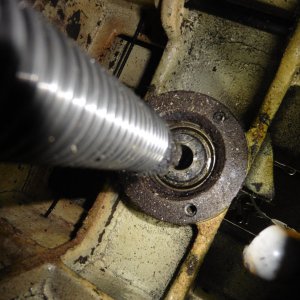
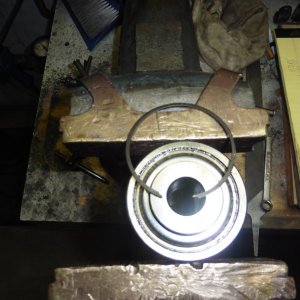
P1010659.JPG

P1010664.JPG

P1010668.JPG

P1010683.JPG

P1010672.JPG

P1010674.JPG

P1010682.JPG

P1010678.JPG

P1010680.JPG

P1010684.JPG
 
looking good Mike. The frosting still looks remarkable.
 
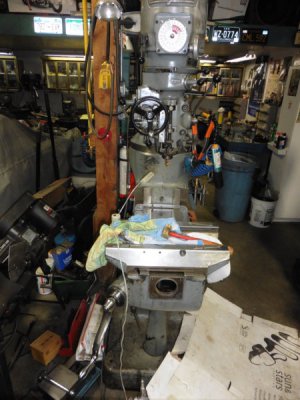
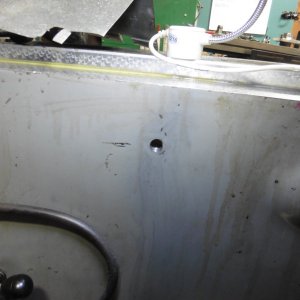
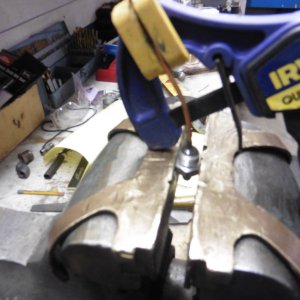
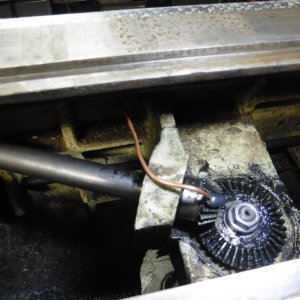
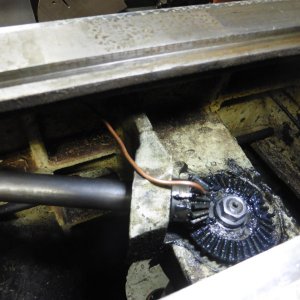
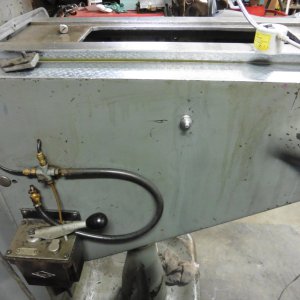
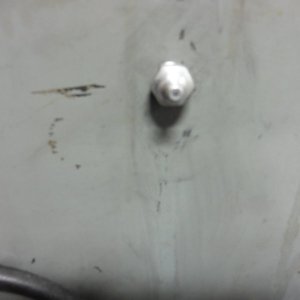
Back to where I left off last Dec.. Spent an hour or so in the shop and implemented my idea for a grease zirk and line to supply grease to the knee lift gears. Will let the pics tell the story, pretty straight forward. If you do this modification, be advised that less than a quarter stroke of the grease gun handle, twice 180 deg apart is more than sufficient. Probably 1-2 a year for most of us. I put mine on the left side of the knee to keep the right
side free for DRO scale. Cheers, Mike

P1010721.JPGP1010722.JPGP1010723.JPGP1010724.JPGP1010725.JPGP1010726.JPGP1010727.JPG
 
Back
Top