- Joined
- Dec 22, 2011
- Messages
- 310
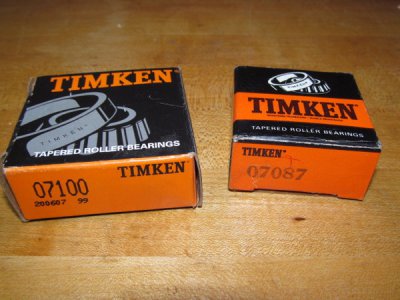
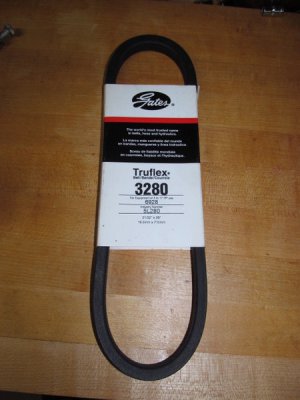
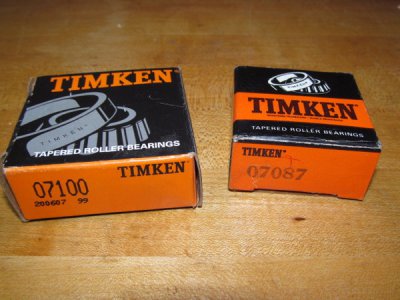
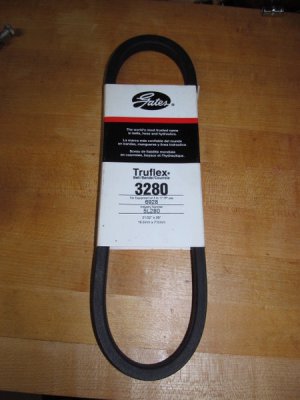
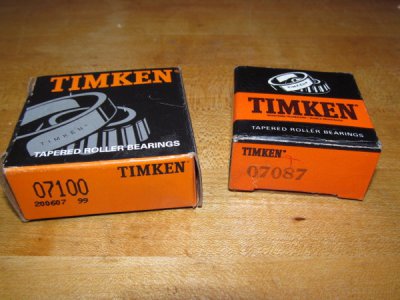
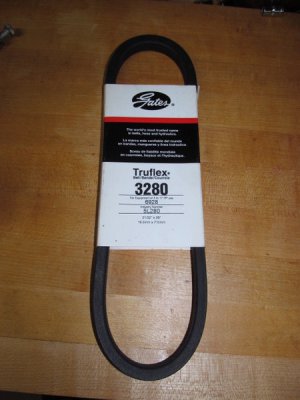
I made a little progress this weekend, but I had some other things going on so I didn't get quite as much done as I wanted. First off, my bearings and belt showed up in the mail:
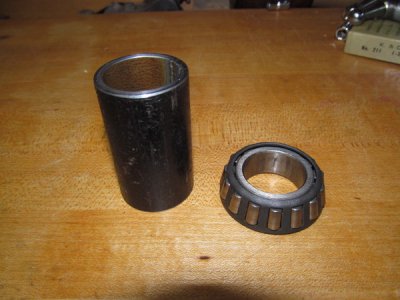
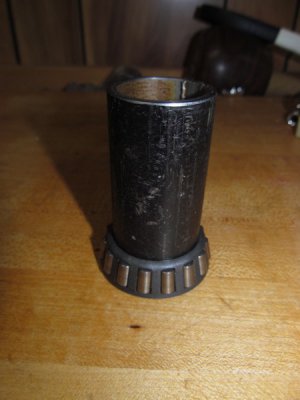
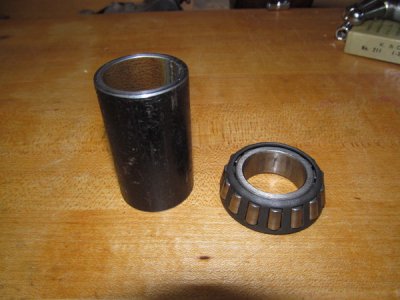
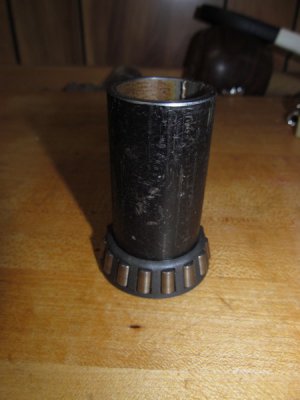
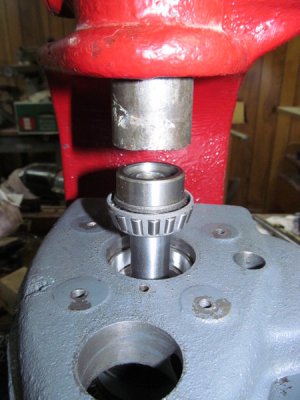
To install the bearings, I made a pusher out of a piece of black iron pipe. It's just the right size to fit over the spindle but press on the inner race of the bearings. I faced off the ends on my lathe:
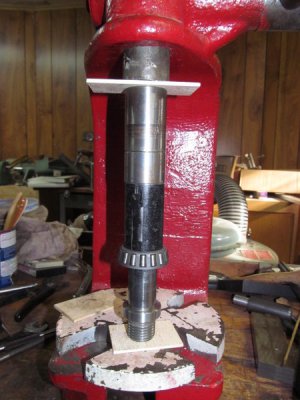
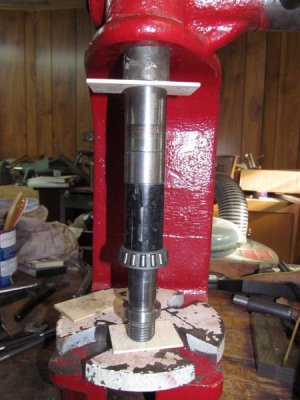
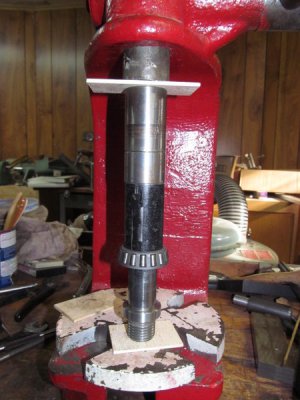
In order to fit the spindle and the pusher under my arbor press and still be able to press the bearing all the way onto the spindle, I had to use a series of spacers, pressing the bearing on a little way, then adding a spacer to press it on further. I actually used the spacers from one of the arbors that I got with the milling machine.
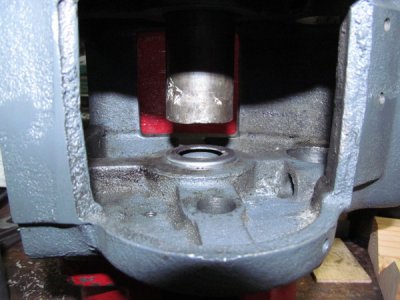
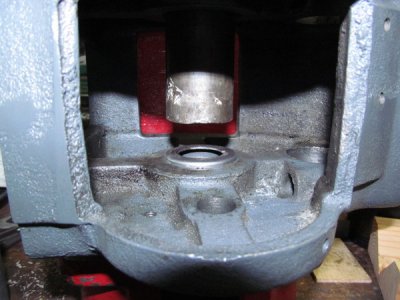
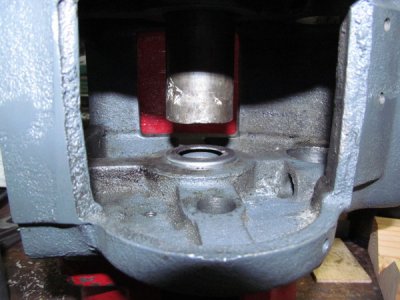
Next, I lightly pressed the inner dust caps in place:
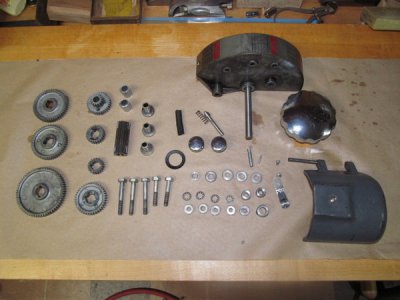
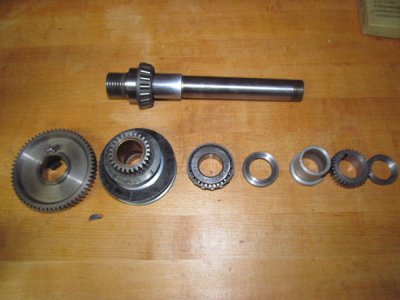
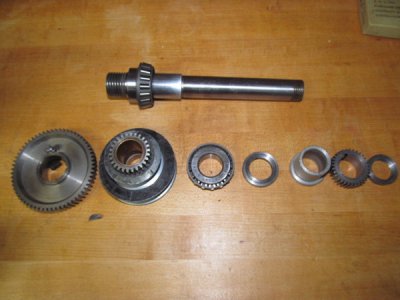
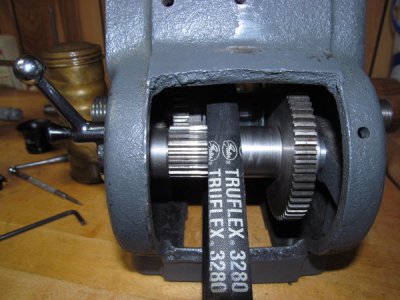
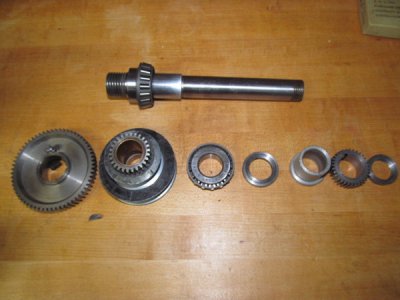
Then I slipped the spindle through the headstock and added the bull gear, pulley, and spacer. It took three hands and a lot of swear words to get this all assembled, so I don't have any photos of the assembly in process. The biggest thing is not to forget to install the V-belt. Here are the parts all laid out:
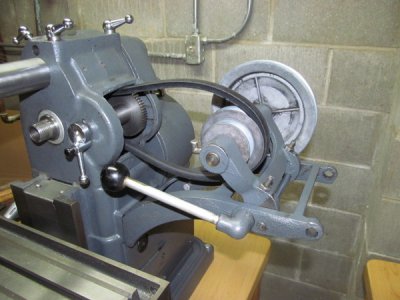
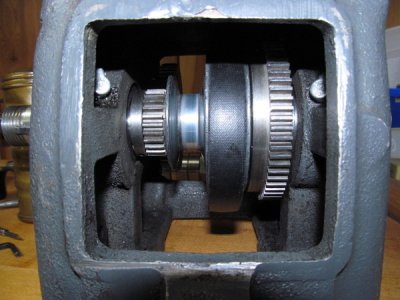
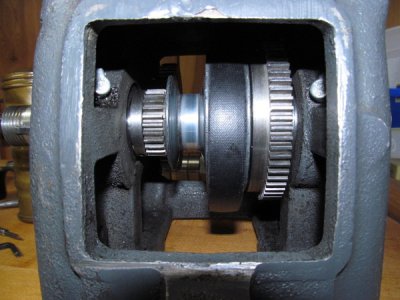
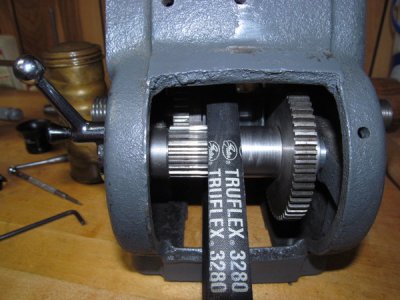
And here it is with everything in place:
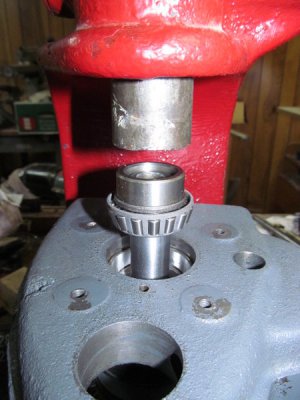
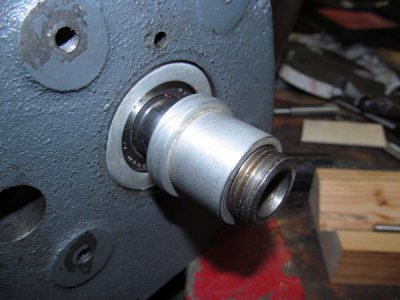
Next, I pressed the outboard bearing onto the back end of the spindle:
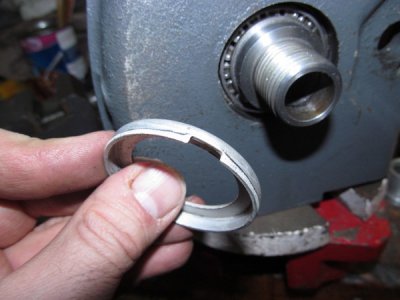
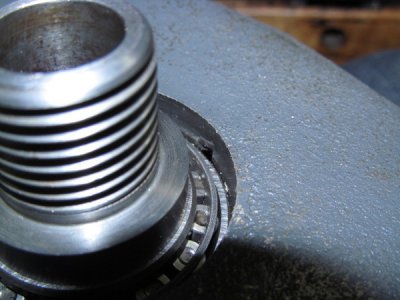
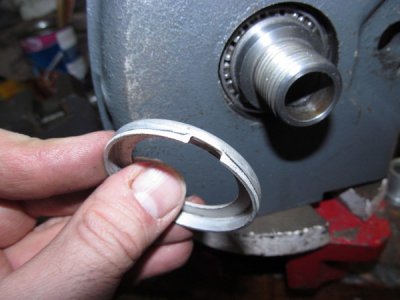
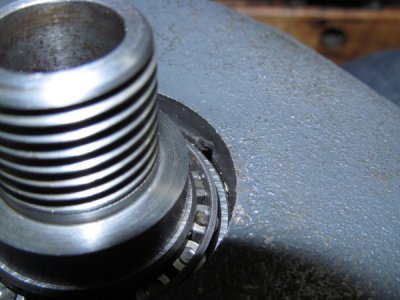
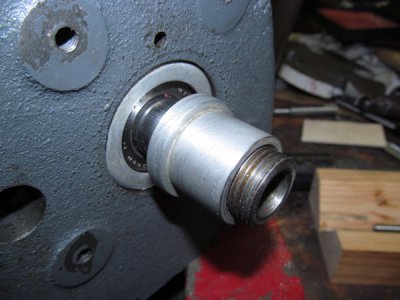
Then I added the outer dust caps. There's a notch in each dust cap. You need to line up the notch with the oil port in the bearing seat on the headstock:
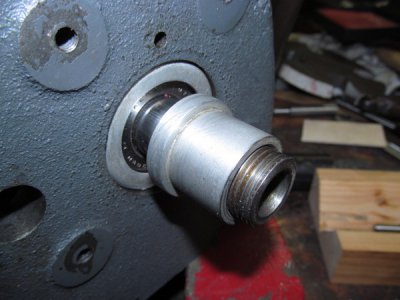
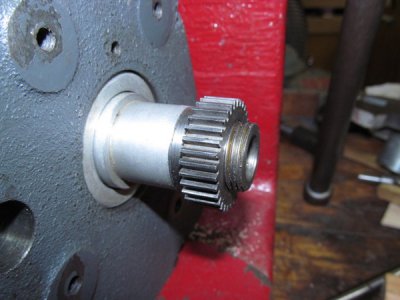
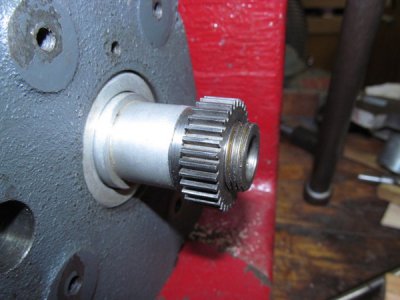
Next came the spacer, gear, and collar. The threads on the end of the spindle were a little bit dinged up, so I had to clean them up before I could get the collar back on.
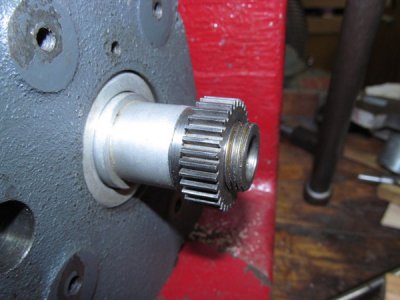
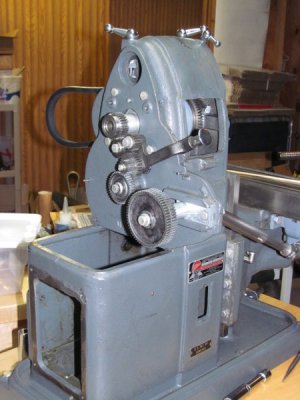
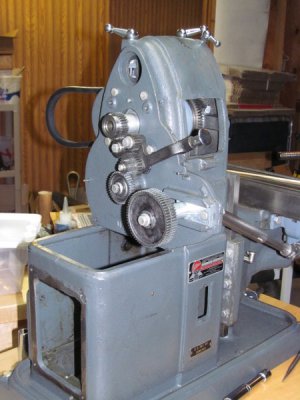
With the spindle assembly complete, I installed the back gear:
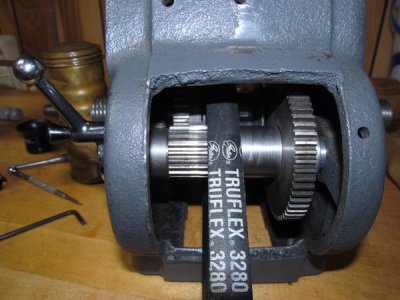
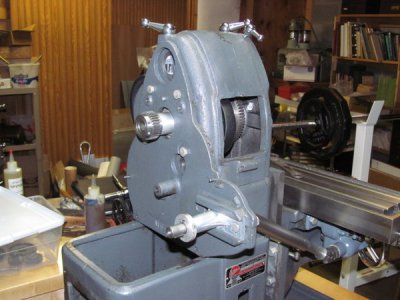
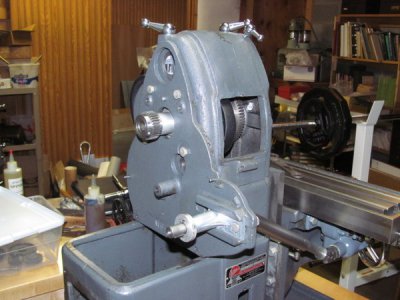
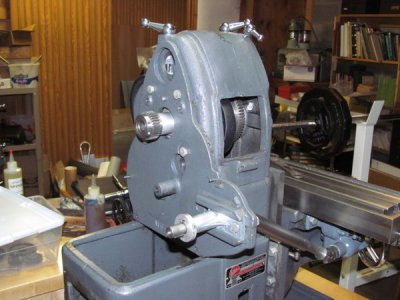
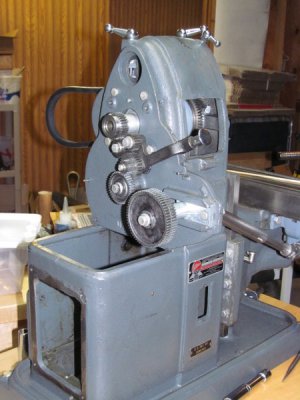
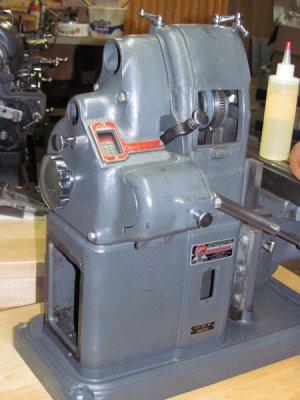
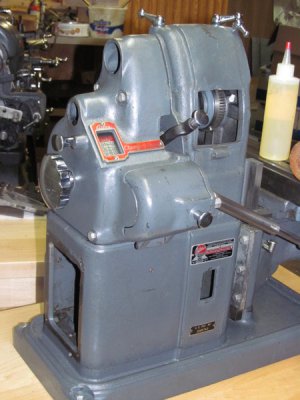
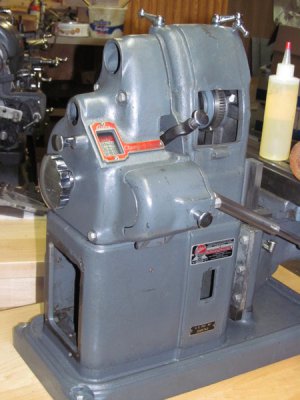
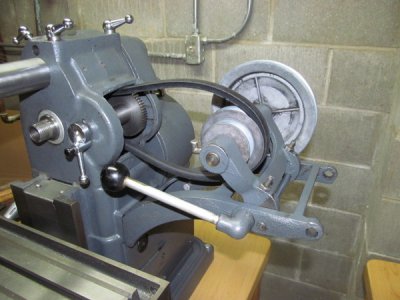
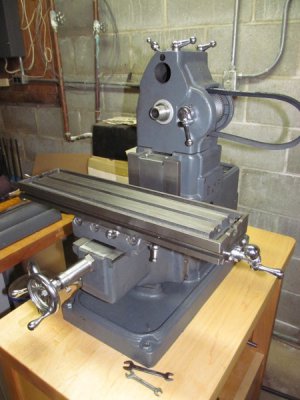
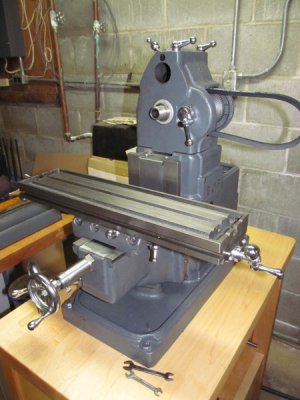
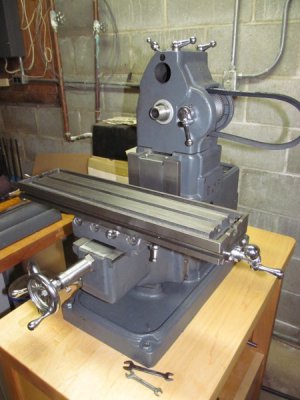
I ran into a problem with the back gear. There's too much side-to-side play and I couldn't figure out what I was doing wrong. A check of the parts diagram shows that I'm missing a washer, part M6-255. I don't know if that is what is causing the problem, but I'll have to look into a little more. In the meantime, I set the headstock back on the column. It's starting to look like a mill again.
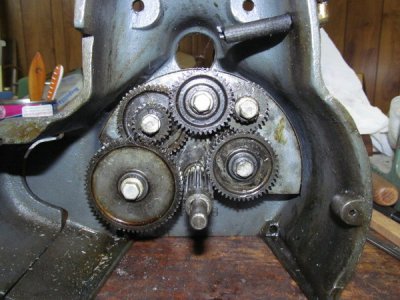
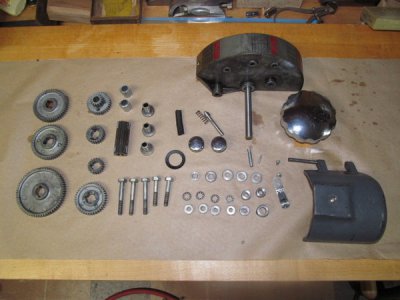
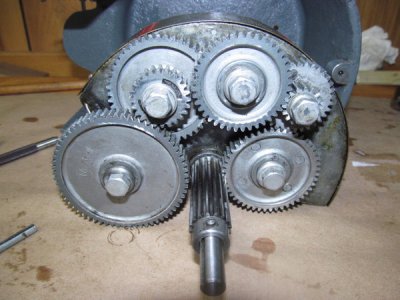
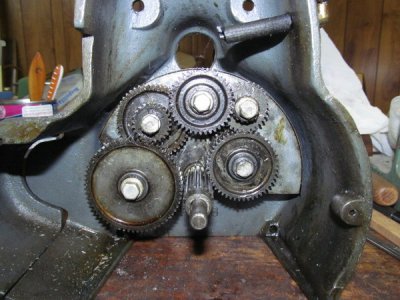
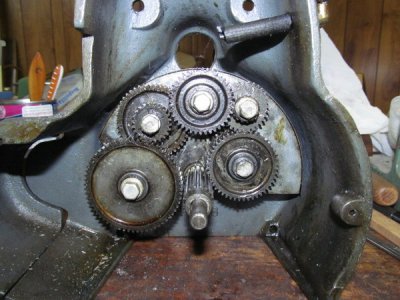
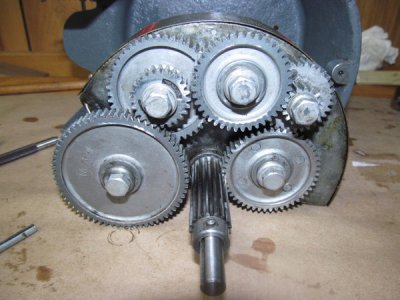
Next week, I'm hoping to tackle the change gear assembly.
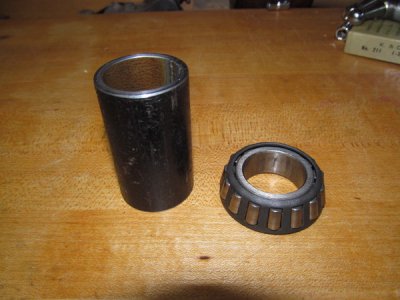
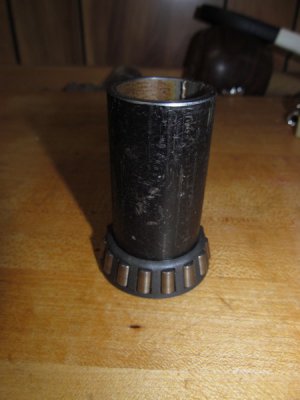
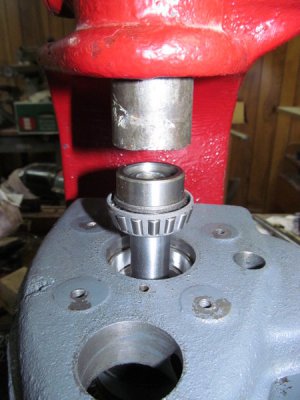


To install the bearings, I made a pusher out of a piece of black iron pipe. It's just the right size to fit over the spindle but press on the inner race of the bearings. I faced off the ends on my lathe:


In order to fit the spindle and the pusher under my arbor press and still be able to press the bearing all the way onto the spindle, I had to use a series of spacers, pressing the bearing on a little way, then adding a spacer to press it on further. I actually used the spacers from one of the arbors that I got with the milling machine.

Next, I lightly pressed the inner dust caps in place:

Then I slipped the spindle through the headstock and added the bull gear, pulley, and spacer. It took three hands and a lot of swear words to get this all assembled, so I don't have any photos of the assembly in process. The biggest thing is not to forget to install the V-belt. Here are the parts all laid out:

And here it is with everything in place:

Next, I pressed the outboard bearing onto the back end of the spindle:

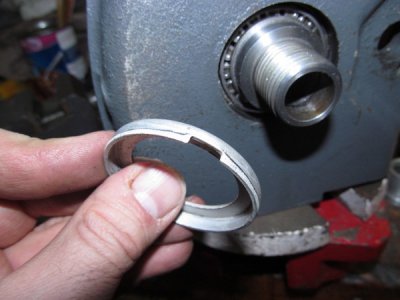
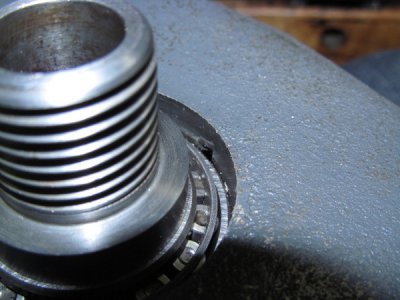
Then I added the outer dust caps. There's a notch in each dust cap. You need to line up the notch with the oil port in the bearing seat on the headstock:


Next came the spacer, gear, and collar. The threads on the end of the spindle were a little bit dinged up, so I had to clean them up before I could get the collar back on.


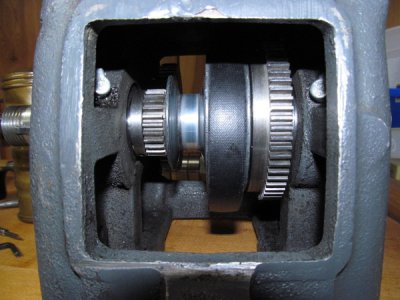
With the spindle assembly complete, I installed the back gear:

I ran into a problem with the back gear. There's too much side-to-side play and I couldn't figure out what I was doing wrong. A check of the parts diagram shows that I'm missing a washer, part M6-255. I don't know if that is what is causing the problem, but I'll have to look into a little more. In the meantime, I set the headstock back on the column. It's starting to look like a mill again.

Next week, I'm hoping to tackle the change gear assembly.


