Atlas M F Horizonatal Mill Rebuild

Hey Steve,
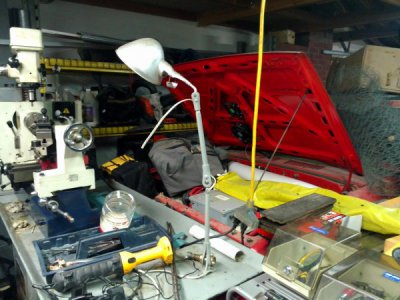
Can you measure the 2 arms of the light? It looks identical other than the shield over the bulb to the one that came with a Hardinge lathe I bought a while ago for parts. I know these are impossible to find but the Hardinge ones might be easier to find for those who want something very close to the original. Here's a pic. of mine.
IMG_20160815_052246.jpg
Rodney
 
Hey 34_40- I think you are right, I'll get that taken care of.

Rodney- dimensions from ball center to ball center: top arm is 12 ", bottom arm is 12.5". I saw one of these lights on the auction site last week in "Excellent Original Condition." It was $200 (Yikes!!).

Steve
 
Getting there, slowly but surely, getting there...

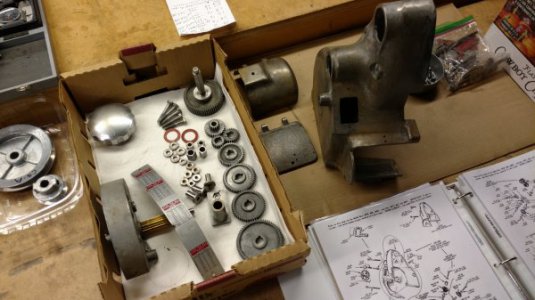
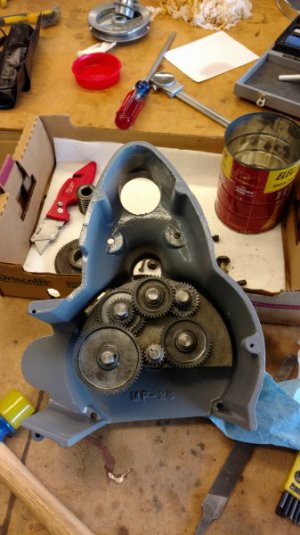
Here are the parts for my Change-O-Matic after cleaning and stripping paint from the castings. The gearing system is in pretty good shape, not excellent. Some of the gears show some wear, not heavy wear. I think I'm going to just re-assemble, lube and give it a try. Somehow I forgot to take some "before" pictures of the Change-O-Matic gearing system. The old lubricants had gummed up and hardened so badly it looked like someone had dribbled glue all over it. After soaking in kerosene, scrapping, brushing and chipping everything cleaned up nicely.

A40.jpg

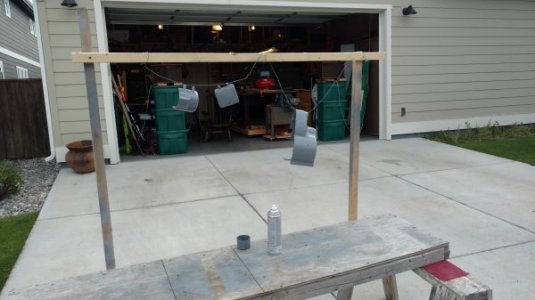
Here we are out in the "Paint Shop."

A41.jpg

Busy week coming up so I probably won't get back to this soon. After re-assembling these components I'll get what I have functioning properly and move on the last major component, the knee/table assembly.

I picked this old timer up 15 months ago, it seems like it's taken an eternity to get this far. I hope to be cutting a few chips by Christmas.....
 
Glad you made time for another "installment".. LOL..
It is coming along just splendid, nice work.
 
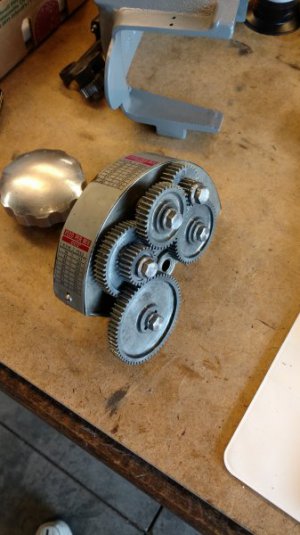
Last weekend I spent a little time assembling and installing the "Change-O-Matic." Here's what we have:

The gear drive assembly ready for installation-
A43.jpg

Back of the mill, ready for assembly-
A44.jpg

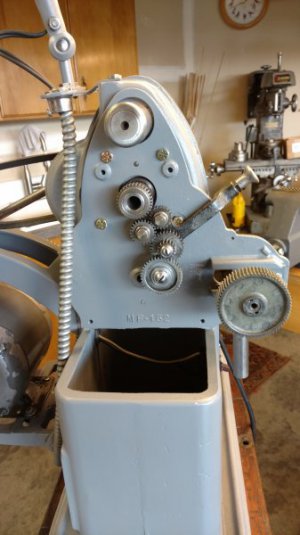
Back housing with gearing system installed-
A45.jpg

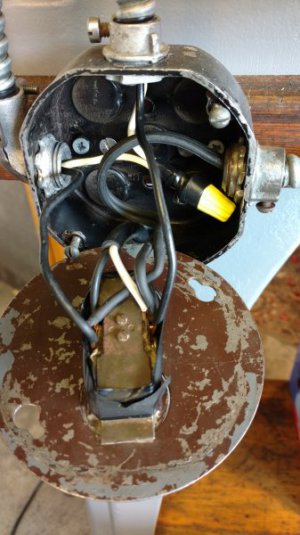
While I'm at it I might as well move the electrical. As you may recall I had it mounted on the front of the machine where it can interfere with the movement of the table-
A46.jpg

Here's the assembly with the electrical mounted at the rear of the mill, comfortably out of the way-
A47.jpg

Everything seems to work, all gears are functional and shifting from one speed to another is simple. There is a little more gear noise than I would like, this is probably due to gear wear. I am planning to run as is for the time being. Maybe this assembly will get a separate overhaul in the future. We'll see.....

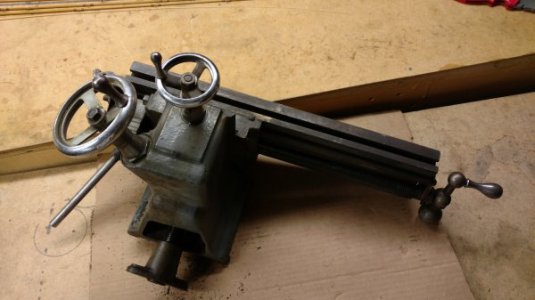
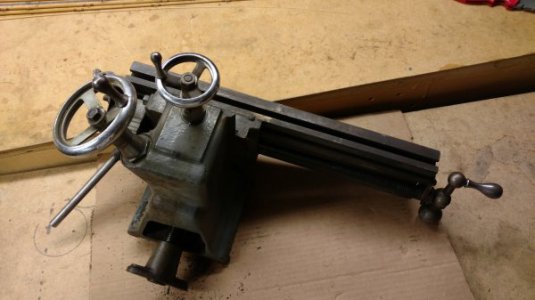
Here's the last major component, the table and knee assembly. Next steps will be dis-assemble, clean, strip, inspect, re-assemble, install and trouble shoot:
A48.jpg

Once this assembly is complete and installed I should have a functional machine that needs adjustments, a little more tooling and some projects.

Depending on weather I might get a little more work done this weekend.

Steve
 
Start-
A48.jpg

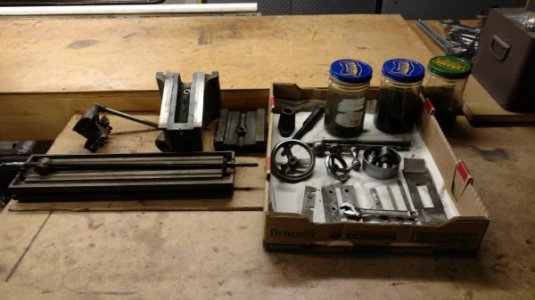
Step one, done-
A49.jpg

Well, that wasn't to hard. All the little parts are soaking in kerosene. The big parts need some serious cleaning.

Rock on brothers and sisters.

Steve
 
Hi Steve,

I got here late, but I gotta say............WOW!

You are making great progress. It has been a lot of fun to read, and I have read every word of every post.

Thanks for the vicarious journey!

-brino
 
Greetings from Montana!
It's been a while since any progress has been made on the Atlas. Over the last couple of weeks I have gotten back to it and finished up. Have a look.

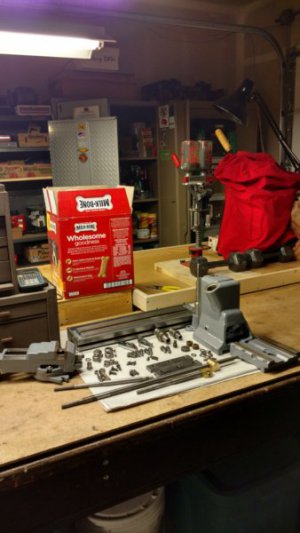
The knee and table are the last items to be installed, here they are cleaned and painted:
A50 (2).jpg

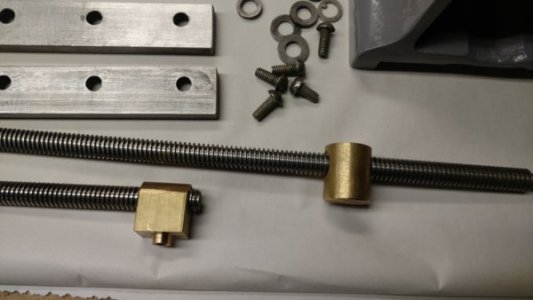
Replaced the X and Y drive screw units with these aftermarket units:
A51.jpg

The Mill before the table and knee installation:
A52.jpg

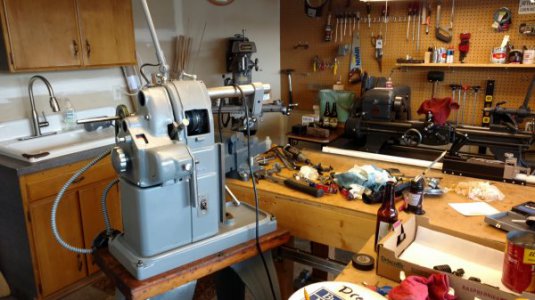
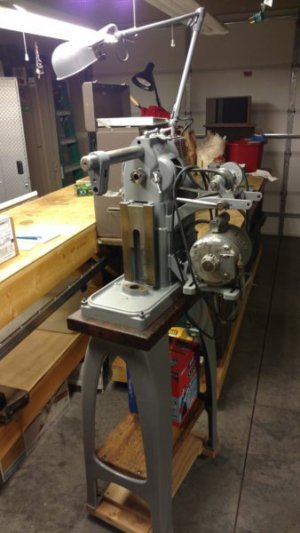
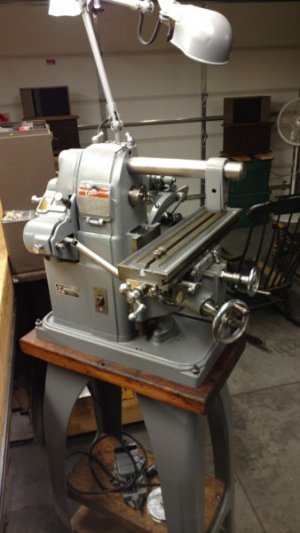
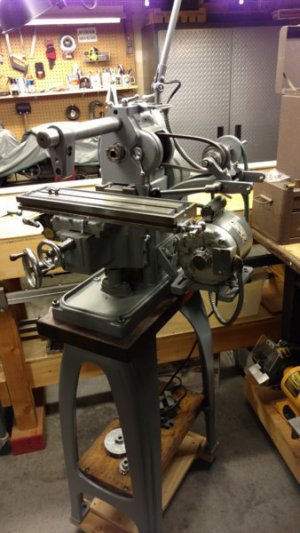
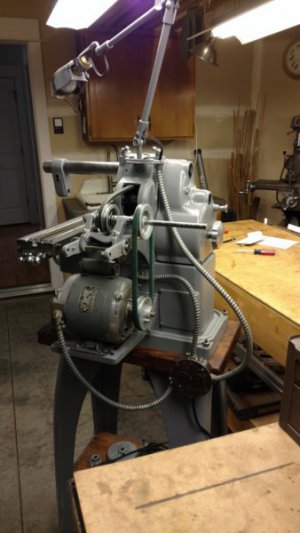
A few shots of the almost finished Mill:
A53.jpg

A54.jpg

A55.jpg

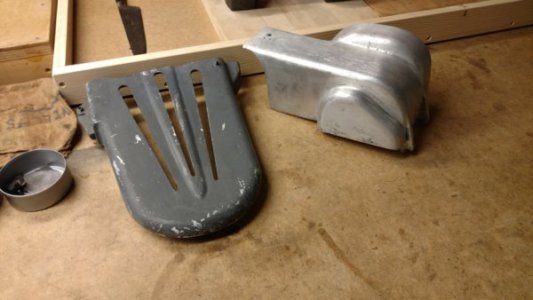
Remaining work includes modifying the counter shaft and motor pulley's and installing the belt guards:
A56.jpg

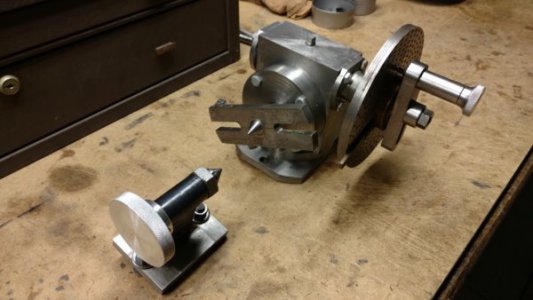
Here's a neat item that came with the Mill. It looks like a shop made dividing head. It seems to be fully functional and very nicely made:
A57.jpg

So this is it. The Mill is as done as possible with the iron that it came with. Just a little tuning and a few odds and ends.

Time to start figuring out what I need for tooling and start cutting some chips!

Steve
 
Back
Top