Almost ready to cut

Creativechipper

Registered
Registered
Joined
Jul 9, 2018
Messages
314
Hello all and thanks for the help to get me to this point.

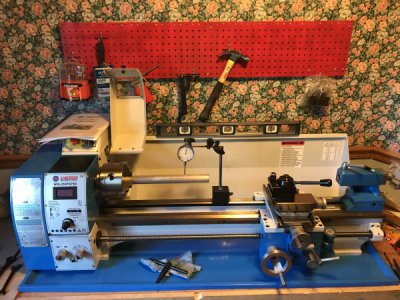
I have a 1" round of aluminum to cut my test cuts for squareness in my setup.

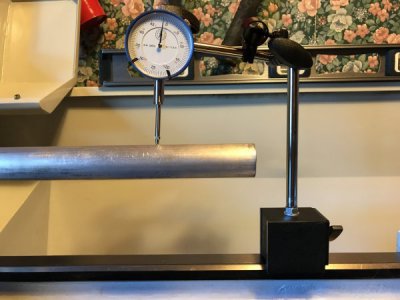
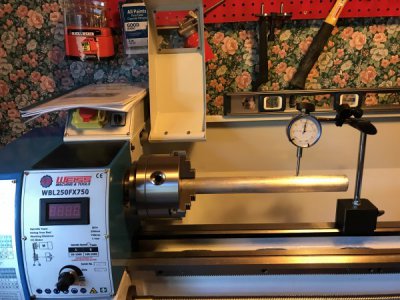
I have measured the round bar in my 3 jaw and played with center to come up with a high and low of 2 thousnadths on either side of zero on my dial indicator. I measured close and far on the bar and seems consistent.
I know the round bar stock aluminum has some uneven spots as I have not trued it.

Whats the norm on plus or minus for truing something like this up?

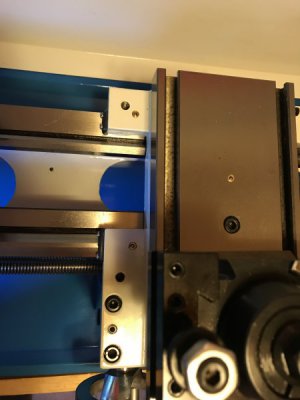
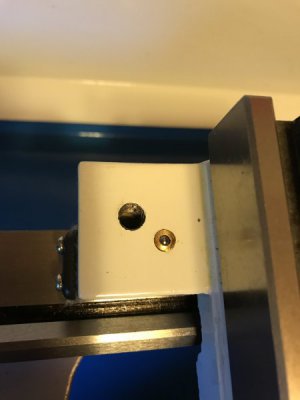
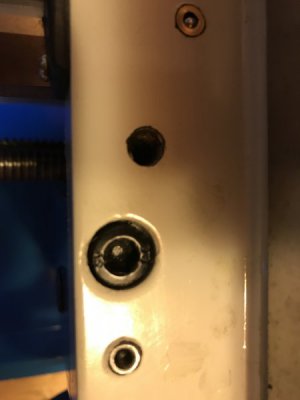
Also have a couple open threaded holes on my lathe, are these for accessories?

Set up specs, tools to use, procedures to follow, would be great info.

I am watching the MIT videos and mrpete222 series of videos and learning a lot.
IMG_3805.JPG

IMG_3806.JPG

IMG_3807.JPG

IMG_3808.JPG

IMG_3809.JPG

IMG_3810.JPG
 
The amount of runout your'e willing to work with depends on how you intend to use the stock. I try to use oversized stock and complete all operations where runout is critical in a single setup. This insures concentricity without a lot of fuss.
If I need to do a second setup like reversing the part where concentricity is critical, then I will dial it in. My 3 jaw chuck has about .003" TIR. If I need better than that, I'll use my 4 jaw or 5C collet chuck. If you need to have near zero runout but need to remove the part mid-process for inspection, consider turning between centers.
Joe Pieczynski did a You Tube video on getting near zero runout with a 3 jaw chuck
 
That test bar is sticking out way to much to give an accurate reading.
 
I was going for the rollie dad technique of measuring a 10-12" long rod to check for square and levelness.

I am interested in finding out how accurate the lathe is and also what I should expect as far as accuracy? I would like to do this before turning a project and then wondering is it me or the lathe that is off. As I am sure I will be off as I have no skills at this yet.

Follow rest, hmm wonder if that came with my lathe, I will google now and find out if it did and what it looks like.

From the dial indicator I see a difference of 4 thousandths from base to tip if I crank the slide while ridding on the top of the test bar, lower at the end higher at the base. I have no idea if this is to be expected with a pc of steel about 10" long and 1/4" across. Different than the one pictured.

Thanks
 
Last edited:
If you attempt to turn that bar, put a center drill hole in the end and a live center in your tailstock to support it. You cannot get a reasonable cut with that much sticking out of the lathe. If you knew that, ignore this.
 
No cutting yet, just trying to measure , see if my lathe is going to cut a taper vs cylinder shape.

I have never done this before and just trying to go off the info I have so far. I really don't want to attempt to make something and then find it wrong and not know if its the lathe being out of square or myself making a mistake in cutting or measuring.

What steps would you take next with this lathe before cutting?
 
Band it, put a center in the end and cut the part to .975" X .5" long at the tailstock end. Pull the tool out and return to the chuck end and take a .975" X .5 long cut, measure and compare. This will give you the amount of taper from tail stock to chuck, if a long part do the same in the center and this will tell you how much the part is deflecting. With a manual machine you may adjust the tail stock to remove the taper, the deflection at the center presents a different problem.
With a decent NC machine one can program the deflection and taper out of the part, you do not have this option.
 
Will a dead center work assuming I drill a pilot hole? Also should I worry about facing the end of the bar prior to drilling a divot?

Assuming my bar stock is 1" round a .975" cut does not leave a whole lot of room for error, is this right?
 
Will your lathe swallow the 1" bar? Put the entire bar through the chuck with 1/4" sticking out. Face the end, skin cut, and ctr drill. A C enter Drill is a special tool that the center in the tailstock will fit into. If the center is properly done, .025 is lots of room.
 
Back
Top