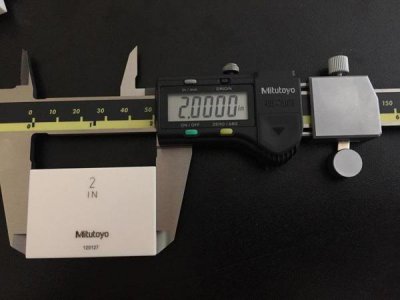
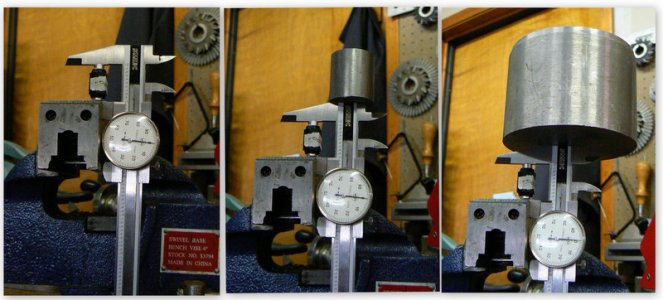
The 3.000 inch measurement is a typo, one of the zeros took a lunch break. The 2.000 inch measurement - ditto, the decimal point became liberal and migrated to the left. Although it would be natural to question the measurements, I am positive that those measurements are good ones WITHIN the ability of my eyes to interpolate the divisions on the dial (which, as I wrote, is sort of a crap shoot).
I strongly suggest that others make the same measurements to confirm (or not) the surprising results, given the presumed low quality of the tool I was using !
Metrology is not a strong suit for me - at least not mechanical metrology (I'm much better at electronics metrology, specifically RF and Microwave instrumentation). On reflection, although three standard deviations would seem to guarantee a much greater accuracy than either claimed or assumed, I would be uncomfortable with accepting measurements of that precision that as I'm sure most others would be !
Similarly while calibration standards almost always require an order of magnitude greater precision than the device to be measured, when making measurements down to the tenths (as I noted in my .0003 example) I personally would prefer something with that same magnitude of precision to reduce uncertainty when making bearing fits and the like.
Without spending a bundle, however, I'm stuck with tenths micrometers and a set of gauge blocks to compare them against. A sometimes useful technique in the absence of gauge blocks is to use three instruments to make the measurement, discarding the worst measurement of the three. This is simple enough for small dimensions where micrometers are cheap but gets pricey for large dimensions which are the ones that I'm most doubtful about !
A condition that I mentioned but didn't stress highly enough, perhaps, is the temperature environment. Maybe my instrumentation (micrometers) is not as stable as could be but I have to recalibrate if shop temperatures change more than 15 or 20 degrees F. Example: A micrometer calibrated to a stainless steel standard measures an aluminum workpiece at 1.7500 inches in diameter when shop temperature is 60 degrees F. When the same workpiece reaches a temperature of 80 degrees, it now measures 1.7502 inches.
Might be trivial depends on the application -


