- Joined
- Aug 29, 2019
- Messages
- 1,166
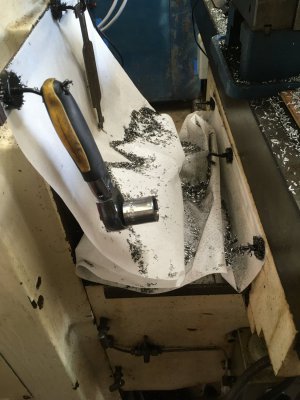
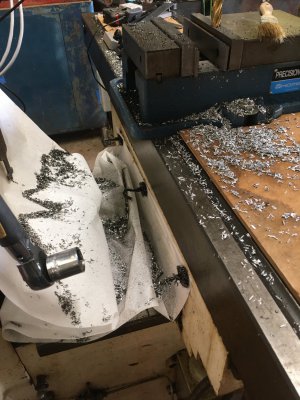
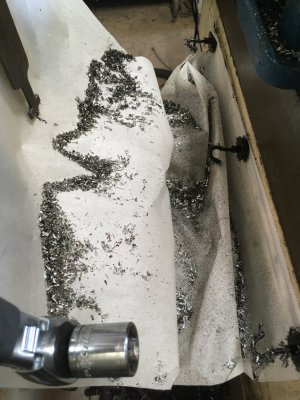
Pictures behind the mill table are what I refer to as Nobby's idea. He used brown paper bags and I just used parchment paper. Now that I haave done some machining with the paper I can see where I need to shorten the length of the paper and maybe even put some pre folds in it to keep it from bunching up. I purposely had the Knee all the way down to the bottom and the Y all the way back when I cut the first piece of paper. I'm sure if we all take a look at our day-to-day work there are certain spots on our mills and lathes that are used "most of the time" I should probably call the spots "A Range" I am not talking about the comercial or industrial machinist I am only talking about Hobbyist like myself. That window is where I have targeted my machines at.
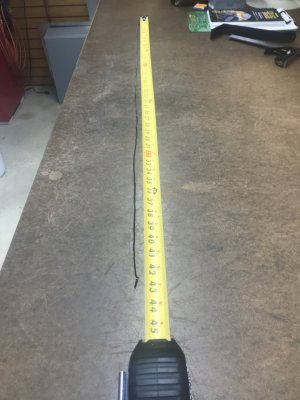
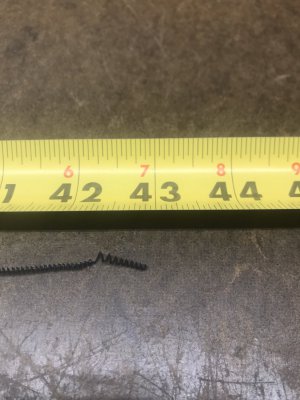
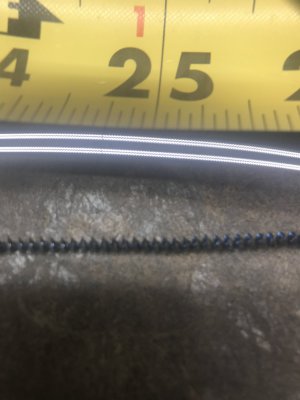
I got the tool post modification complete today and shimmed the tool bits to dead nuts center on the lathe spindle. one of them is actually .001 low but that is because I had to use a .013 shim because I could not find the .O14. I learned a good lesson today about "chip breakers." Lesson #1 be careful what you ask for and lesson #2 those curled broken chips about the size of BB's are hot as hell! I managed to make a oood hand full of straw to blue c's or 6's. It will be nice when I get the power feed back in operation. I'm waiting on parts from Clausing. In the meantime, I just have to stand to the side to avoid the hot chips.
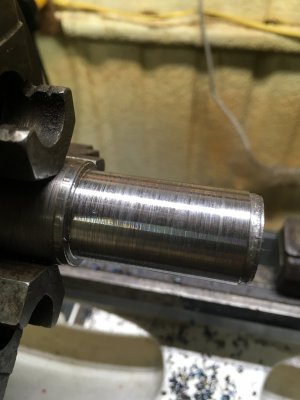
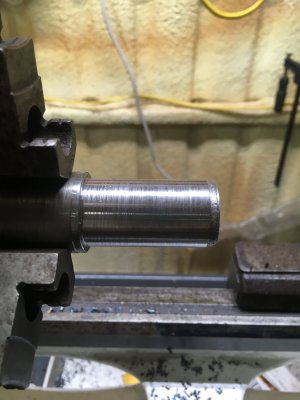
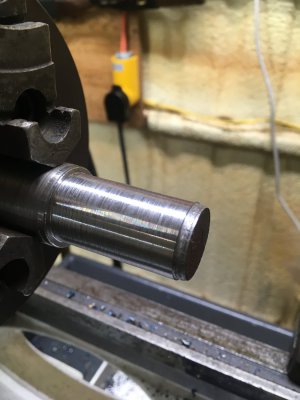
The pictures of the shaft in the chuck of the lathe started out as an old King Pin from a 1 1/2 ton truck. As my friend used to say "So hard a Cat can't scratch it"
I let the part cool off before micing it. In about 2 inches I have about .0024 taper. I am hoping most of that will be cleared up after I put the new nut and screw in the cross slide. It has .020 backlash in it now so when I take the .019 of slop out of it with the new nut and screw it should be much better. I have been doing a good job of documenting Before and after measurements to the nearest tenth to see what my improvements are actually doing.
Many would just pop the clutch and sling gravel but not me. I want to know how far and how much gravel is gona fly out from under each tire.

