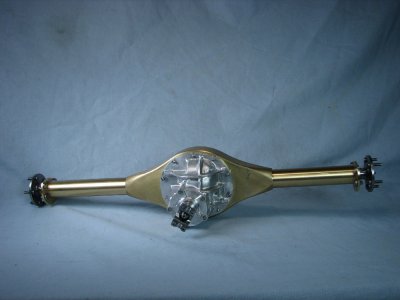
9 inch Ford differential in 1/3 scale

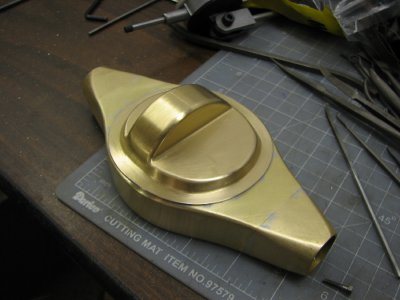
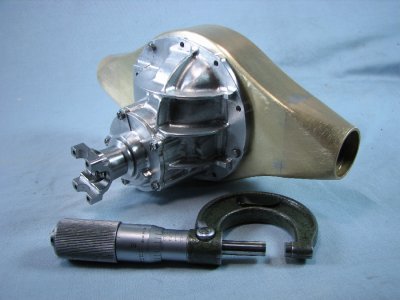
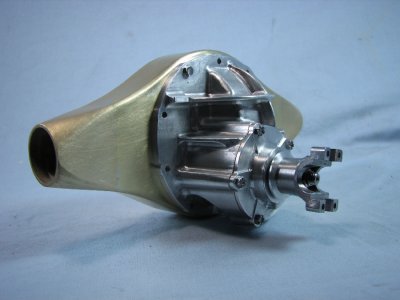
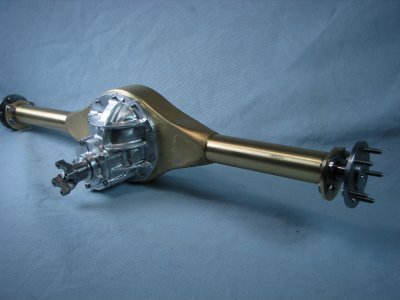
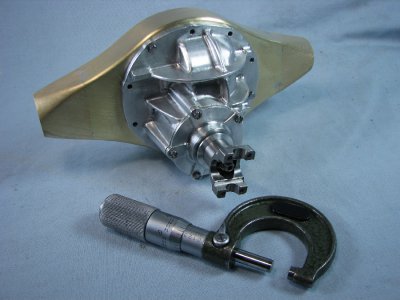
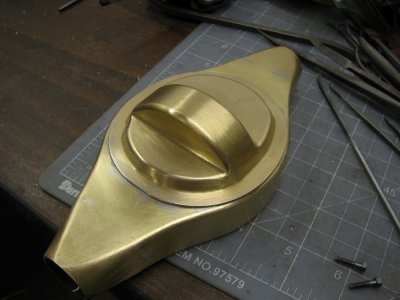
The rear cover was polished up and soldered to the main banjo housing. The holes that were put in at the start to hold the 2 pieces together are all covered up and only visible on the inside. Studs were made and and Loctited into the threaded holes. The center section was then bolted to the housing for some photographs. The mikes give an idea of the size.
gbritnell
IMG_8546.JPG IMG_8523.JPG IMG_8526.JPG IMG_8530.JPG IMG_8545.JPG
 
I LOVE seeing this kind of stuff! Your work is exquisite and you are obviously a very talented machinist!
 
Gentlemen,
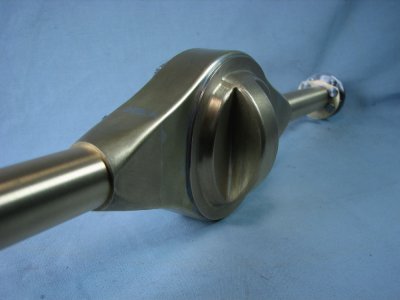
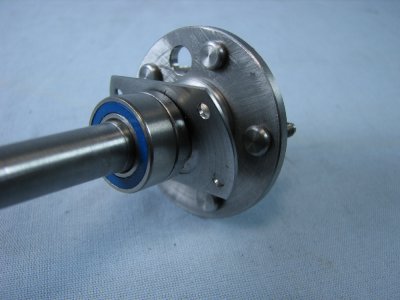
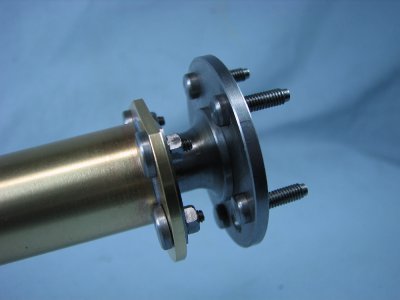
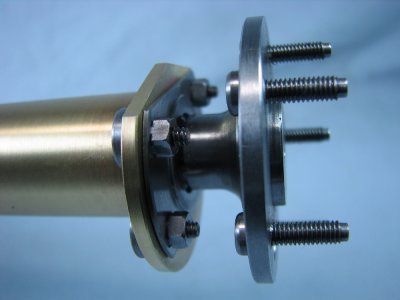
First off let me thank one and all for their fine comments. The final chapter in this project was to machine the axle tubes and axles. The axle and tube lengths were based on early Mustang dimensions. The tubes (.900) diameter were machined from round stock as I couldn't fine any heavy walled 1.00 tubing. The end caps were machined and solder on. The axle tubes weren't soldered to the banjo housing. This will be done when I draw up a frame and establish what I need for widths.
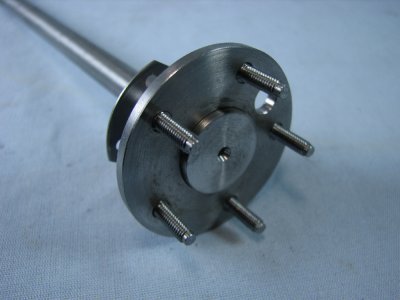
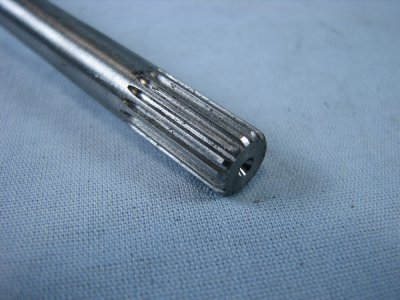
The axles themselves were turned from steel and splined to match the spline bushings inside the spider gears. The outer ends have the wheel flanges pressed on. The axles ride on ball bearings with home-made -O- ring type seals behind them.
Studs were made for the axle housing flanges and also the wheel flanges. I am currently drawing up a frame with the appropriate spring mounts and linkages. Being that this is a 1/3 scale model the frame is somewhere around 48 inches long so I'll have to decide on a construction process. I have in mind cutting the side plates form sheet steel and then TIG welding the top and bottom plates.
I hope you have enjoyed this build presentation.
gbritnell

- - - Updated - - -

Here's a link to the final video clip.
gbritnell
http://youtu.be/YWI3frPYNGM

IMG_8669.JPG IMG_8648.JPG IMG_8651.JPG IMG_8656.JPG IMG_8657.JPG IMG_8660.JPG IMG_8663.JPG IMG_8668.JPG
 
Wow, your workmanship is absolutely amazing! Thank you very much for sharing!
 
Excuse me while I wipe the drool up from my keyboard :drool:

That is just fantastic work. I was glad to see how you used stepped cuts to get yourself close. That's the only way to do it if there is no CNC available. I used to make a buttload of reflector punches that exact way. It's a shame though that you had to solder the rear cover on. I know that it is needed to be accurate, but it is a real shame to cover up the internals after all of that work that went into them.

I see where you mentioned that this is going to go along with a 302 that you made? Do you have any links or pics of that? I've been a ModelMaker and Tool & Die Maker for 30+ years and recently retired on Disability. I finally got a mill and a lathe and am looking forward to doing something like this. Do you have plans you go by or do you have the actual parts that you measure from?

Again, just amazing. ASOLUTELY AMAZING!!!!!!!!
 
wow that is absolutely beautiful , what do you plan on building around it, a "T" bucket, or is that a fantastic show piece for now???:man:
 
I think it should be encased in glass with an alarm around the case.

That's just amazing, the thought process, work and detail that you have put into making these scale parts is astonishing.


I am in Aww...
 
Not joking, but have you considered Henry Ford Museum? I see your work in there as that Hope
diamond I bet they would drool for that. We all thank you for sharing, but I strongly feel this kind
of precision should be on display, or on loan or Smithsonian. People bat balls around and get into
the hall of fame & you certainly quallify for that. Samuel
 
Amazing work. Thanks much for sharing.

My Dad made model ships of WWII vintage, perhaps as tribute to the effort he was part of. Brings back fond memories of his efforts in the workshop.

Walt
 
Double Wow.

Having blown a few regular sized ones in my time, I can appreciate the workmanship that goes into them.
To make a model size takes many times the normal skill.

Amazing.
 
Back
Top