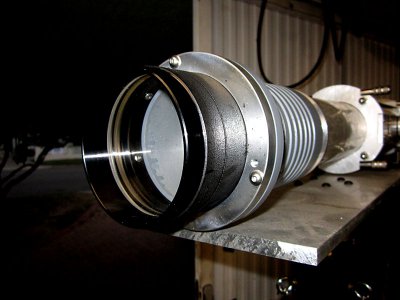
80mm long focal length refractor

Fancied a change of pace so decided to make one of the finder mounts.
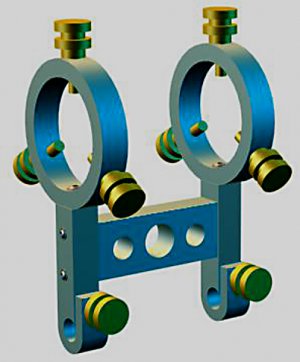
A quick play with the modeler to make something like this.
The two rings are 50mm dia.
finder mount.jpg
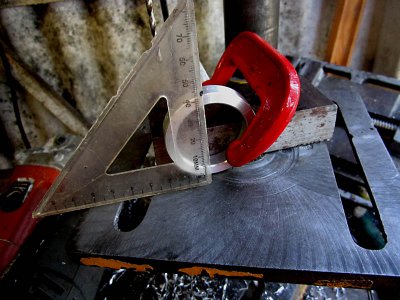
Parted the rings then had to work out how to drill and tap them so I marked 6 radii off and used the square to set them vertical. Drilled then replaced the drill with the tap and started it, removed from DP and finished tapping in the vice them moved round to the next hole.

ring mount.jpg
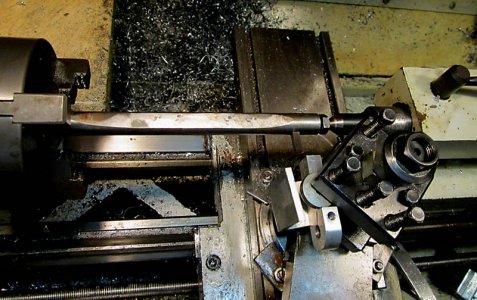
The two legs were cut with the angle iron guides and hacksaw and a heap of filing (I still cant believe how handy these are) then the curve for the rings to bolt onto was cut using the home made boring bar with a long bit. I first had to bore out the old tool holder to fit the 14mm qctp post.
flycutter2.jpg
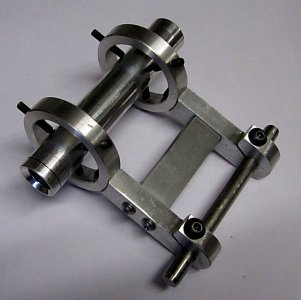
The finished item all bolted up with the sun finder clamped in the rings. Only two more to make, one for the laser finder and one for the 2" optical finder (2" telescope) I used a short length of stainless 8mm shaft to ensure everything aligned ok. The grub screws will be swapped for brass knurled ones and the black screws will be stainless on my next order.
finder mount.jpg
 
Last edited:
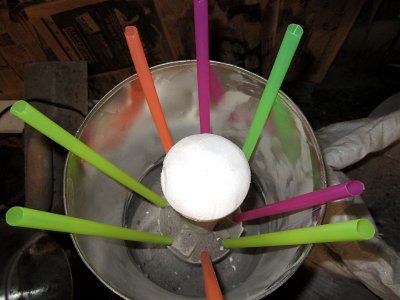
foam pattern.jpg Managed a bit more. Made a lost foam pattern for the first part of the scope that the lens cell has to bolt to.
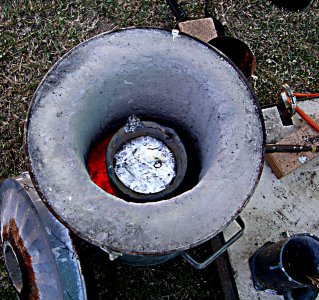
Buried in the loose sand and then filled to just under the edge of the tin. The straws are breathers.
Fired up the furnace and soon had a pot of metal.
liquid metal.jpg

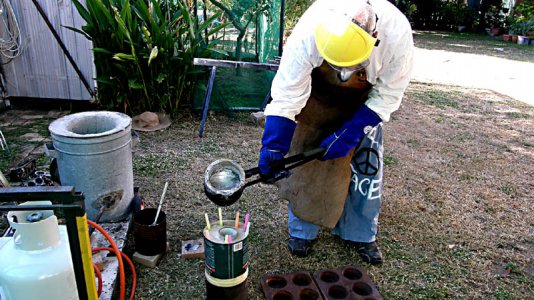
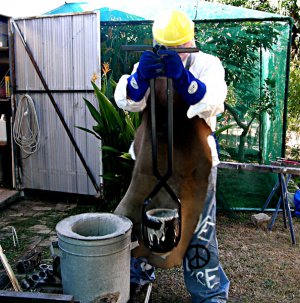
Lifting it out with my new crucible tongs.
lifting out.jpg

Starting the pour
starting the pour.jpg

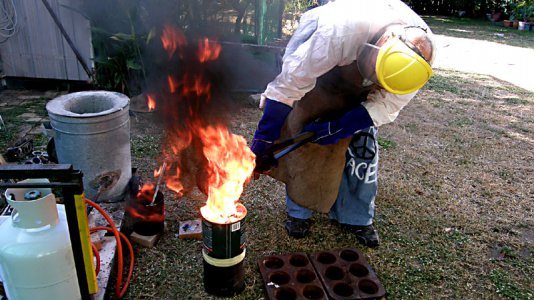
Heaps of flames from the burning foam.
pouring.jpg

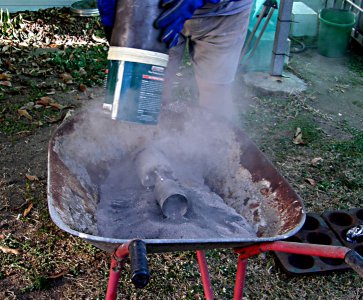
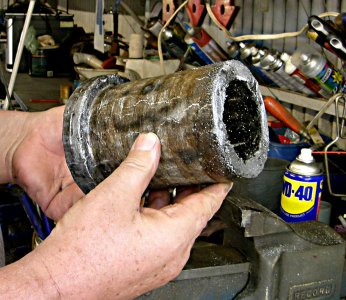
After a while its shaken out
shaken out.jpg

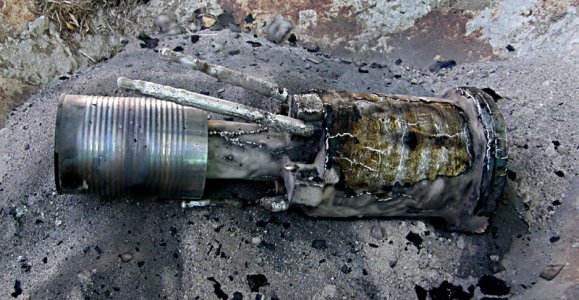
Gee it looks ugly, still some plaster adhering.
foam cast.jpg

After cutting the sprues off it looks a bit better
sprues removed.jpg

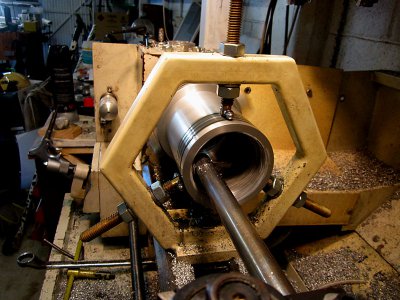
Turned the outer dia to size to then took a skim from the tube so I could use the steady to bore the inner dia.

boring out.jpg
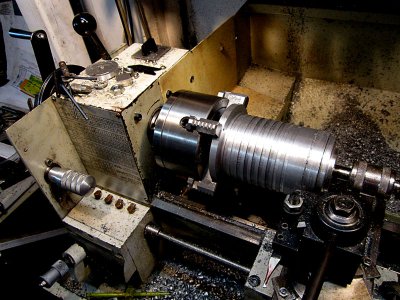
Once bored to size I removed the casting, turned up a mandrel to fit in the end, re-mounted and centred the casting to thin the tube and add some grooves just for show and cut the threads to screw into the joiner. (still to be cast in I hope brass)

threading.jpg
Unfortunately there are too many porosity pin holes to be able to polish the casting so I will powder coat it black.
 
Nice work. (I hate lost foam)
R
 
Nice work. (I hate lost foam)
R
Thanks. This was my first go at lost foam and I think I will second that. The next foam pattern was a disk to make the joiner but was a total failure. It was interesting but I dont think I will do it again.
I've just finished a wooden pattern for the brass joiner and optical stop but have to replace the motor in my muller for a more powerful one which is why I went with the lost foam.

Excellent design and work - I'm envious :(
Thanks. I'm bucking the trend with this as virtually all scopes today are short focal lengths
 
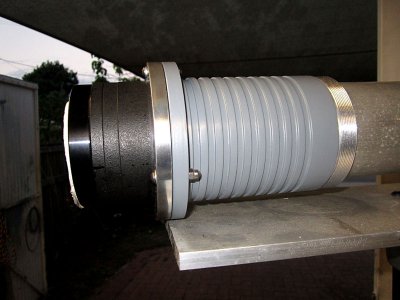
Lens cell joined to the front barrel, undercoated only, I cant make up my mind as to gloss black or matt black, they both look good.
The flange is separated with an "O" ring to allow collimation of the lens via the three screws and three grub screws.
lens cell.jpg lens cell2.jpg
The six screws inside the cell that hold it to the front flange were drilled and tapped from the outside then plugged with aluminium plugs and turned down to size.
They are virtually invisible.
 
Gloss black. No question. If the rest of it will be polished, the shiny contrast of gloss will be a great detail.

Excellent project!
 
That cast piece looks really good painted! I don't usually paint my castings. I would say the paint has to match the objective lens holder. Are you going to repaint that as well? How about Marks crinkle finish? Gloss would look great but you know it will get marred up.
What is the purpose of the threads on that piece? They look very clean for an un-treated casting. My castings machine poorly in general.
R
 
The thread is 1.25mm and the front lens cell will be painted the same colour as that cast section.
There will be a small section in brass (if all goes well) that has a smaller internal dia to act as the joiner to the main tube and as an optical stop.
I had to cast that section because the internal dia of that front part is 83mm dia at the front reducing down to 76 for the first stop, the 80mm tube has an internal dia of 74 which just fits the optical light cone where it will screw into the joiner.
In all, the focal length requires three optical stops to prevent grazing reflections from entering the eyepiece and I decided to machine them as joiners.
Most telescopes just push sheet metal ones down the tube but I thought that as the tube will be over a meter in length it would be nice to be able to dismantle it into shorter sections for traveling.
 
Back
Top