Wells-Index 847 Milling Machine - Ownership Thread

Well... if I was going to be recovering in a room in the house... might as well do it in Ocala where I can sneak out and do a few things...

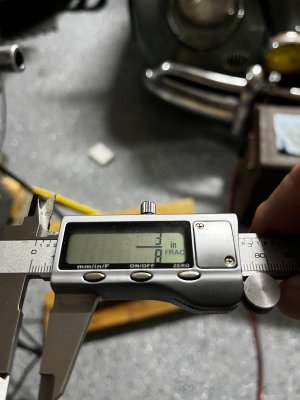
@paulymorph , got here and took the measurements you needed... let me know what else you might need... it is all apart...

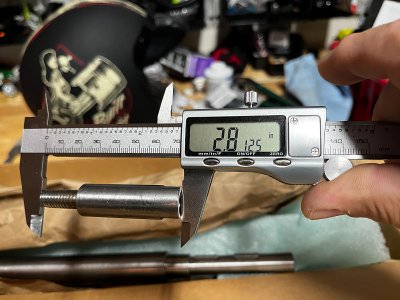
The extension:

2.8125" in total
IMG_7925.jpeg

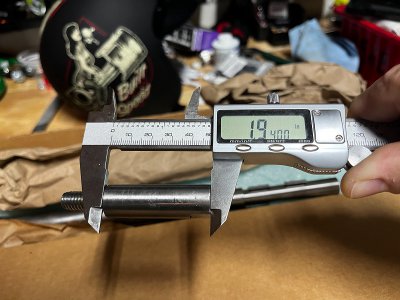
1.9400" just the extension without the threads
IMG_7924.jpeg

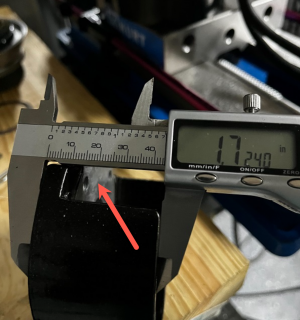
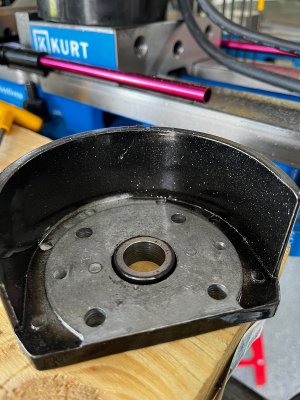
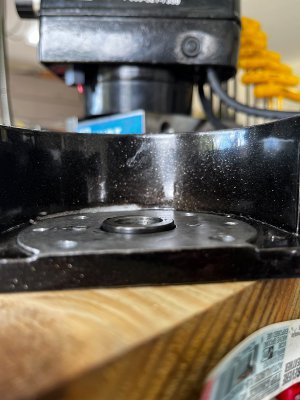
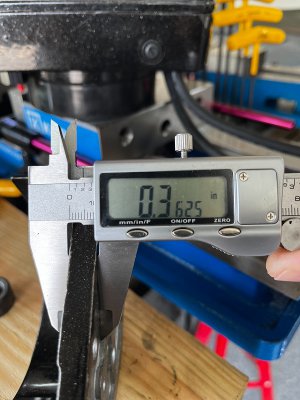
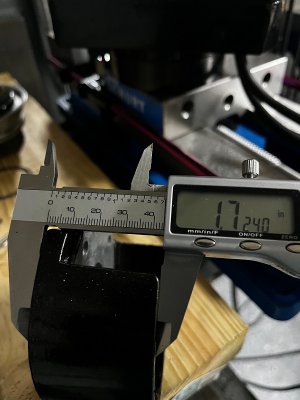
The cover that matches the dial... 1.7240"
IMG_7928.jpeg

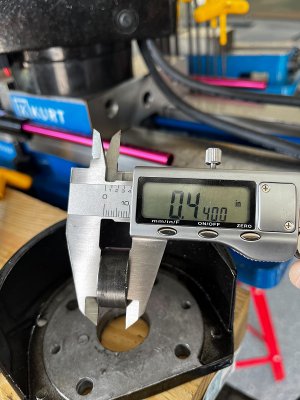
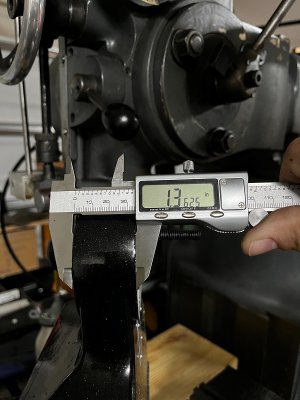
The thickness of the head of my servo...
IMG_7931.jpeg

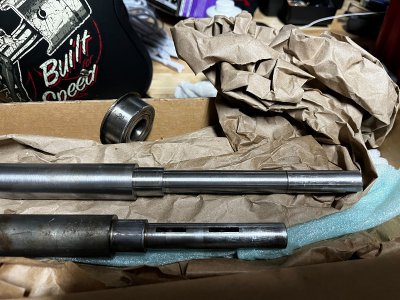
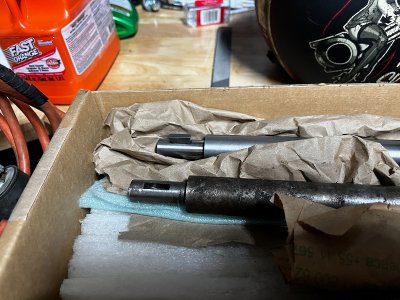
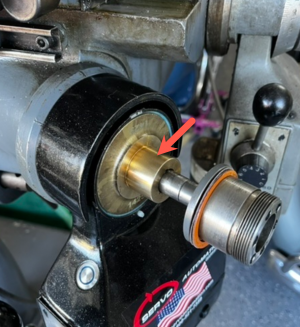
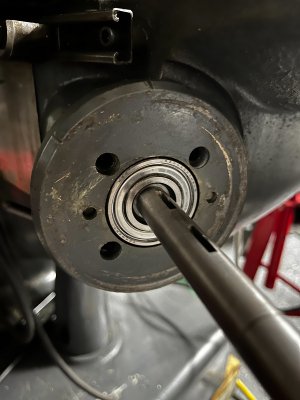
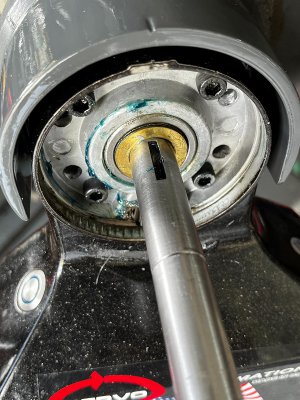
On other news... also got the shaft out... I was careful to align the front key down... following the new shaft. So the key inside would face up, to avoid the key falling off... But guess what!!?? The old shaft has them in the same side... not opposite... So I still ended up with the key slot facing down... sigh...
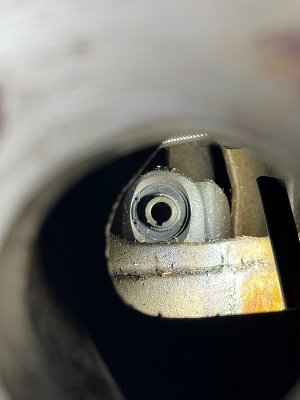
IMG_7950.jpeg

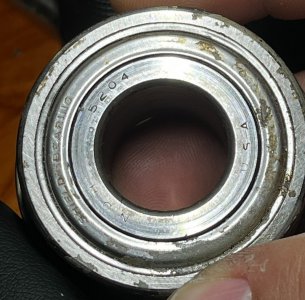
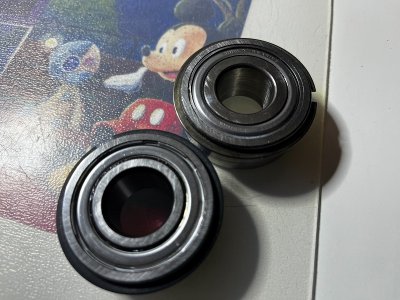
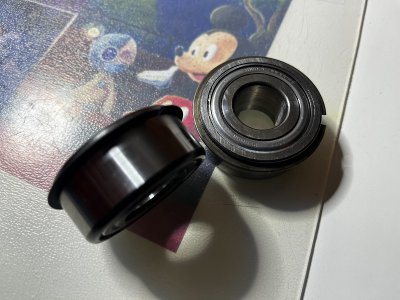
Also going to order that bearing... might as well install a new one while I am at it...
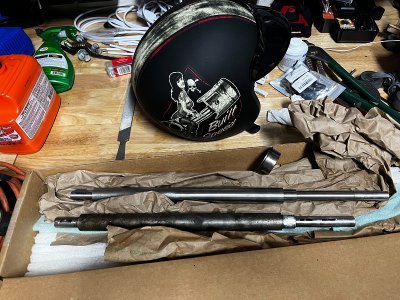
IMG_7934.jpeg
IMG_7933.jpeg
IMG_7932.jpeg
 
Last edited:
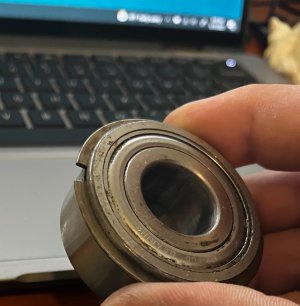
Bearing is a 5204 with snap ring... Ordered!

IMG_7939.jpeg

IMG_7937.jpeg

Reason for changing all this now is that once installed back, everything needs to be pinned in place... I had not done any of that waiting for the shaft replacement...
 
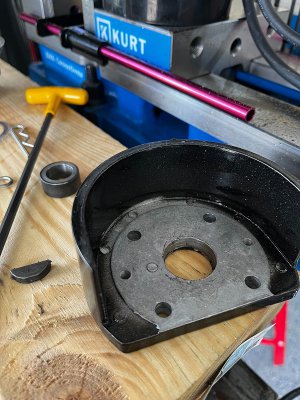
Thanks a bunch. Sorry I didn't see your posts till this morning. If you still have it apart would you mind getting the depth of the back of this plate?
1662992221206.png
And also if at all possible, could you grab the depth and diameter from the bevel gear, that would be fantastic. That'll tell me how deep to bore out the original piece.
1662992540540.png

Thanks again!
 
Sure. Will be right back.

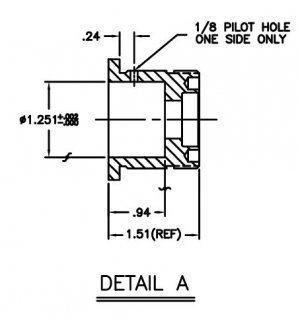
The diameter of the bevel gear... that will be a problem as the two parts are now pinned... but you can get that from the diagram used to modify the factory part...

So here is your measurement for that... this is what I had to bore out of the factory part...

DetailA.JPG

You can see it here: http://www.hobby-machinist.com/thre...ne-ownership-thread.97028/page-15#post-927476

and here: http://www.hobby-machinist.com/thre...ne-ownership-thread.97028/page-15#post-927744

I will get you the other measurements in a few minutes...
 
Okay, here are the rest of the measurements... a few more photos as there is also a spacer inside that cover...


IMG_7941.jpeg
IMG_7944.jpeg
IMG_7945.jpeg

IMG_7942.jpeg
IMG_7943.jpeg
 
Bearing arrived...

IMG_7969.jpeg

IMG_7968.jpeg

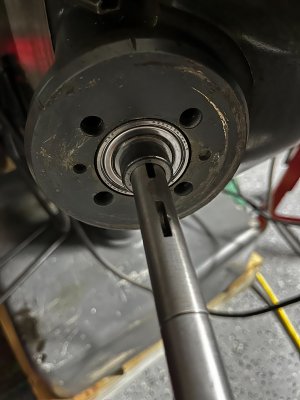
I lit a candle to the machinist gods... burned some incense... and a few more things I dare not to share... I then proceeded to insert the shaft in place and it went in on the first try!! And without the key coming off!!!

Let's start installing everything back!

IMG_7970.jpeg
IMG_7971.jpeg
 
And without the key coming off!!!
That is quite a feat. I can't count how many times I've missed the target, however I just recently discovered a new technique. It's actually quite easy to reach under the knee and put you hand up where the shaft and gear meet and you can hold the key to the shaft and guide it.

As for my install, i'll be working on it this weekend. Got sidetracked with my surface grinder this week...
How the heck do you think I did it!!!?? Hahahahahah... I had the magnetic LED flashlight in there... my hand guiding the sucker... while looking from the front.... I could see just to the point where it goes in... then, the thickness of the shaft, covers the view. But that technique worked.

On the first try I pushed it in too far. I could not install the key for the gear... I should have known as it was not flush with the bearing... pulled it out to where it needed to be and proceeded to install everything.

IMG_7974.jpeg

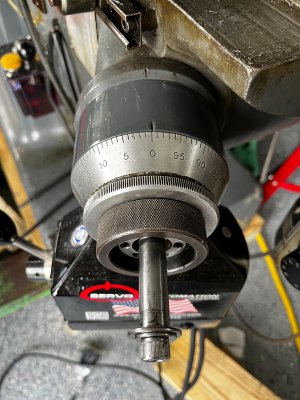
With a straight shaft, now I can remove the extra spacers I placed so the dial could work... Now it sits flush with the cover with minimal clearance... the way is supposed to be!

IMG_7981.jpeg
IMG_7976.jpeg

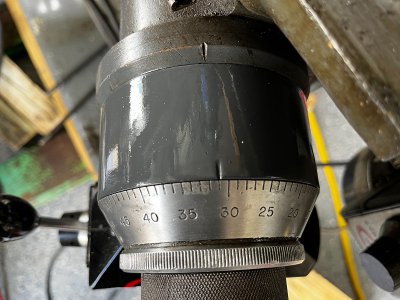
And yes... I painted the cover... Look, at least I did not paint the whole darn thing... okay!

IMG_7978.jpeg

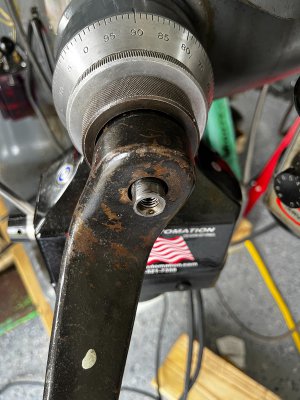
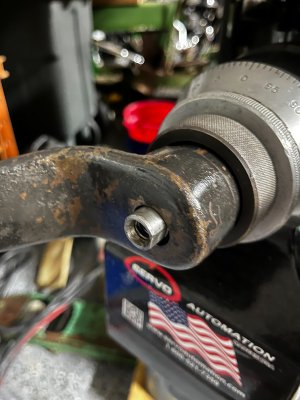
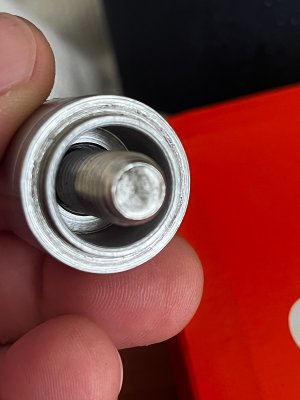
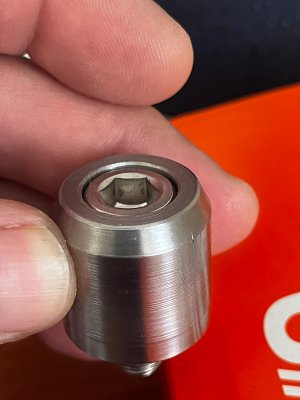
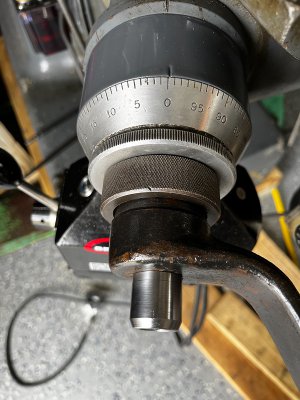
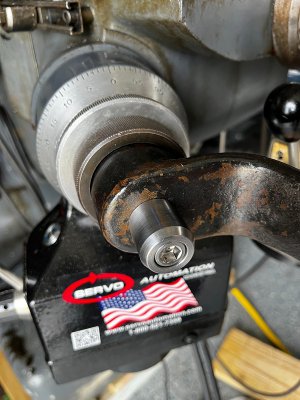
Now I just need to make the washer/spacer for the front. .625" hole with a .750 lip so it centers on the handle.... I need to see if I have any material here in Ocala... everything is back in Orlando.

IMG_7980.jpeg

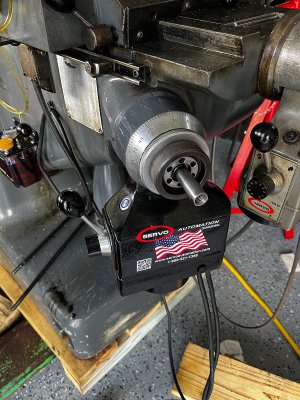
But it works soooooo smoothly now. No weeble wobble!

Before:


After:

 
Last edited:
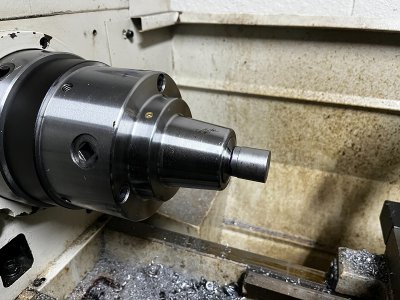
Feeling cocky after my first parting... decided to tackle the spacer for mounting the handle...

IMG_8013.jpeg

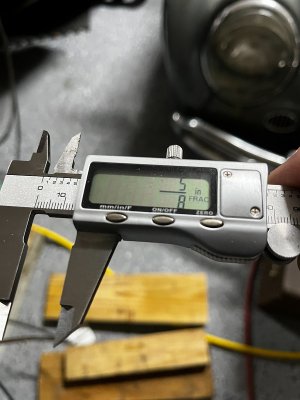
The shaft is 5/8"

IMG_8015.jpeg

It sticks out 3/8"

IMG_8016.jpeg

And I wanted the washer/spacer to have a lip that would center it on the shaft... The hole on the handle is 3/4" in diameter... and I also wanted the bolt to be flush...

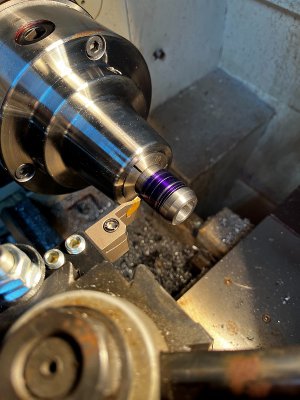
Luckily, I had some material here that could work... not only that... a section of it was turned down to 7/8" so I was able to use a 5C collet to hold it...


IMG_8012.jpeg

I needed the center hole to be 3/8" all the way... Then, on one end, a recess of 3/8" deep x 9/16" for the bolt's head... Did all that and decided to test my luck a second time and using the parting blade/cutter again... lots and lots of cutting fluid... but first I used the parting blade to get the 3/4" lip I needed... made that, moved it over and began to cut it...

IMG_8017.jpeg

Came out great and no issues... I was stressed there for a bit while doing this step... but it worked as expected. no flying anything...

IMG_8018.jpeg

You can see here the spacer going down to 3/4" diameter...

IMG_8019.jpeg

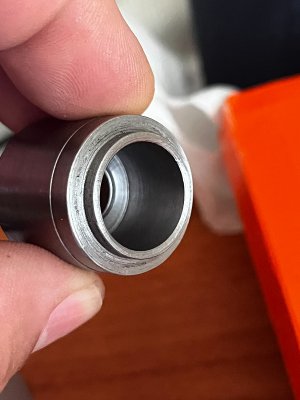
Now I just need to hold it (I think I will need to use the 3 jaw chuck for this next step...) and make a hole 3/8" deep and 5/8" in diameter for the shaft to go in... well... 3/8" deep + the width of the lip...

IMG_8020.jpeg

That was all for tonight... will finish that end tomorrow...
 
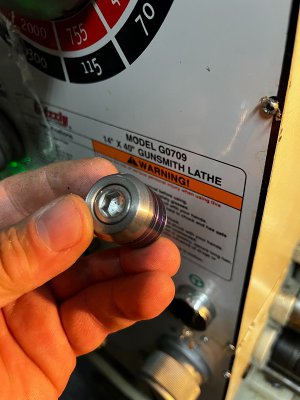
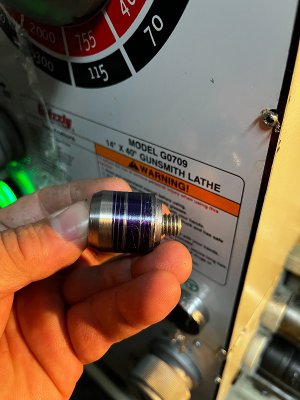
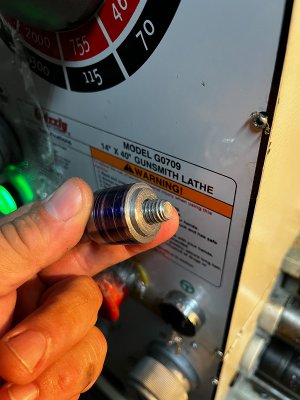
Done...

IMG_8023.jpeg
IMG_8025.jpeg
IMG_8026.jpeg

I know that is a lot of unnecessary stick out... I could have made a simple washer/spacer, but I was just practicing as well...

IMG_8029.jpeg

IMG_8028.jpeg

I will strip the handle and give it a nice coat of paint... will paint the spacer as well to protected from getting rusty...
 
Back
Top