- Joined
- Feb 7, 2013
- Messages
- 2,487
Some time back I was at an auction and bid ten dollars for three sections of 36 inch diameter pipeline pipe. No one else bid so
I hauled my treasures home. One of them I turned into a big lawn roller and the other two were left to lay in the weeds until
such time that I had a use. One was about 7 feet long and 3/8 inch thickness with a solid 3/4 thick piece welded across the bottom.
I had to plasma cut off around most of the circumference with the plasma cutter through the 3/4 material. After that the project was to
shorten up the cylinder to about three and a half feet cutting through the 3/8 inch pipe. Today I turned an 8 inch x 1/4 inch thick piece of
pipe to serve as the chimney outlet.
I'm at the point where I need to decide if I want this stove to be oriented vertically or horizontal like the traditional barrel stove. I'm leaning
toward making the stove vertically as it would be easy to mount three legs on the base and another advantage would be that the stove
would take up less space. It may be a little more challenging to mount a door with the stove vertical but I can see it would be something I could
do. So which would be better? Another plus for vertical is that it would have a 36 inch round cook top!
Another consideration is do I want the 3/4 inch thick on top or bottom if vertically configured or front or back if horizontal.......???
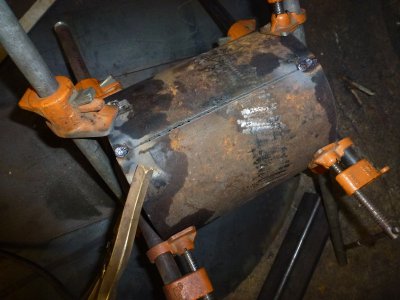
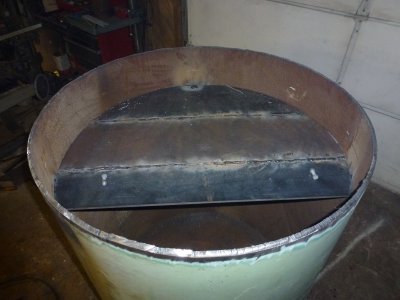
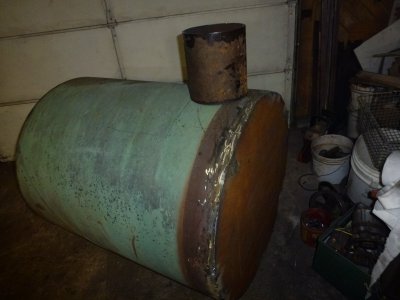 This is basically the horizontal configuration.
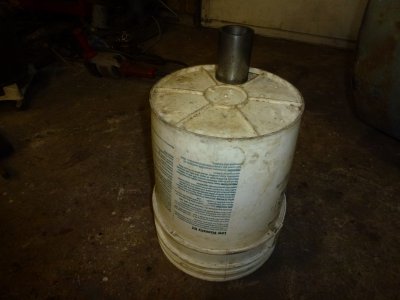
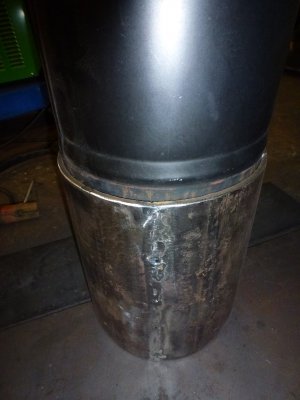
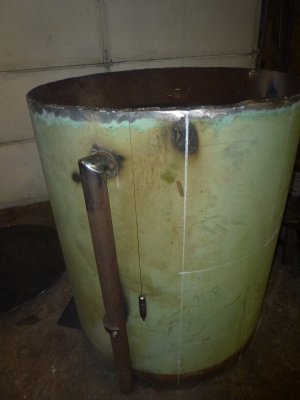
This is a mock up of the vertical configuration.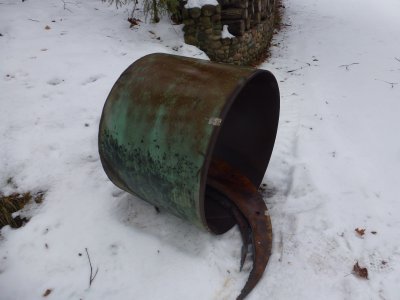
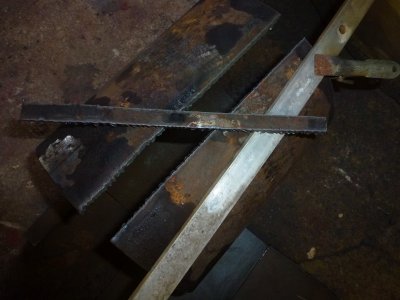
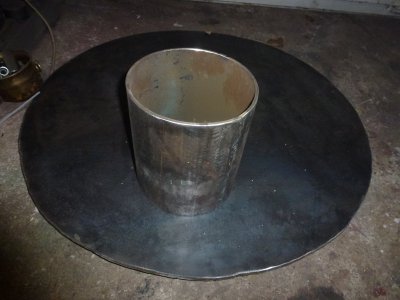
This is the leftover pieces, about three feet of 36 inch pipe and at least a hundred pounds of 3/4 inch thick end material. I would not have
used 3/4 material for an end but it was already welded on there so decided to use it. The end piece was a solid 4 toot diameter disc that needed
to be trimmed to suit.
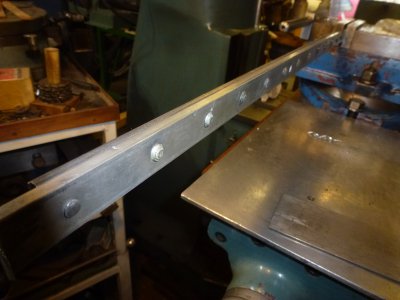
The plan is to incorporate a secondary air chamber and also a thermostatically controlled air intake using a bimetallic strip. The next hurdle
will be to find some material for the remaining end, some baffle material, support legs, and door. Steel prices have gone off the deep end
here so may have to scrounge a little. I'm having to use a skid steer to move it around or orientate it in the shop.
I hauled my treasures home. One of them I turned into a big lawn roller and the other two were left to lay in the weeds until
such time that I had a use. One was about 7 feet long and 3/8 inch thickness with a solid 3/4 thick piece welded across the bottom.
I had to plasma cut off around most of the circumference with the plasma cutter through the 3/4 material. After that the project was to
shorten up the cylinder to about three and a half feet cutting through the 3/8 inch pipe. Today I turned an 8 inch x 1/4 inch thick piece of
pipe to serve as the chimney outlet.
I'm at the point where I need to decide if I want this stove to be oriented vertically or horizontal like the traditional barrel stove. I'm leaning
toward making the stove vertically as it would be easy to mount three legs on the base and another advantage would be that the stove
would take up less space. It may be a little more challenging to mount a door with the stove vertical but I can see it would be something I could
do. So which would be better? Another plus for vertical is that it would have a 36 inch round cook top!
Another consideration is do I want the 3/4 inch thick on top or bottom if vertically configured or front or back if horizontal.......???
 This is basically the horizontal configuration.
This is a mock up of the vertical configuration.

This is the leftover pieces, about three feet of 36 inch pipe and at least a hundred pounds of 3/4 inch thick end material. I would not have
used 3/4 material for an end but it was already welded on there so decided to use it. The end piece was a solid 4 toot diameter disc that needed
to be trimmed to suit.
The plan is to incorporate a secondary air chamber and also a thermostatically controlled air intake using a bimetallic strip. The next hurdle
will be to find some material for the remaining end, some baffle material, support legs, and door. Steel prices have gone off the deep end
here so may have to scrounge a little. I'm having to use a skid steer to move it around or orientate it in the shop.


 I will likely use 3/8 plate for the top plate since