Skimming a brake disk.

Lood

Active User
Registered
Joined
Dec 25, 2014
Messages
98
I had one of disks om my Land Cruiser skimmed and now it wobbles.:nono:

So, I thought that while I now have my own lathe, should there be any good reason why I can't skim it myself - properly. I would like advice on whether I can use a carbide cutting tool, what speed would be best, etc. I would appreciate any advice, please.
 
As long as you have an accurate mandrel to mount it. Run-out mounted on the vehicle should not exceed .003 in most applications. Mike
 
Only way to get it right now is with a proper mandrel and make sure the mandrel is running true. If you paid to have it done at an automotive shop I would bring it back and tell them to either fix it or replace it.
 
Thanks Mike.
Unfortunately, I do not have a mandrel. Is there no way in which I would be able to mount it secure and accurately enough 4-jaw chuck?
 
If you can get this set up on your lathe make sure that you don't exceed the minimum thickness for the rotor. It is usually marked on the rotor itself. This is why in many shops today they turn these rotors on the car to help with the runout problems. When I was still in business we replaced may rotors because of the run out problems. Good luck and if you can set it up you have nothing to loose in trying to surface it.
 
As long as you can fit the rotor into your lathe, hang on to it, and reach the surface with the tool bit, there is no reason it won't work. Any lathe with a swing large enough to fit the rotor is normally much more ridged than the brake lathe at the auto shop. Slow speed, 60 RPM or so, and a carbide bit. It's best if you can center on the wheel bearing races of the hub, that way it will run true to the hub. Building an arbor to hold the rotor would be a good option. The downside of doing this in most lathes is you are only able to face one side at a time, so getting the faces parallel is a bit tricky.

You might want to pick up scrap rotor or two at your local auto mechanic shop to practice on before you work on yours.

Never face the rotor thinner than the Min Thickness value stamped on the rotor.
 
Brake lathes usually have two bits straddling the rotor so both sides are machined together.
 
My $0.02 worth. Before you remove the disc from the vehicle, mount a dial indicator and check the run out of the disc and mark either the high spot or the low spot. Recheck it once mounted in the lathe. This can prevent a migraine. Also, if you cannot find a way to mount it, having this information for the guy that performed the work might help him to get it right.
Having 2 cutting bits working at the same time is just a time saver. If the rotor is mounted firmly, machining one surface at a time will not affect the outcome.
 
Last edited:
Brake discs are very hard and so is rust in case it is there to. Good carbide inserts helps and another possibility is to use a grinder in the toolpost.

Another option is just to maintain the calipers and put in new pads. New pads makes wonder to scared and rusty disks after some use. Especially if one have the luxury to make a long trip on a rainy and dirty road :))

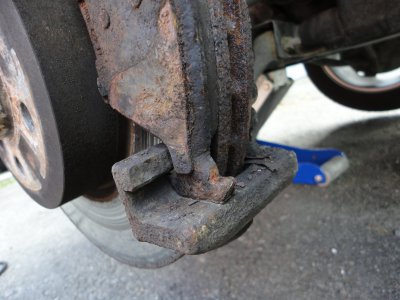
My disks looked like they had been on the bottom of the ocean for a long time. I maintained the calipers and installed new pads. After a while the discs looked brand new, believe it or not. I never thought this would be possible and bought new discs for more than 1 grand. This was 4 years ago end those discs have not been used yet and are still laying in the garage...

DSC01876.JPG

DSC01876.JPG
 
  • Like
Reactions: Koi
Brake lathes usually have two bits straddling the rotor so both sides are machined together.

Correct, and the main reason for this is to ensure the two faces are parallel. As important as it is to ensure minimal run out, thickness variation needs to be even more accurate. As little as .001 thickness variation will cause a pulsing sensation at the brake pedal and possibly a shuddering effect in the brakes.
 
Back
Top