- Joined
- Feb 5, 2013
- Messages
- 24
Hey again, and sorry for the late update. But you know how it is, stuff gets in the way and you get sidetracked.
Nonetheless, im back on track and have made some progress.
Yes, the workshop is underground, but instead of bats there's rats.. :miner:
1.2 meter thick stonewalls and apart from the gate/entrance it's all like a bunker. Makes it really efficient to heat up during the wintertime and keeps it rather cool aswell summertime.
But i have some issues with moisture and water i have to solve.
I belive the red paint is Hammerite, but it had some nice properties to it like you decribed, and i think you are right on your theory. The epoxy is chosen with the same thought in mind.
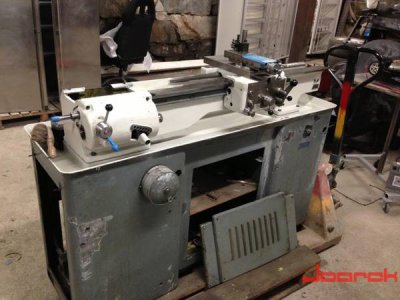
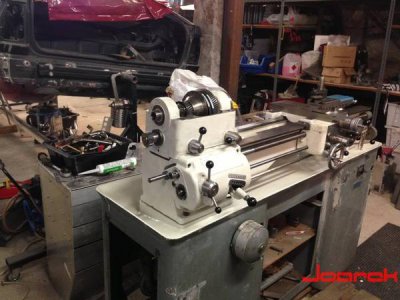
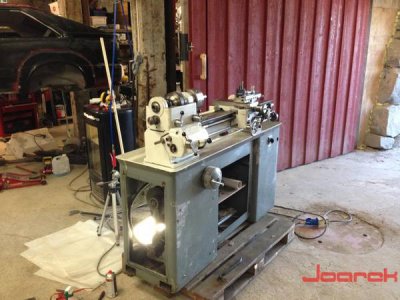
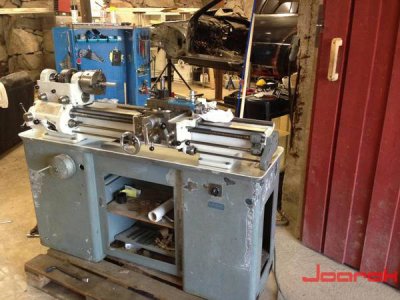
Here's where im at as of now though:
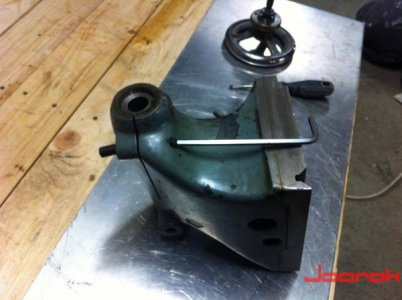
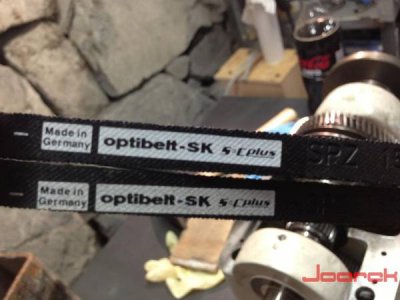
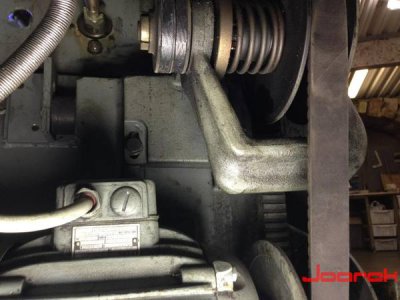
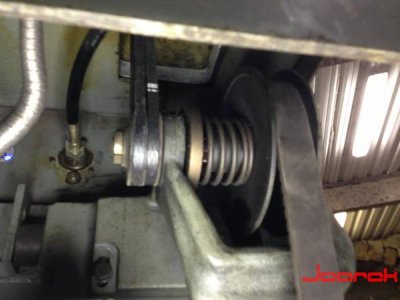
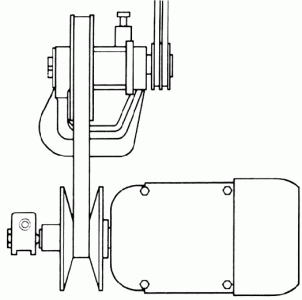
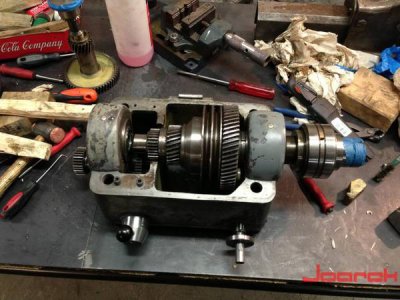
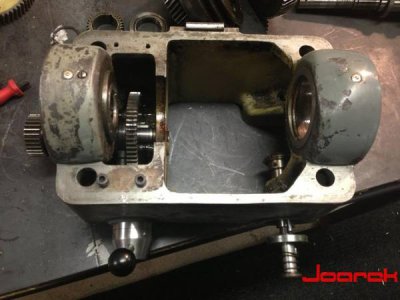
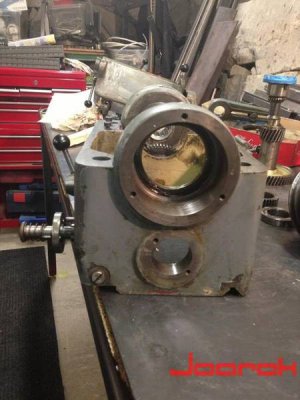
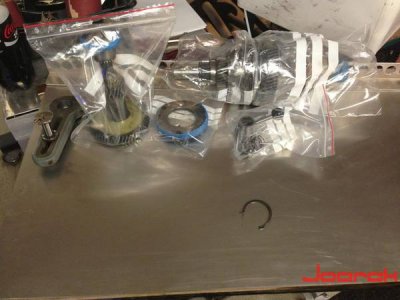
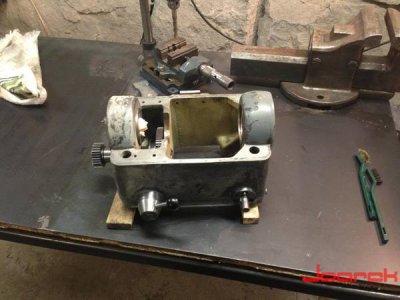
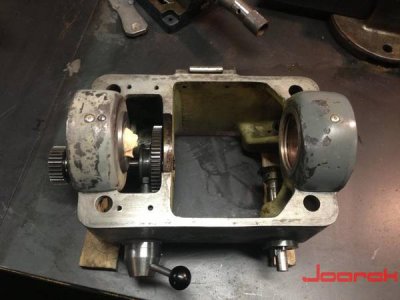
I removed the spindle to first of all prepare it for a new seal for the oilbath, and to be able to mount two new v-belts that i have ordered. It was kinda tedious but i made it.
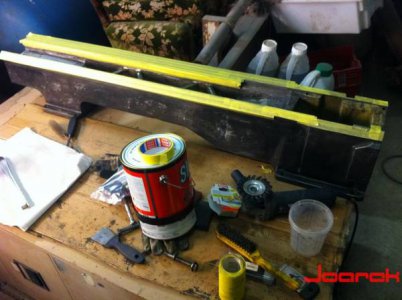
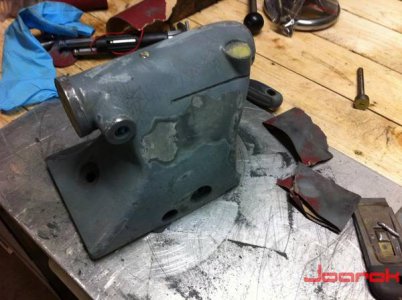
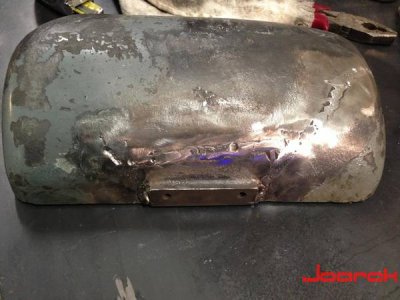
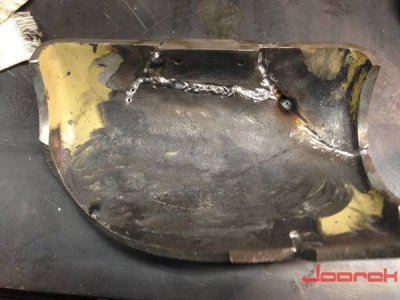
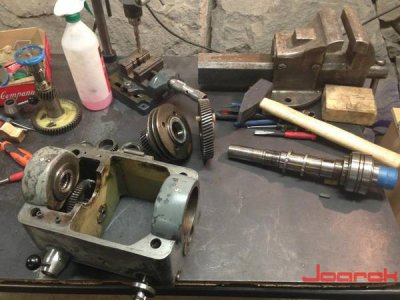
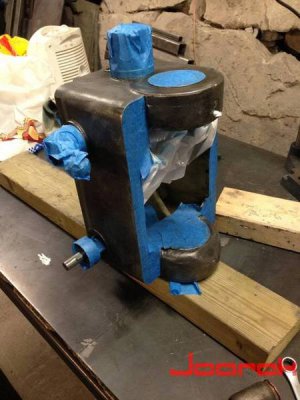
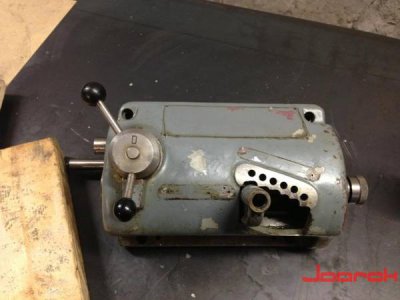
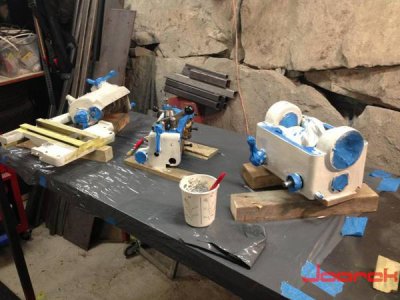
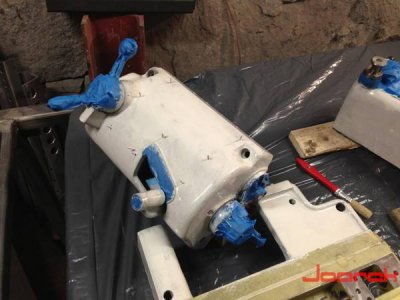
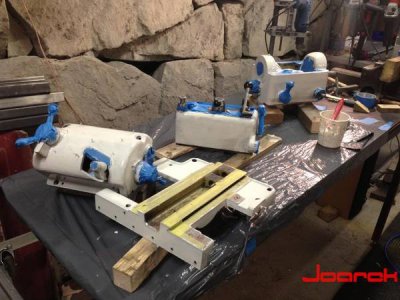
I also used alot of time masking with tape and using electric wire butts to seal off small screw holes and rivetholes where the machineplates where. And all that after i removed the old paint ofcourse.
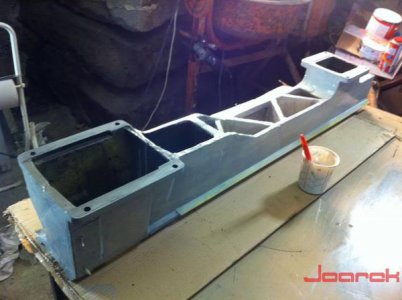
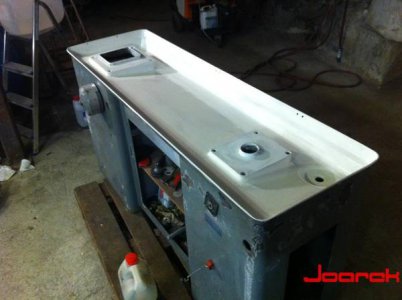
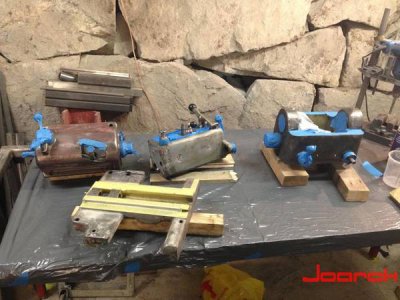
The final step before mixing the epoxy and hardner where washing down the parts to be painted with brakecleaner. The last images is the first coat of epoxy, im doing 3 coats i think.
And also not in a picture is the finished painted bed i did a while ago.


