Restoration Of My Weiler Lz 280s (imageheavy)

Joarek

Registered
Registered
Joined
Feb 5, 2013
Messages
24
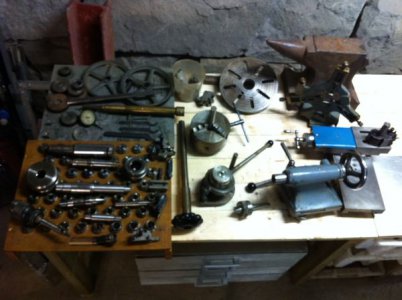
Since im restoring my lathe i thought i might aswell make a thread on it. Hope someone find it either entertaining or informative.

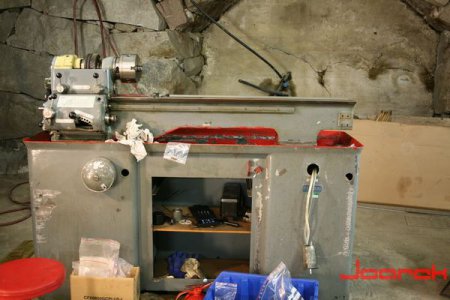
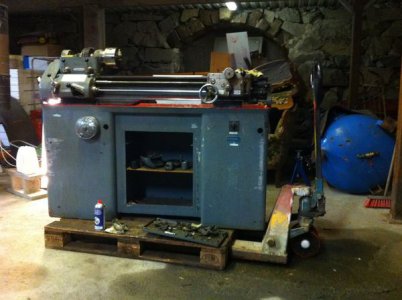
I aquired this lathe last month cheap after many years dreaming of owning one.
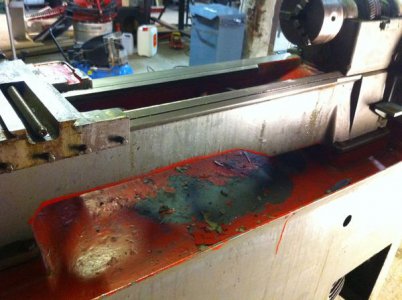
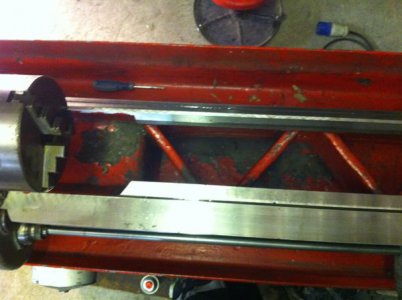
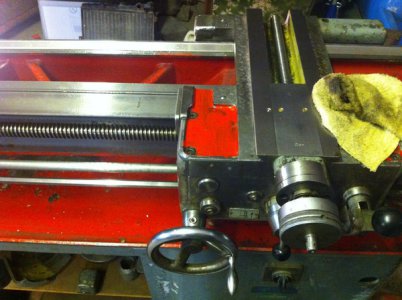
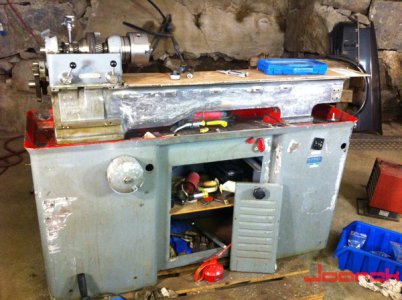
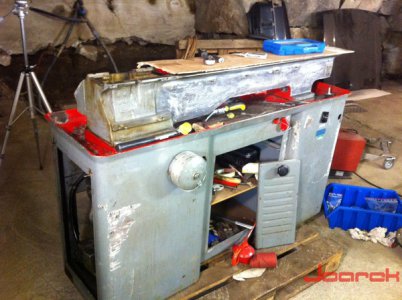
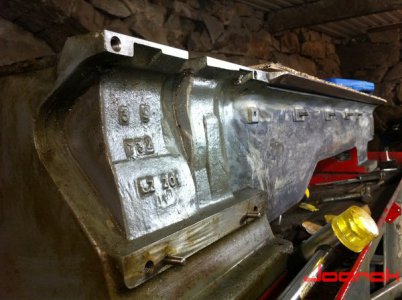
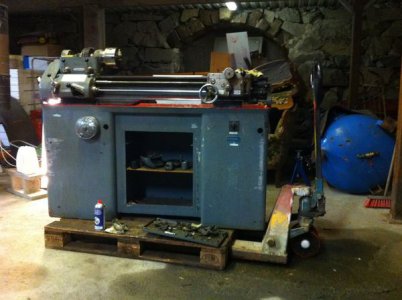
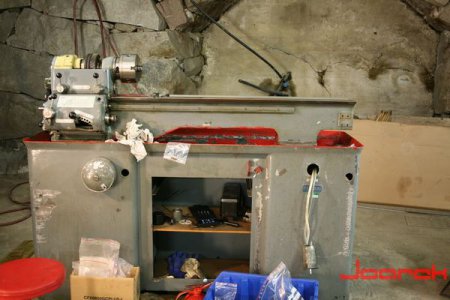
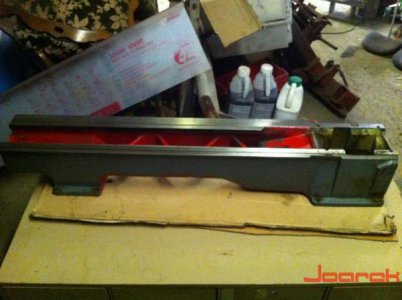
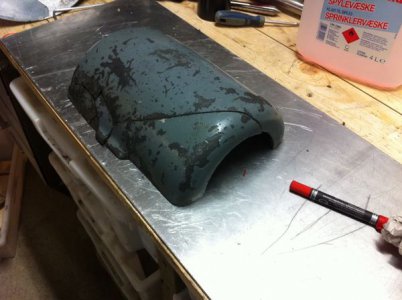
It is a german quality lathe from the 60's or early 70's and was in use at a local hospital until they upgraded to newer machines. Since then it had one owner that passed away then stored somewhere up to the point where i got it. Sadly under transportation from or to the storage, the topheavy lathe tipped over and was somewhat damaged. Nothing major but enough that it needs some work.

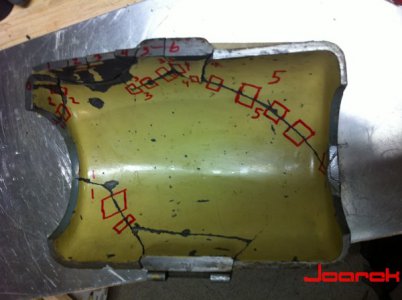
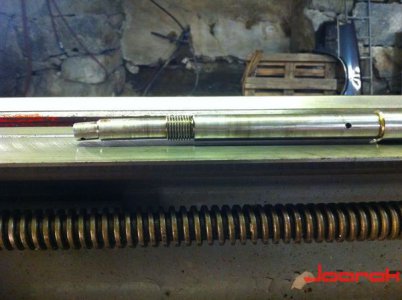
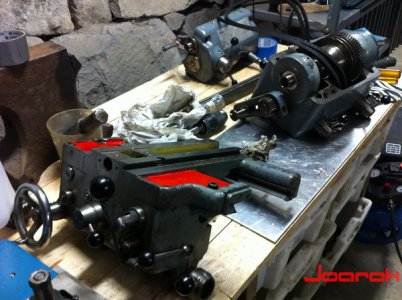
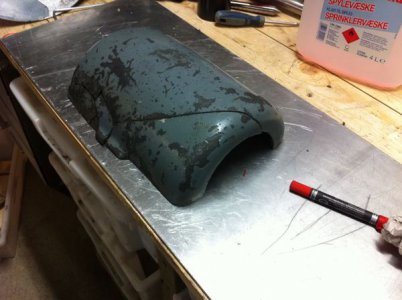
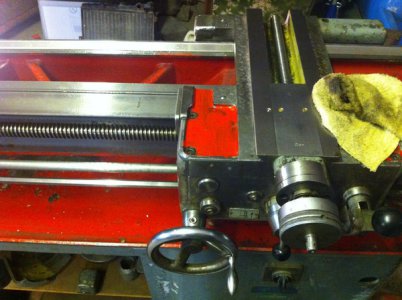
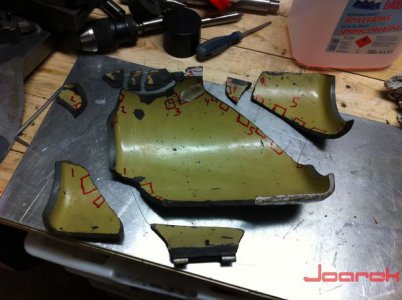
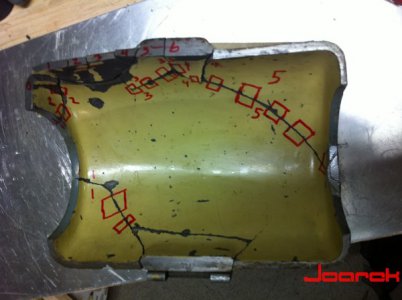
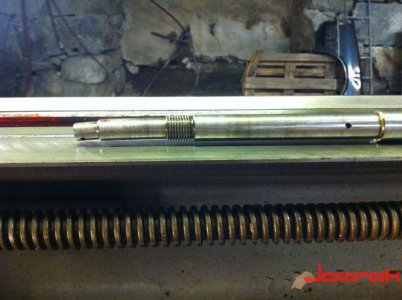
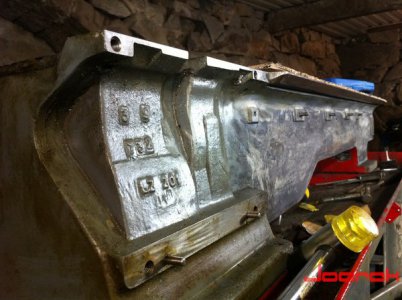
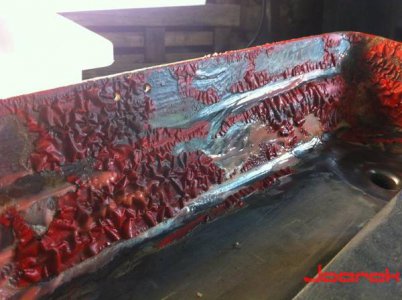
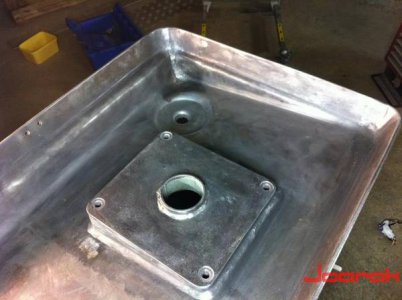
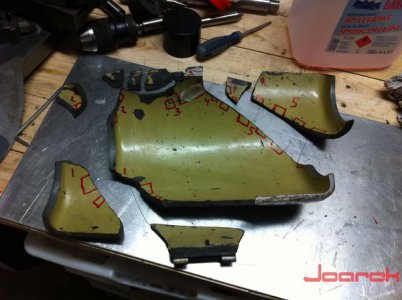
The damages where two cracked cast iron covers, bendt cross-feed dial"axle" and some minor issues like chipped paint etc.
IMG_2704.jpg
IMG_2768_zpse412a439.jpg
IMG_2725.jpg
IMG_2722.jpg
IMG_2707.jpg
IMG_2684.jpg

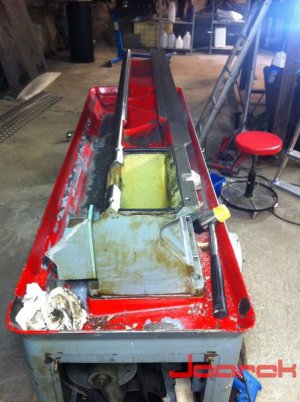
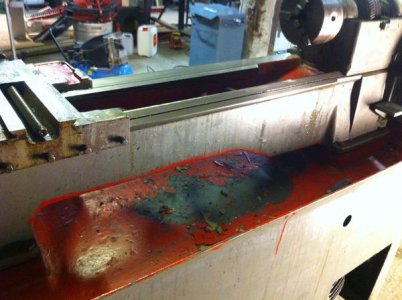
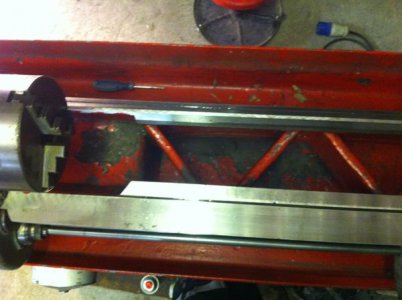
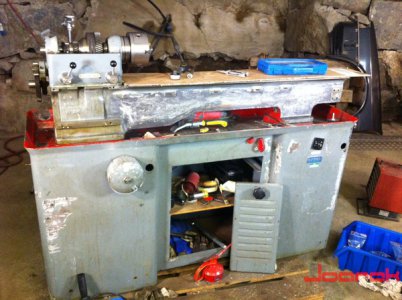
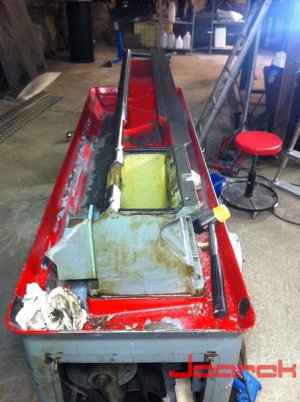
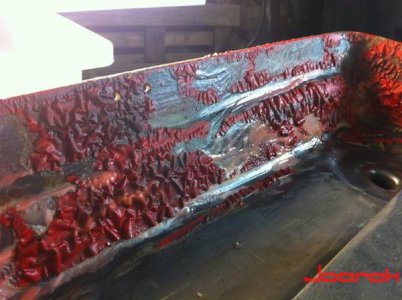
While it was in use at the hospital they also repainted the tray and some other surfaces in red that are now chipping off, aswell as doing a rather poor job.

So my plans so far:

Remove old paint, prep and new stock paintcode.
Braze the two craked cast iron covers.
Get some "expert help" going over bearings and replace if needed.
Change the V-belts and engine mounts.
Straighten or get a new used cross-feed shaft.
Find missing front cover.

This is my progress this far:
IMG_2759_zps669b9e60.jpg
IMG_2770_zps848dcd4a.jpg
IMG_2779_zps8b4b994c.jpg
IMG_2791_zpsa7f851fe.jpg
IMG_2793_zpse090fa0c.jpg
IMG_2799_zpsa95869c8.jpg
IMG_2805_zpsf5a0098f.jpg
IMG_2806_zpsfac7739e.jpg
IMG_3170_zps533ad913.jpg

More to come soon.
IMG_2704.jpg

IMG_2768_zpse412a439.jpg

IMG_2725.jpg

IMG_2722.jpg

IMG_2707.jpg

IMG_2684.jpg

IMG_2759_zps669b9e60.jpg

IMG_2770_zps848dcd4a.jpg

IMG_2779_zps8b4b994c.jpg

IMG_2791_zpsa7f851fe.jpg

IMG_2793_zpse090fa0c.jpg

IMG_2799_zpsa95869c8.jpg

IMG_2805_zpsf5a0098f.jpg

IMG_2806_zpsfac7739e.jpg

IMG_3170_zps533ad913.jpg
 
Looks like your doing a good job, Keep posting pictures be nice you see it done.

Paul
 
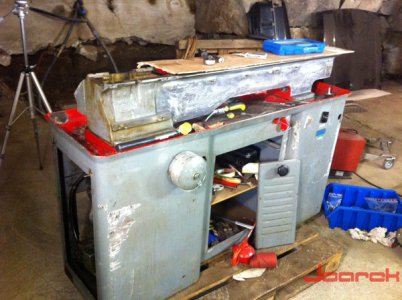
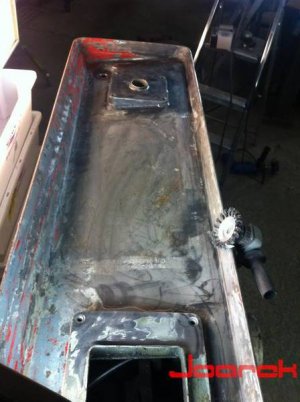
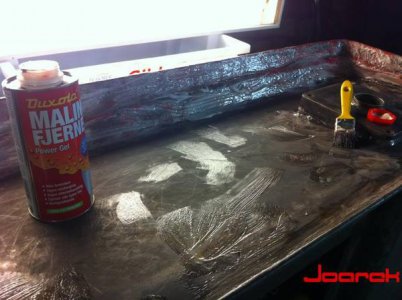
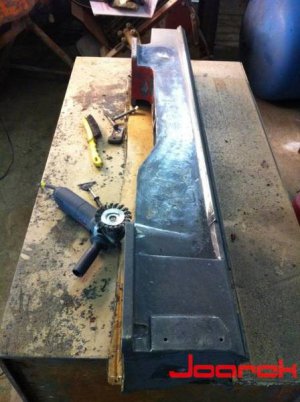
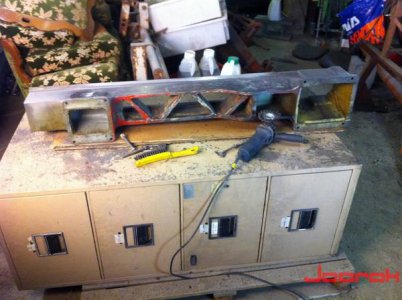
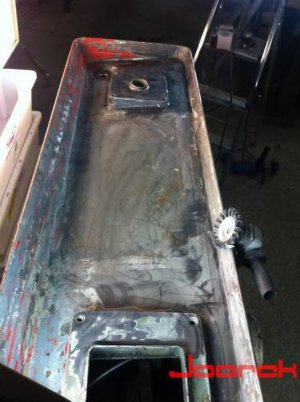
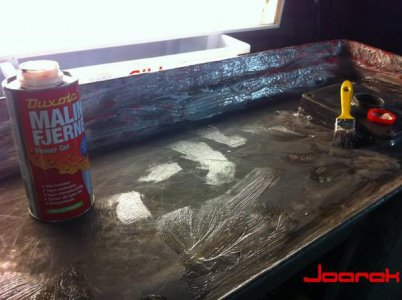
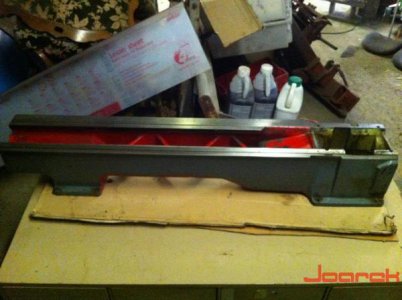
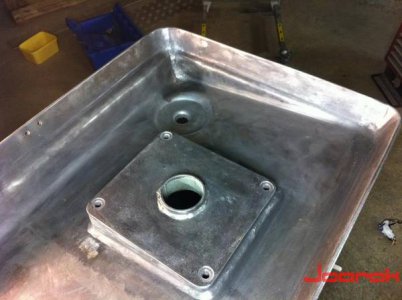
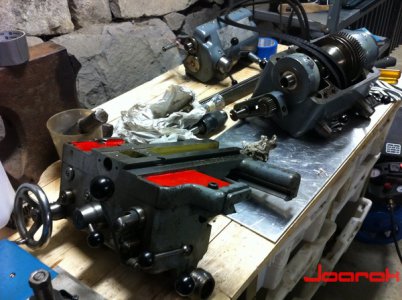
So i have been fighting this paint on and off as often as i have had a chance to since the last update. And boy that orginal paintjob is tough. The paintstripper im using hardly affects it but the red paint boils away fine. I had some help lifting the upper body off to the side and the tray is now stripped clean.

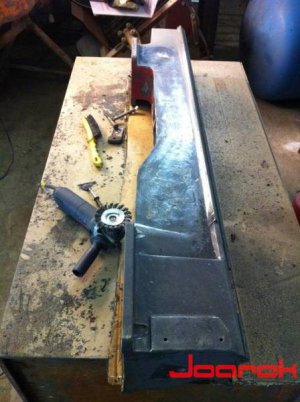
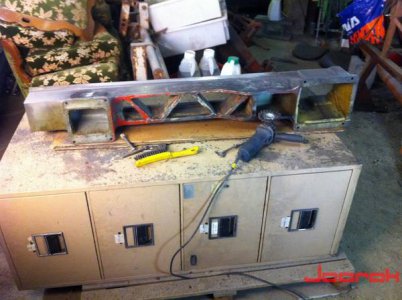
Using razorblades has been most effective and finishing it off with the wirewheel. I have not decided if im stripping the cabinet clean or just the flaking and scratches, sanding and bondo it. This was a bigger job than i anticipated..

I still have the tailstock, crossfeed etc. to do after this though im going to do that more carefull as not to damage anything.

Anyway, more pictures:

IMG_2829_zps94e5b9f6.jpg
IMG_2832_zps2592ad45.jpg
IMG_2836_zps63f771e1.jpg
IMG_2844_zps2ac7e110.jpg
IMG_2847_zps828a44ae.jpg
IMG_2854_zpsf37578a9.jpg
IMG_2855_zps851183a8.jpg

IMG_2829_zps94e5b9f6.jpg

IMG_2832_zps2592ad45.jpg

IMG_2836_zps63f771e1.jpg

IMG_2844_zps2ac7e110.jpg

IMG_2847_zps828a44ae.jpg

IMG_2854_zpsf37578a9.jpg

IMG_2855_zps851183a8.jpg
 
Ho ho

Just do it right the first time and it will last you and serv good....

Nice to see what you are up to....

If you are in need of an "little" help just kling

All the best
Orvar
 
Thanks for the pics, looks like a fine lathe. Your work space looks very interesting. Sure does look like the bat cave. With all those giant boulders behind the lathe I keep expecting the bat car to blast away and save the day.
 
It looks like you have a big job ahead of you. Having rebuilt several machines I have some rules I follow in order to make life easier.

1 - Never pull more than one thing apart at a time. It's harder when you have forgotten how it goes together.
2 - Always paint what you have stripped within a couple of days. Rust forms very quickly and makes the job worse.
3 - Try to have as many of the necessary parts available before you begin stripping the machine down to shorten down-time.
4 - If at all possible, try keep the machine heated to reduce condensation especially during winter.
5 - Do whatever you can to get your hands on the instruction book and parts manual.

After having stripped a large pillar drill I was distracted by my job and couldn't get back to it for a few weeks. It was a bigger job removing the rust than it was stripping the paint. Since many of the parts were fine tolerance parts, I had to use vinegar instead of abrasives. If you plan to use chemicals to clean just be aware that HISC - hydrogen indused stress cracking - is a risk and parts should be rinsed very thoroughly as soon as the paint or rust is removed. This is especially the case for small parts or tempered parts like springs.

Good luck.

Paul.
 
Thanks for the kind words guys, and thats some great tips Paul.

I have painted the bits that where stripped as i was afraid of swedish chrome (rust). But i had to stray from my path of repainting it in the orginal color as i did not find any alternatives within a reasonable price. So i went for a whitegray 2k epoxy using extreme care with maskingtape. I will add some pictures within a few days with a propper update, and allthough white was not what i wanted its not that bad :)
 
Looking really good so far, looking forward to the update.

The red paint looks like Glyptal, which would have been used to shed oil. It's a General Electric product used as a liquid electrical insulator as I recall, but also used on the inside of engine blocks, and other surfaces that see oil spray to help promote the oil returning to the sump.

Is it required? No. There may have been some sound rationale behind using it though.

Maybe its just paint, but the orange-red hue made it look exactly like Glyptal to my eyes.
 
Back
Top