Rehab/restore Of Logan 821 1947 Vintage (serial 50337)

Monty James

Registered
Registered
Joined
Apr 8, 2015
Messages
16
Time to watch me stub my toe and learn as we go.

I just purchased my first lathe a Logan 821 from an estate. Looks to have been setting for years, no rust to be found, lots of grease crud.

Attached or some pictures before we loaded it.

Logan 821 before pictue #1.jpg Logan 821 before pictue #2.jpg Logan 821 before pictue #3.jpg Logan 821 before pictue #4.jpg Logan 821 before pictue #5.jpg
 
Before anyone says it yes I have ordered the manual, but until it gets here I have a question for the Logan experts here.
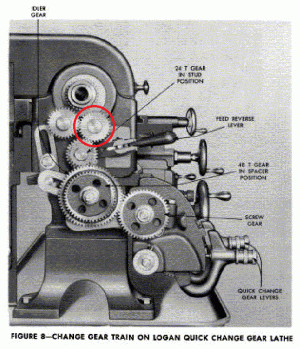
The only issue I have found so far is a single gear with one missing tooth.
I have circled it in the attached image, I believe the gear I need to order is LP-1034 Idler Gear, 30T (w/Oilite) Old Part No. was LA-216 or 18A-30216.
If someone would be kind enough to help the newb and agree or disagree with me on the part it would be appreciated.

30T gear.gif
 
Logan often has several part #s for the same part, they've changed their parts system a couple of times. Can always call them, but LA-216 looks like your gear. eBay often has used gears for a bit less. Or don't run power feeds in reverse until you are sure which for replacement.
 
Thanks to both of you for the confirmation.

Rich the diagram answered my question exactly.
 
Disassembled the apron cleaned out the crude and varnish build up and reassembled it. It appears to have removed a lot of the stiffness that existed. Found no broken pieces or excessive ware.

Next up the compound and cross slide.

I decided not to concern my myself with the paint at the moment just the mechanical side of it, when I have gone thru it all I will do it again to do the cosmetic side of it.
 
Hey, Monty James.

Congratulations on your purchase. I agree with your plan on focusing on the mechanical aspects of your new toy before dealing with the cosmetics. That was exactly my plan with my lathe and it allowed me to run it and make mechanical improvements and also learn what needed to be improved or replaced and determine whether spending a lot of time rehabbing it would be worth the time, cost, and effort.

There is a lot of information on this site that I'm sure will help you. Best of luck on your project.
 
Looks like you got a bunch of goodies with that lathe. It looks like you have at least part of the taper attachment, that's a nice! The long bed (31" between centers) is a nice feature also.
 
The entire taper attachment is there the pieces are just scattered around in the pan. It is the only thing that had any rust on it what so ever, it should cleanup nicely.
 
Here is a short rant, Stop using a hammer to take apart these machines:no no no:, I was looking around on you tube for some direction on taking apart the headstock and got a little sick after watching them.

I was inspired by one video though and here is the resultant solution and the steps I took to disassemble the head stock:

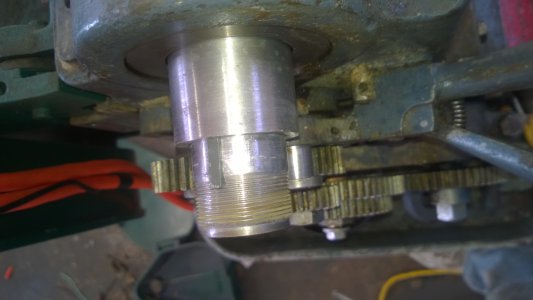
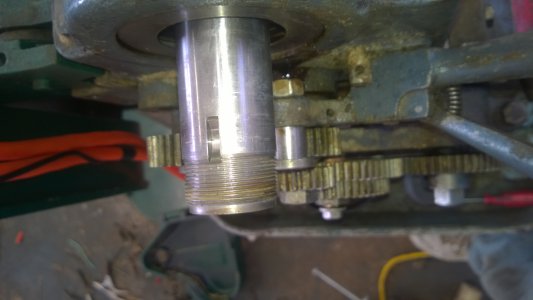
Remove rear take-up nut and spindle gear.
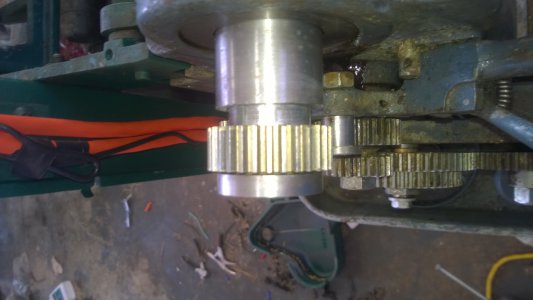
Head stock disassembly_001.jpg
Head stock disassembly_002.jpg

Remove woodruff key
Head stock disassembly_003.jpg

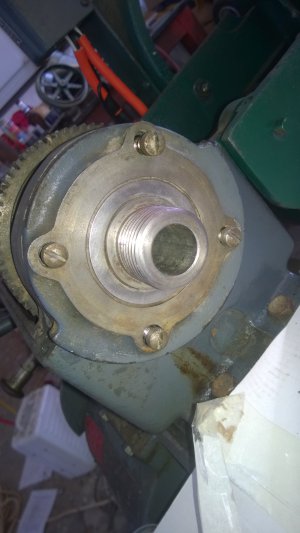
Remove screws from bearing cap
Head stock disassembly_004.jpg

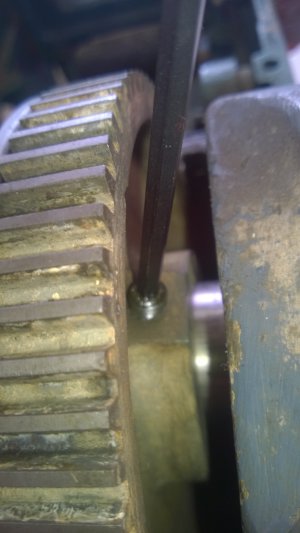
Loosen set screw on bull gear.
Head stock disassembly_005.jpg

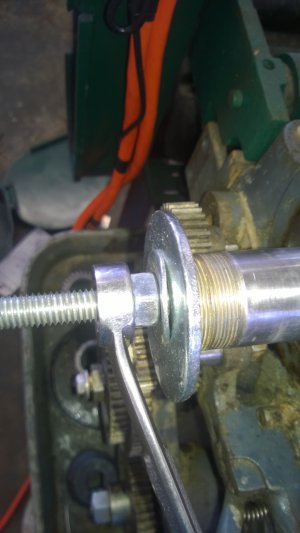
Attach shop made fixture to pull spindle.
Right side of tail stock, note the jack screw/stand offs are use to give enough travel for the bearing holder to release from the head stock casting.
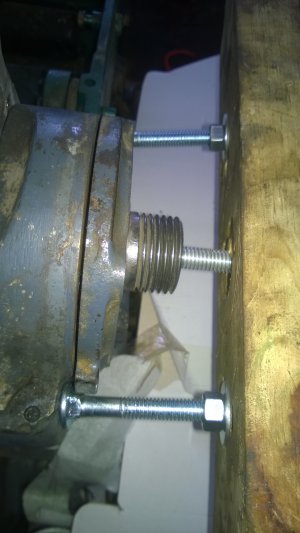
Head stock disassembly_006.jpg

Left side of tails stock.
Head stock disassembly_007.jpg

Installed spacers between hub on bull gear and head stock casting to prevent applying pressure to the outer edge of the bull gear. (Trivia question can you tell what I used for spacers.)
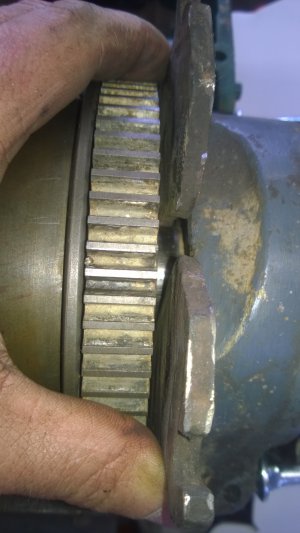
Head stock disassembly_008.jpg

Tighten the nut and look at that the tail stock and bearing assembly pops out, no hammer required to remove it.
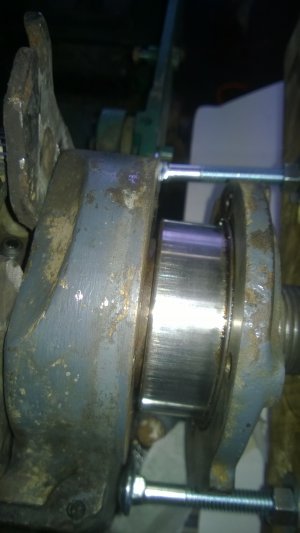
Head stock disassembly_009.jpg

Here are the parts of the puller I pieced together
36" 1/2" all thread rod
3 1/2" nuts
2 1/2" flat washers
1 2" flat washer (I think) it need to be larger than the spindle
2 7/16" x 6" lag bolts (used as jack screws/stand offs)
2 7/16" flat washers
2 7/16" nuts
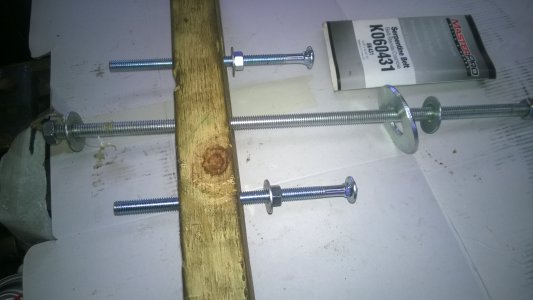
Head stock disassembly_013.jpg

I hope this helps someone and hopefully it will make Mr. Pete happy, no hammer and chisel mechanic here.:cool 2:
 
Back
Top