- Joined
- Apr 23, 2011
- Messages
- 2,476
My mill had cheap and nasty plastic hand wheels that were cracked and broken when I got the mill, (2nd hand)
I patched and glued and persevered with them for a while, but eventually they became unuseable and when needing to use the mill for a rush job I fabbed up a couple of really nasty handles to get me through. I got sick of looking at them and decided to fix the issue.
So I repaired the least worst plastic handle with glue and builders bog and used that as a pattern for my new handles.
I cut the counterweighted section out of the handle also. The original handles had steel inserts moulded into them and I thought that seemed to be the best approach this time and save some machining later.

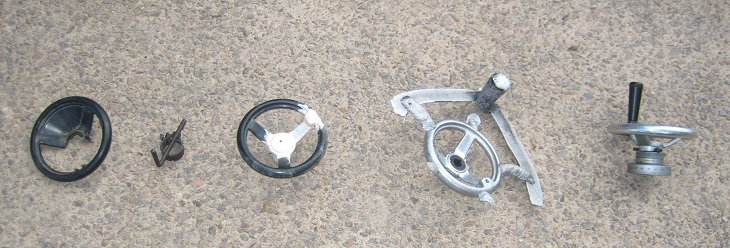
From left is one of the crappy plastic handles with the counter weight section still intact. Next is one of my really nasty fab handles I needed in a hurry. Then the pattern handle, (I found a piece of dowel that was just the right size to be the dummy centre when ramming my pattern up). A new handle just out of the sand with the steel centre bush securely locked in place forever, and the smaller threaded fitting in the perimeter for the crank handle. Lastly a handle assembled with its graduated dial and "cheap plastic crank"
So now I guess I need to make some nice ally spinny crank handles to finish the job properly.
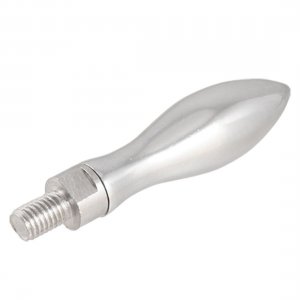
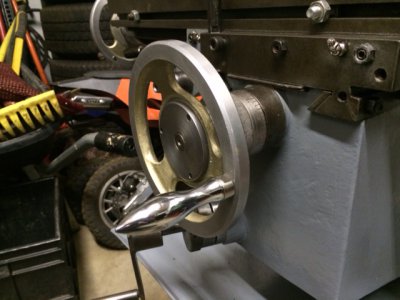
Should I go with tapered handles like I have now or teardrop ones? Opinions anyone?
Cheers Phil

I patched and glued and persevered with them for a while, but eventually they became unuseable and when needing to use the mill for a rush job I fabbed up a couple of really nasty handles to get me through. I got sick of looking at them and decided to fix the issue.
So I repaired the least worst plastic handle with glue and builders bog and used that as a pattern for my new handles.
I cut the counterweighted section out of the handle also. The original handles had steel inserts moulded into them and I thought that seemed to be the best approach this time and save some machining later.

From left is one of the crappy plastic handles with the counter weight section still intact. Next is one of my really nasty fab handles I needed in a hurry. Then the pattern handle, (I found a piece of dowel that was just the right size to be the dummy centre when ramming my pattern up). A new handle just out of the sand with the steel centre bush securely locked in place forever, and the smaller threaded fitting in the perimeter for the crank handle. Lastly a handle assembled with its graduated dial and "cheap plastic crank"
So now I guess I need to make some nice ally spinny crank handles to finish the job properly.
Should I go with tapered handles like I have now or teardrop ones? Opinions anyone?
Cheers Phil


