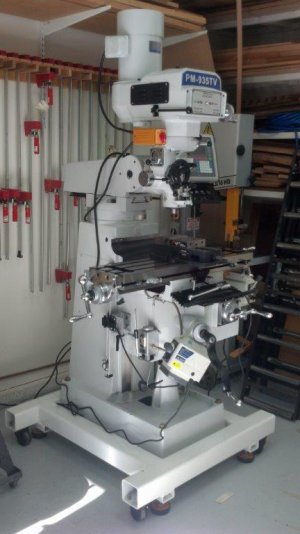
PM935-TV Arrives

catoctin

Active User
Registered
Joined
Feb 9, 2014
Messages
151
My new mill finally arrived yesterday around 11 AM. This was a second delivery attempt. RR tried to deliver on Friday but the driver was concerned his lift gate couldn't handle it and decided to have a second attempt at delivery made with another truck.

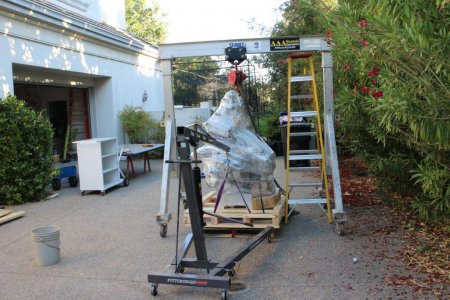
I planned to use a gantry crane to lift mine since my mobile base is wider than my HF engine lift. Matt and I have passed several emails back and forth on the head room for using a chain lift with the crane. My concern was with having enough room for the lift. The gantry crane rental yard thought the maximum height for the crane was 5'10". Turns out it was almost 8'.

Even with all of the planning, RR threw me a curve ball. They stuck a second much smaller pallet under PM pallet. Groan! I was planning to do the rental today but the second pallet made the mill very unstable. Given the recent seismic activity we have had in NorCal, I decided to proceed forward with the rental yesterday.

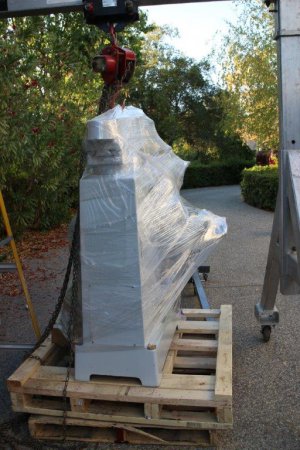
Here's a set of pictures of the mill resting on the second pallet:
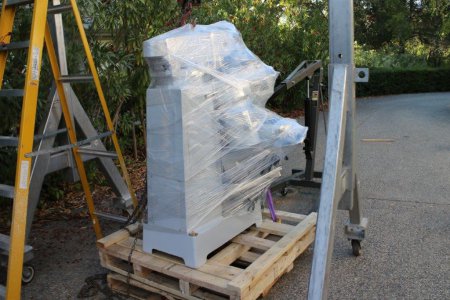
IMG_0329-1.jpgIMG_0330-1.jpg

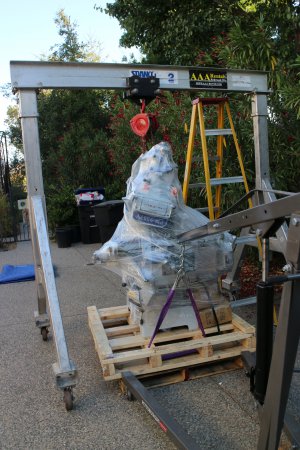
The weight on the mill when using the lift ring is very forward biased. Ryan commented on this before. I ran out of head room while trying to remove the lower pallet. My HF engine lift allowed me to lift the PM pallet from the front and remove the extra pallet.
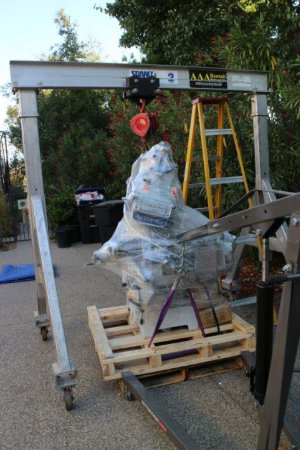
IMG_0331-1.jpgIMG_0332-1.jpg

Finally, I got the pallet removed and planted the original PM pallet on the ground. Yeah!
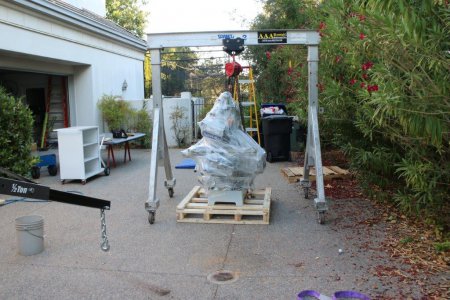
IMG_0333-1.jpg


Ok...Now it's time for the mobile base.
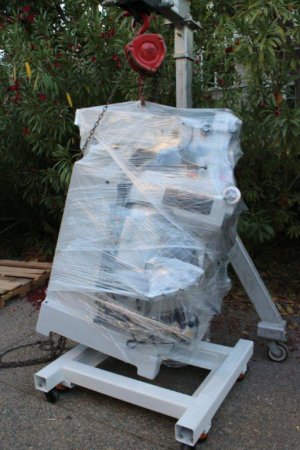
IMG_0334-1.jpg


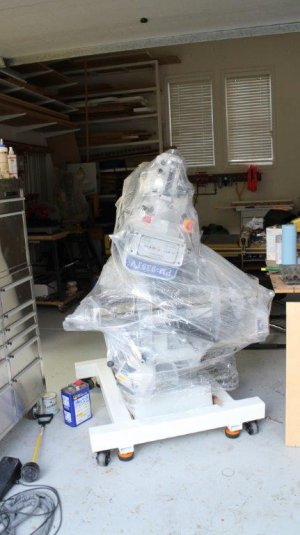
Done and in the garage!
IMG_0335-1.jpg

-Joe

IMG_0329-1.jpg IMG_0330-1.jpg IMG_0331.JPG IMG_0331-1.jpg IMG_0332-1.jpg IMG_0333-1.jpg IMG_0334-1.jpg IMG_0335-1.jpg
 
Joe, looks great. Glad to see you got it and everything is ok. Nice looking setup there.
 
Very nice. I really do like that mill.

Bill
 
Congratulations!

That is the same thing the freight company did to me. The problem is the pallet attached to the mill is made so a pallet jack wont work so they stick it on another pallet. Matt needs to address this before someone has a mill destroyed.

Rick
 
Man, that took forever, but I think you'll find it worth the wait.

Early on, check that your collets will fit the spindle and be ready for adjusting the set screws back out a bit. Mike's got himself a fancy tool it appears, but I just made one out of two pieces of scrap angle-iron and three bolts. You're welcome to use it if you make the drive, but it's pretty simple to make one. Just remember there is a set-screw holding the collar in place, and the collar is threaded left-hand. Sounds like this is a common adjustment need.

Have fun!

-Ryan
 
The problem is typically they don't stick the best pallet in house under the mill. It was difficult sliding the pallet out because so many boards had popped loose.
Congratulations!

That is the same thing the freight company did to me. The problem is the pallet attached to the mill is made so a pallet jack wont work so they stick it on another pallet. Matt needs to address this before someone has a mill destroyed.

Rick
 
I really liked using the gantry crane. All of my kids headed off to college so this was a one man show. This crane was all aluminum so it was not overwhelming.

Joe, looks great. Glad to see you got it and everything is ok. Nice looking setup there.
 
It make you think that it was done on purpose that way requiring the user to do the micro adjustments. I used a strap wrench on mine. It's funny Mike said to check other tooling after the adjustment is made. I made my adjustment based on a collet from Enco. My PM collets work fine with this adjustment along a drill chuck from Glacern. However, I did find that an integral shank facemill from Glacern did not. The facemill did have a nick on the at the top of the key way as if it was bumped in the factory. This one I will get to later.

Man, that took forever, but I think you'll find it worth the wait.

Early on, check that your collets will fit the spindle and be ready for adjusting the set screws back out a bit. Mike's got himself a fancy tool it appears, but I just made one out of two pieces of scrap angle-iron and three bolts. You're welcome to use it if you make the drive, but it's pretty simple to make one. Just remember there is a set-screw holding the collar in place, and the collar is threaded left-hand. Sounds like this is a common adjustment need.

Have fun!

-Ryan
 
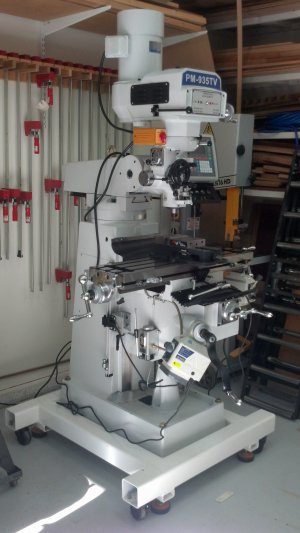
Just a brief update on my mill setup. Still going through the setup on this guy. I drilled through the 1/4" angle shelf on my mobile base this past weekend to tie down the mill. It turns out the bolts I purchased from McMaster-Carr were a 1/4" shorter than the advertised 9" length and the mill base is a little higher in the backend. I got the new 10" bolts in this week and moved the base to an area in my shop where it will be finally located. Moving this thing around in the garage is like dancing with the Queen Mary. I needed to move other equipment way out of the way to avoid collisions. Once this thing is in motion, it tends to stay in motion. I am very impressed with the US made wheels. This rig has moved across a pebble driveway and expansion joints in the garage and still look good.
IMG_20140924_162635_646.jpg

I went through tramming the head yesterday and tried out Ryan's bearing race method. It surprised me just how flat these things are. I rotated the race under the test indicator and saw less than a 10 thousands variation.

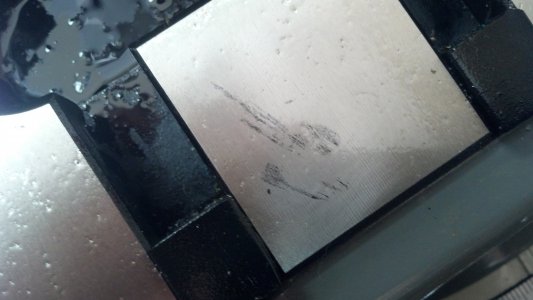
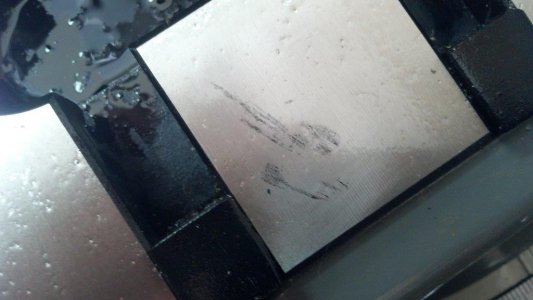
There were a few spots on the ways and table top that needed minor rust removal. It was mostly on the ends outside of where the mill will be normally used but a bit ugly. I buffed these down and way oil coated the surfaces. Here's one spot on the end of my table top after rust removal.
IMG_20140924_162703_952.jpg

My clamp set came in yesterday from Enco and it also got the UPS white glove treatment. Three of six of the t-slot nuts were missing even though it was double boxed. It looks like the internal box was shot through the external and then taped up in transit. Seems like we are batting 1000 with the shipping companies lately.

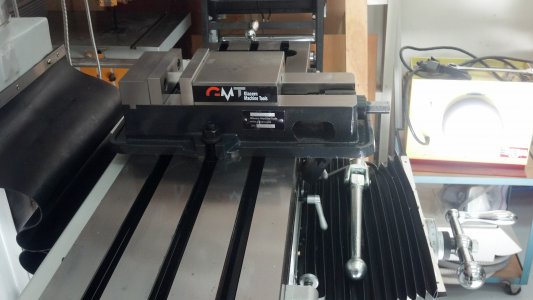
I plan on doing a vise mount today.
IMG_20140924_162648_916.jpg
Yup.... this is a 5" Glacern with the oddball 5/8" hex nut. I noticed others using this vise found an equivalent to the "Quickie" vise handle. Where did you score it from?
Thanks,
-Joe

IMG_20140924_162703_952-1.jpg IMG_20140924_162635_646-1.jpg IMG_20140924_162635_646.jpg IMG_20140924_162703_952.jpg IMG_20140924_162648_916.jpg
 
Ah yes...momentum (p = m * v). :)

Nice setup by the way.

Bill
 
Back
Top