Act 1 Front End
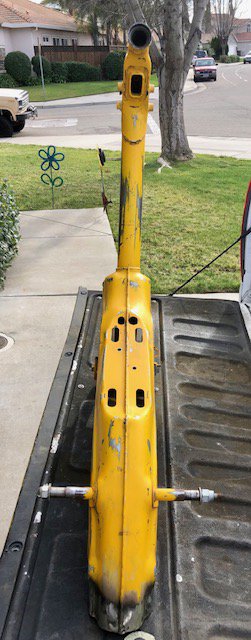
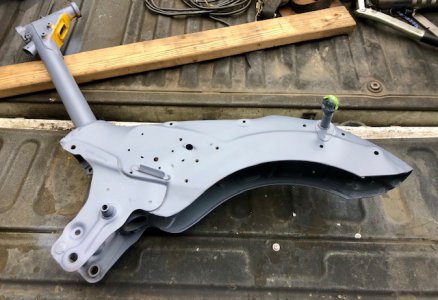
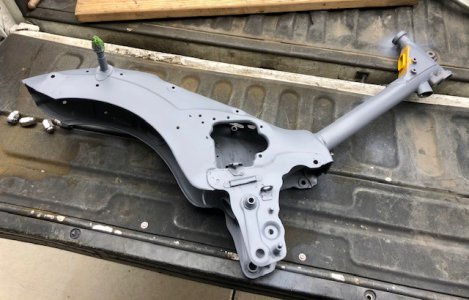
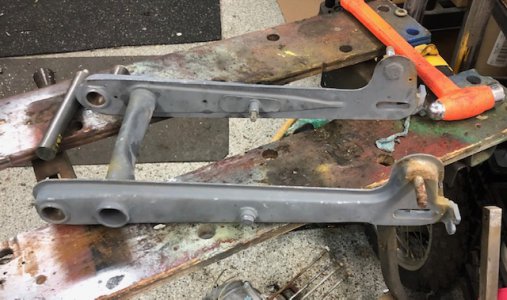
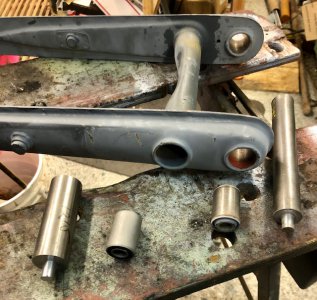
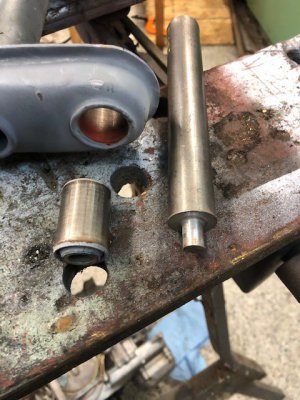
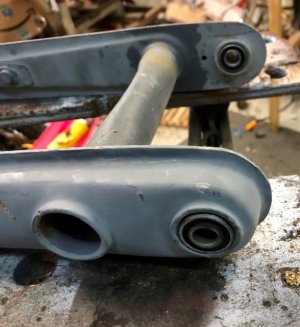
the K0 came with what was called a bottom link suspension
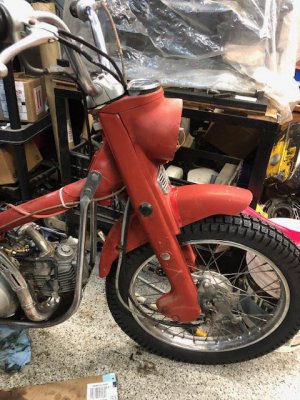
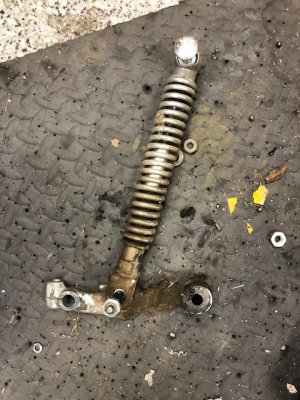
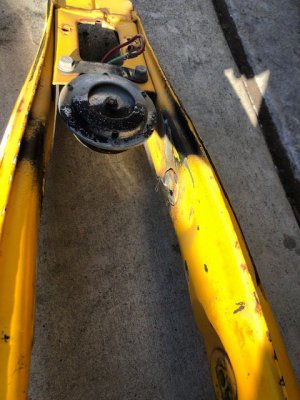
Here is a picture of the inner workings of the OEM front suspension for the K0
both the left and right sides have the same dampeners- which are hard to come by these days.
i decided to upgrade front end.
instead of running the bottom link, i was going to do something better!
i started looking at DR.ATV's site and saw that it may cost upwards of $500 (or more)
to complete a front end upgrade to the CT110 type of front suspension, tire, rim, spokes, brakes, etc.
this is kinda doing it the expensive way
i considered other options, and looked around on ebay and craigslist
i figured a Honda CR125, CR250 or XR100, XR200/XR250 front end, may be of similar dimensions (or close enough to work with)
i looked on Offer Up.
sure as schnitzel , i found an unidentified Honda front end for $80
complete with tire, rim, shocks, brake caliper, front axle, & bent bars !
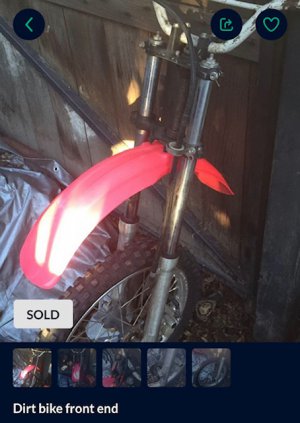
as luck would have it, the front end had a 17" wheel, just like the OEM CT90 K1, Plus Disc brake Option!!!!

the gears started turning in my head... what's it gonna take to swap the front end out???
i did a few measurements,
reality sets in.....

the "new" front end must be modified to work with the CT90 frame.
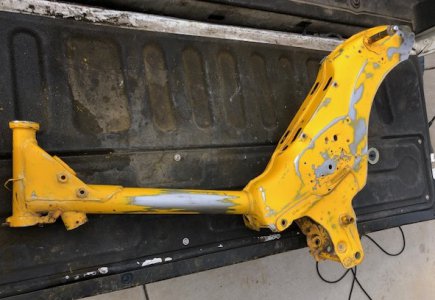
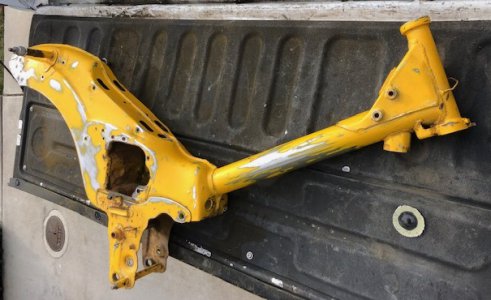
A second thought occurred, the frame needed to be worked to fit the new front end.
After minutes of intense scrutiny and a dash of poor planning, the decision to convert the front end was made- as the lesser of the 2 evils.
I removed the upper and lower triple clamps, from the new front end.
i stacked the new upper and lower triple clamp against a CT90 K1 style triple clamp.
i found out that the new steering head comes up waaaay short

i decided to do something unorthodox, i was going to swap the steering spindle, with the CT90 K0 - whatever it takes!
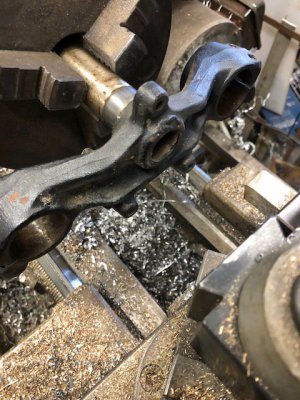
i chucked up the new lower triple clamp and proceeded to knock the weld off the lower clamp
with a bronze drift and a few heavy handed whacks, the new steering spindle was removed
I savagely dissected a corpse K0 front end, to harvest the steering spindle.
my tool of choice was a 4-1/2" angle grinder with an Osborne cut off disc (good carborundum disc

)
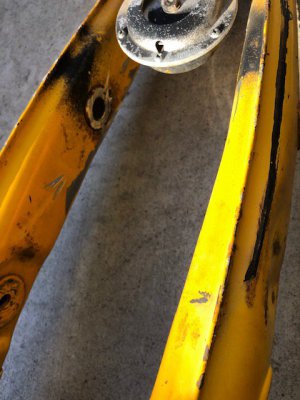
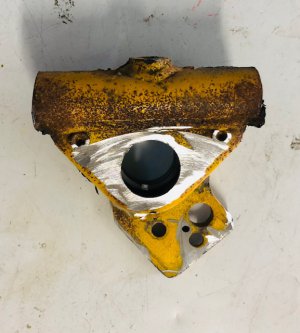
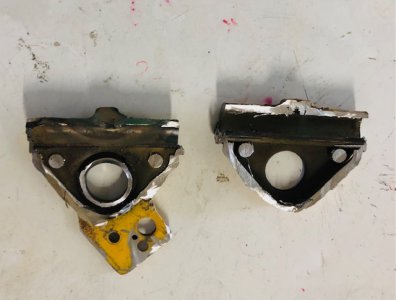
The end result, 2 steering spindles -free from their captors!
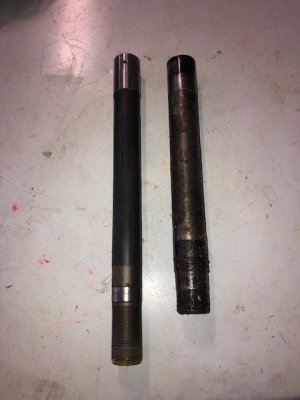
i took the spindle from the new front end,
since it is the perfect OD already , i felt no need to try to reproduce the same fit.
i chose it as the bushing material for the smaller diameter K0 steering spindle
i bored the id of the new spindle an formed a bushing for a press fit of the K0 spindle.
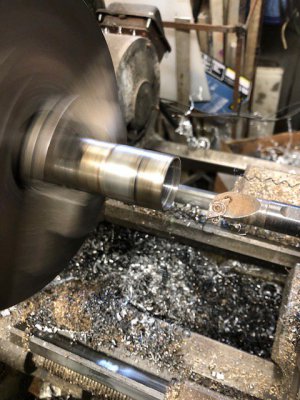
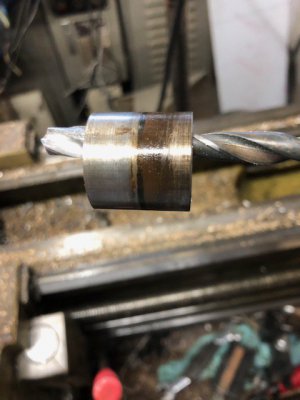
i made a few guesstimations as to where stuff should line up, and to not interfere with operation.
i heated the new lower triple clamp, sans spindle, in the easy bake oven at 150°F for an hour
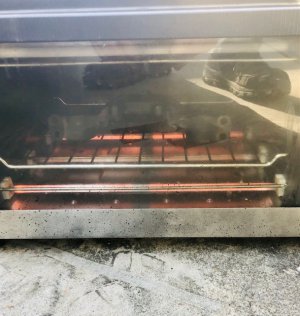
while the newly formed steering spindle/bushing went for a bath in the freezer while the triple was heating
soon to make union.
After the spindle was frozen and the triple clamp was hot- i beat them into place- these parts were heavy press fit!!!
I welded the works back up from the bottom with 3/32" E309L-16 and let er' cool natural
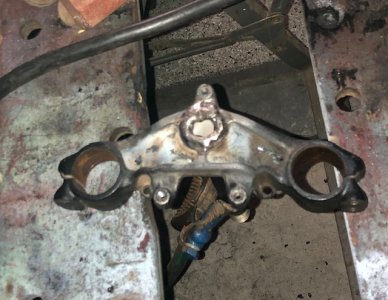
the abomination as almost ready for installation.
here is a comparison to the 1969 K1 (left) Vs. my abomination (right)
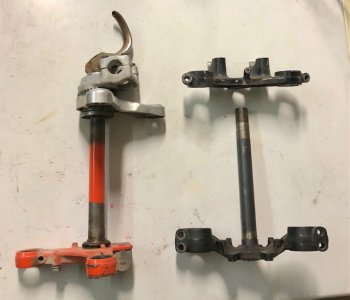
if i'm right, i'll be able to use the stock K1 bearings on the new abomination
i have a set of tapered roller steering bearings/seals, etc. on order- arriving soon!
stand by for more mayhem to come!

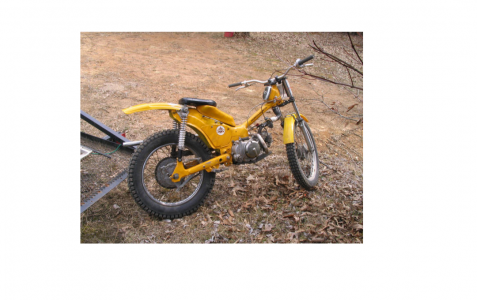
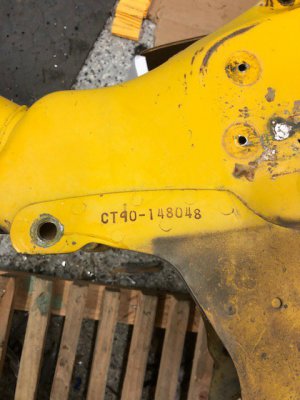
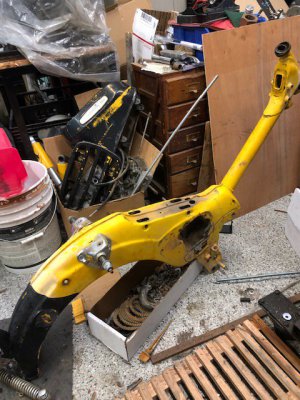


 the "new" front end must be modified to work with the CT90 frame.

 )
)


