Jeff, I agree about ENCO web site. They are missing sales with such a cumbersome display. Only when you go to their catalog do you see some decent photos, and then very tedious to page back and forth. They regularly send me mail sales brocures although I am really not a big swinger. I cannot place even small orders on their web site because of irritating problems being recognized, and have talked by phone with their sw people to no avail. Hopefully they finally will leave the dark ages and increase their shares.
-
Welcome back Guest! Did you know you can mentor other members here at H-M? If not, please check out our Relaunch of Hobby Machinist Mentoring Program!
You are using an out of date browser. It may not display this or other websites correctly.
You should upgrade or use an alternative browser.
You should upgrade or use an alternative browser.
New Enco 12 x36
- Thread starter Falcon67
- Start date
Hey Chris, good to see another local boy on here! I'm a gunsmith in Abilene and an old street/drag racer. Stop in and see me sometime, my website has all of my contact info: www.abilenegunworks.com .
Take Care,
Tim
BTW, believe it or not, Horrible Fright carries the link belts, but they aren't really any cheaper other than saving time and freight.
Take Care,
Tim
BTW, believe it or not, Horrible Fright carries the link belts, but they aren't really any cheaper other than saving time and freight.
Last edited:
- Joined
- Aug 19, 2014
- Messages
- 225
Nice! Have to come look you up when I get time. Love to see your shop.
No update on the tool post yet - Enco support has the pics, I will post more when I know more.
Re: The PM1236 cross slide dial thread - got my curiosity up, so I did some quick checks with a dial indicator.
The cross slide dial loses about .0008 in .1 (full revolution). It's dead on at .050, and about .0004 at around .075. In .500 (5 turns) I come up short right at .0025. Backlash is .004. I feel like backlash was less before I scrubbed all the parts, but .004 is not too bad I think.
The carriage is nearly dead on through .100 and come up short .002 in .500. Backlash is .002ish, but I have not taken the carriage apart to clean the nut, etc. There's probably .001 or .002 of grease in there somewhere.
Have to remember to check the tail stock. Really tied up with business rest of this week and next so it may be a bit before I get back to the fun stuff.
- Joined
- Mar 12, 2014
- Messages
- 1,531
I don't think those numbers are all that bad either Chris.
Now let's see some chips. )
)
Now let's see some chips.
- Joined
- Aug 19, 2014
- Messages
- 225
No chips for a while I think. Any suggestions for checking and adjusting the chuck would be welcome. The spindle bore checks good I think, looks like .00025 TIR. However, best I can get on the face plate chuck mount lip is .005. That is matched on the chuck body. Putting a test bar in the chuck - way way way out. Don't need an indicator to see that far off. Big wobble. Back plate has a pin that's a bit off because it will only mount in two of the three positions.
- Joined
- Aug 19, 2014
- Messages
- 225
Threads are worthless without pics LOL
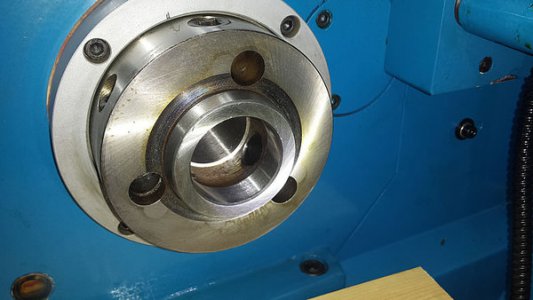
Spindle view - pretty clean as delivered.
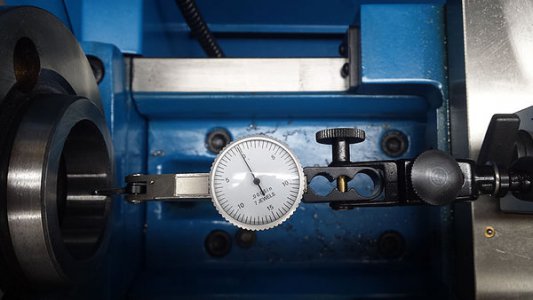
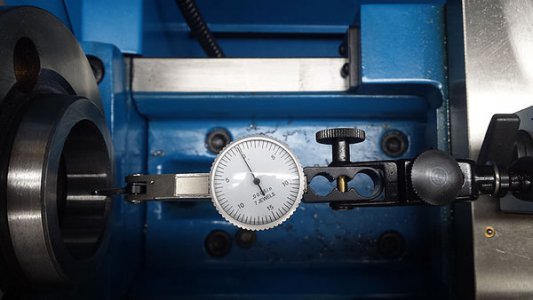
This is the worst I could get on the test indicator
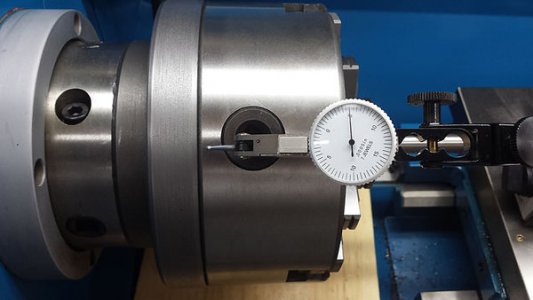
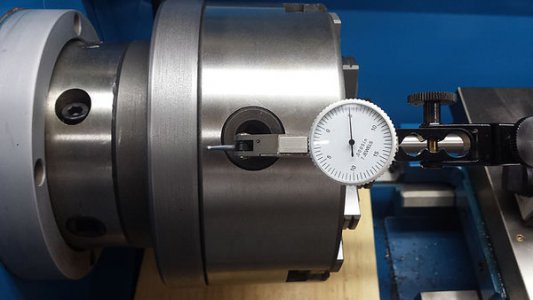
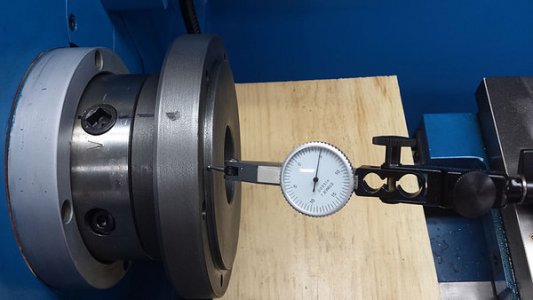
Put a test bar in the chuck - fergetaboutit. SO I checked runout on the chuck body.
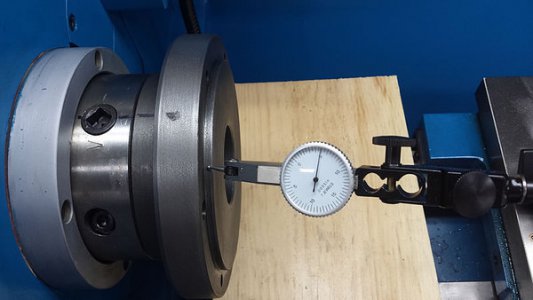
Maybe this means the chuck body is pretty true since the mount has the same runout. Not sure I can fix this without another mount plate.
Chuck is in pieces on the bench for cleanup. Not sure that is the cause of the jaws being so far off, but it's worth a try.
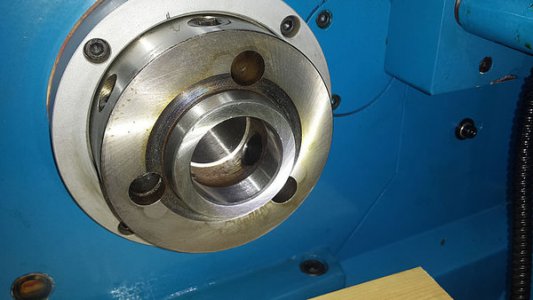
Spindle view - pretty clean as delivered.

This is the worst I could get on the test indicator

Put a test bar in the chuck - fergetaboutit. SO I checked runout on the chuck body.

Maybe this means the chuck body is pretty true since the mount has the same runout. Not sure I can fix this without another mount plate.

Chuck is in pieces on the bench for cleanup. Not sure that is the cause of the jaws being so far off, but it's worth a try.


- Joined
- Mar 12, 2014
- Messages
- 1,531
The only thing I can think of is to take a skim cut on the recess which will allow the chuck to shift ever so slightly on the backing plate. Then snug up the bolts for the chuck to backing plate and tighten down the jaws on a precision ground shaft, I have used an end mill clamped in backwards with the shank sticking out before.
Put a test indicator on the shank and then lightly tap the chuck around on the backing plate until it is within spec.
Put a test indicator on the shank and then lightly tap the chuck around on the backing plate until it is within spec.
- Joined
- Aug 19, 2014
- Messages
- 225
Finally back to this a bit, so time for an update.
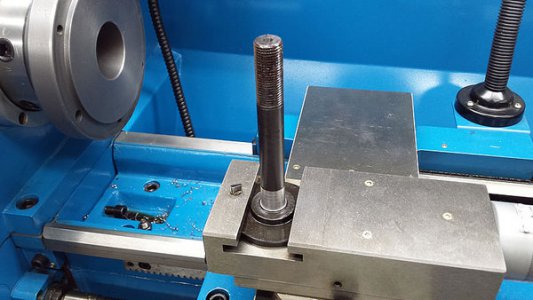
Can't do much without a tool post, and the tool post that came with the lathe has some issues. The big one is - no BXA / 20x tool holders will fit on it except the one that came sitting on the tool post. The second supplied tool holder only fits on one side and none of the Grizzly tool holders I have fit at all. The "good" tool holders only fit part way on one side and the 2nd one that came with the lathe won't clear the piston on the other side. Pictures tell the story don't it:
There is a short "ground" lip at the top of the post:
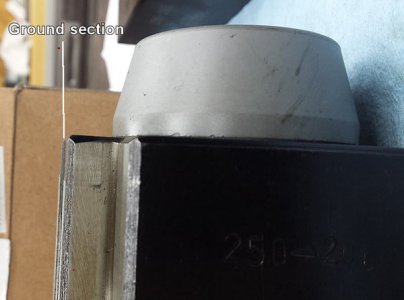
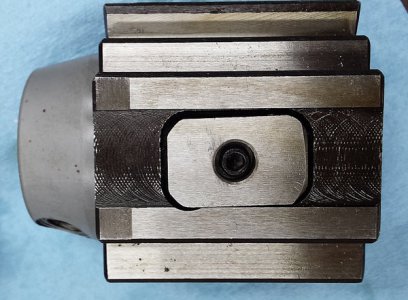
The little lip as viewed from the post face:
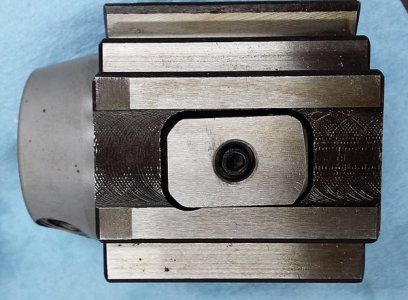
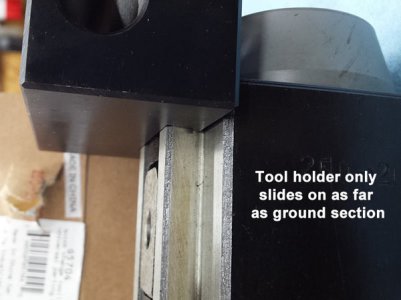
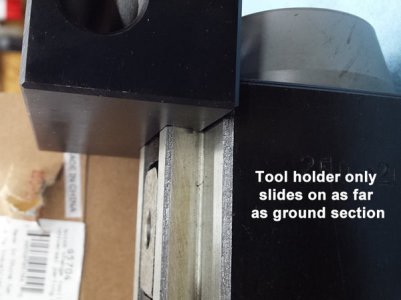
Tool holders run down the face only as far as the ground section:
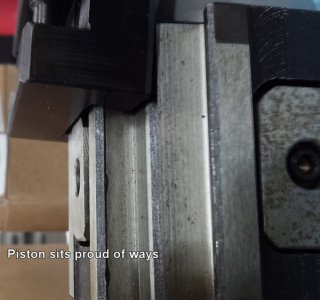
Post parts cleaned and tightened and this still sits proud of the post ways:
Bummer, yes. But I'll take this as an opportunity to wave the flag for the vendor, Enco. I made the call and after explaining the problem, the support desk became audibly interested in the problem and I was transferred to machine support. I'd mention the gentleman's name but I can't find my notes just now. I got an email address and forwarded the pictures. After they had some time to review the pictures - about a week ish which was OK since we had a business trip to California - I got a call from the machine support guy. "Sorry for the delay (no real delay) and a new tool post is on it's way to you. You should have it by the time you get back to Texas. It's a much better quality tool post than came with the lathe and it should resolve the problem."
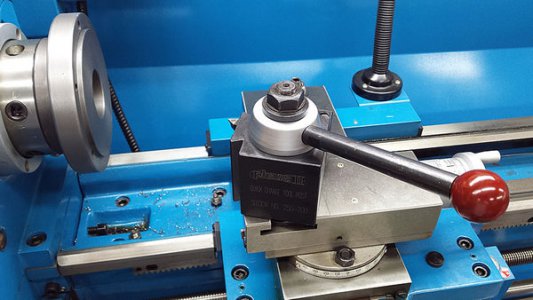
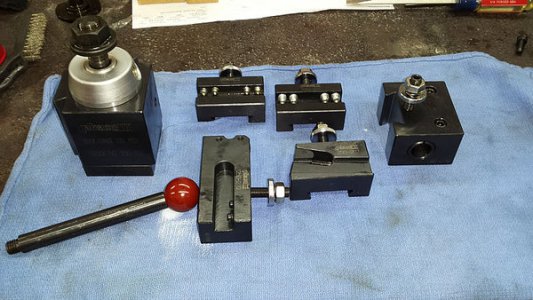
So we get back and pick up the medium size brick of a box and you bet, this solves all issues:
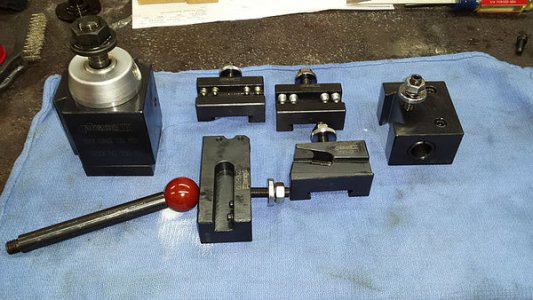
A complete Phase II Series 200 tool post package. This is well above and beyond any expectations I had. Just a working post would have made me happy. Now I'm more like a kid at Christmas. They pretty much nailed down my business. It's really good to know that the little guys in this hobby/field have vendors that can be counted on to make things right when needed.
All the holders fit on this 200 series post - EXCEPT the only one that fit the buggered up post. That tool holder is made so sloppy that the pistons on the Phase II won't lock it in place. If they do not want the old pieces back I might be able to mill it - or just toss it in the scrap bin.
Now I can work on that 3 jaw mounting plate.
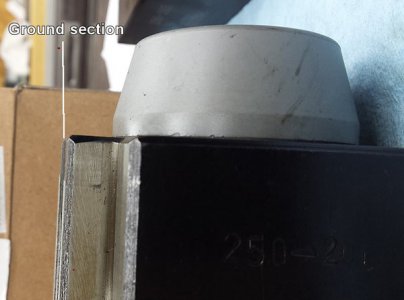
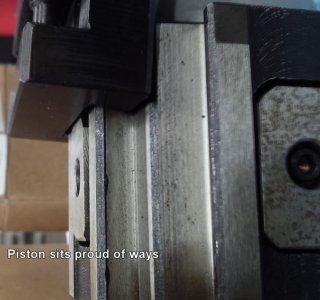
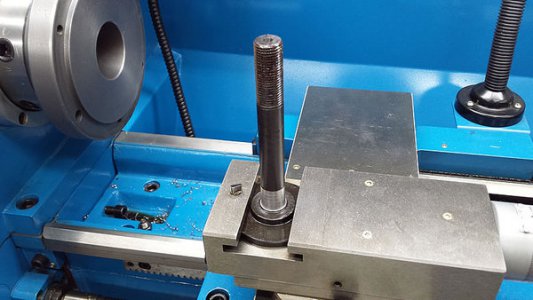
Can't do much without a tool post, and the tool post that came with the lathe has some issues. The big one is - no BXA / 20x tool holders will fit on it except the one that came sitting on the tool post. The second supplied tool holder only fits on one side and none of the Grizzly tool holders I have fit at all. The "good" tool holders only fit part way on one side and the 2nd one that came with the lathe won't clear the piston on the other side. Pictures tell the story don't it:
There is a short "ground" lip at the top of the post:

The little lip as viewed from the post face:

Tool holders run down the face only as far as the ground section:

Post parts cleaned and tightened and this still sits proud of the post ways:

Bummer, yes. But I'll take this as an opportunity to wave the flag for the vendor, Enco. I made the call and after explaining the problem, the support desk became audibly interested in the problem and I was transferred to machine support. I'd mention the gentleman's name but I can't find my notes just now. I got an email address and forwarded the pictures. After they had some time to review the pictures - about a week ish which was OK since we had a business trip to California - I got a call from the machine support guy. "Sorry for the delay (no real delay) and a new tool post is on it's way to you. You should have it by the time you get back to Texas. It's a much better quality tool post than came with the lathe and it should resolve the problem."
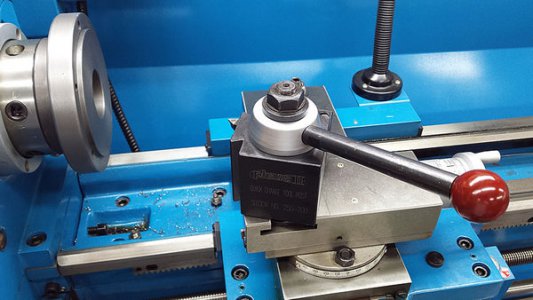
So we get back and pick up the medium size brick of a box and you bet, this solves all issues:

A complete Phase II Series 200 tool post package. This is well above and beyond any expectations I had. Just a working post would have made me happy. Now I'm more like a kid at Christmas. They pretty much nailed down my business. It's really good to know that the little guys in this hobby/field have vendors that can be counted on to make things right when needed.
All the holders fit on this 200 series post - EXCEPT the only one that fit the buggered up post. That tool holder is made so sloppy that the pistons on the Phase II won't lock it in place. If they do not want the old pieces back I might be able to mill it - or just toss it in the scrap bin.
Now I can work on that 3 jaw mounting plate.


- Joined
- Aug 19, 2014
- Messages
- 225
- Joined
- Aug 19, 2014
- Messages
- 225
Some progress to report - I took a skim cut on the chuck mounting plate and took about .005 off the center edge. I was able to tap in the chuck so that it has right at .001 TIR on the outside. I'm going to take a hair more off the center because I think I can get it closer. I hit a high point where tapping with the BRM (Big Rubber Mallet) didn't make a change. A test bar in the three jaw still has about .008 wobble which is 100x better than it was but still way off the cheapie 3 jaw on the 9x20. First run of the test bar looked like a T-Ball kid warming up for a base hit. The jaws are not marked on this chuck, so I'm going to rotate them around some and see what I can come up with.


