New DRO for my PM-45... Help!!!

jgedde

Active User
Registered
Joined
Jun 23, 2011
Messages
786
New DRO for my PM-45... Help!!!!

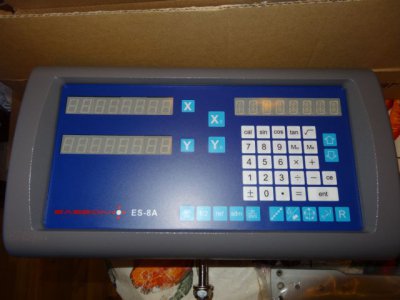
After a long wait, yesterday UPS brought me a 2-axis DRO kit for my Precision Matthews PM45. I ordered it from Matt at PM to be sure I got the right scale lengths.

:ups:

I cleared my schedule for this weekend so I could install it.

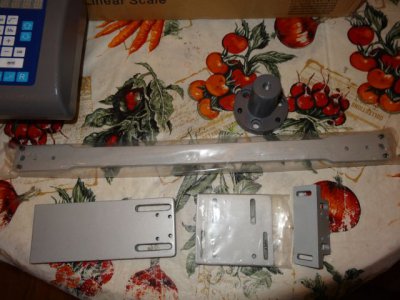
So, this morning I got up bright and early all excited to install the DRO. I hooked it up on the bench and everything seems like it's working. Now the hard part, installing it. I figured I would just go to Matt's website and look at the pictures to see how he sets them up. Problem is, the pictures aren't good enough to tell me what I need to know. I have little clue how to proceed. There are a bunch of cast brackets and I have no idea how they are to be used. I've attached pics.

So, does anyone here have a PM-45 with a factory installed DRO? Can you post some pictures on where and how the head and scales are mounted?

Help!!! :panic:

Thanks!
John

DSC00214.JPGDSC00215.JPG

DSC00214.JPG DSC00215.JPG
 
Last edited:
those brackets are exactly the same as ones I got when I purchased for my Bridgeport. they are currently in my aluminum scrap awaiting melt-down.
im sure matt will chime in here at some time but its pretty straight forward that the scale and the reader must each be held ridged wherever you mount them. you will most likely need to make / modify what you have, for your application. that's why the labor charge for installing them at matt's shop.
I procrastinated like crazy when I first got mine then just went for it. . . drill and tap as required, it really does not require earth shattering strength to hold them. they just must be non moving / binding.
as a hobby machinist, its part of your work description to figure out what to do :))
as I read this I can see that I am probably just not awake yet :shrugs:
 
Thanks David, I hope Matt chimes in soon - or someone who has a PM-45 that can post pictures.

I see no clear method of:
1) Attaching the readout to the mill column.
2) Mounting the X scale without blocking the lube ball.

The Y axis is a bit clearer, but it looks like I'll need to fabricate a reader head mount.

Thanks!
John
 
Attaching your scales isn't that difficult. Just make marks on the machine where you plan to mount the scale and the reader and then run the machine to its extreme in each direction and make sure that you have room left on each end of the scale. Besides that it's just a matter of drilling and tapping. If the dro is supposed to be set up to mount on that machine, then maybe the brackets that were supplied will be useful. I've only installed two dros and each time I modified all of the brackets. You won't have any problem once you get started.

Chuck
 
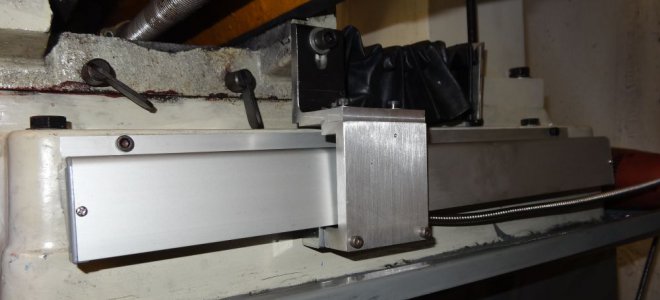
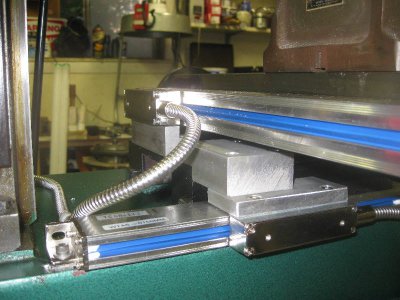
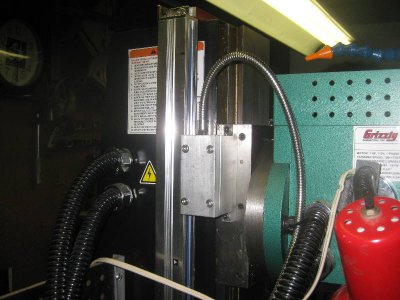
So far so good. I got the Y-axis scale on. indicated in and working. It agrees perfectly with the mill dial. I did have to fabricate a thingy to drive the scale. It turns out the long bracket is used as a backer for the Y scale. It has four jackscrews to compensate for the draft angle and parallelism on the mill base.

I still haven't figured out what those remaining brackets are for. Since they came in the box with the DRO head, I'm guessing it's for that. Somehow...

Here's how I did the Y axis. I fabricated a bracket from scrap. One bolt holds my bracket to the mill table, two more hold the upper part of the bracket to the lower part. All of these holes are slotted allowing two axes of freedom of movement to adjust out any stress on the head.

John

DSC00216.JPGDSC00217.JPG

DSC00216.JPG DSC00217.JPG
 
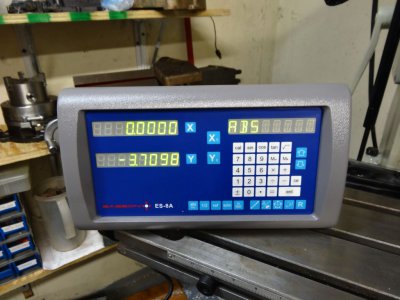
Mounting the readout on the table makes it highly visible, but it might get in your way.:))
 
I'll take pics of mine in the morning...


Ray
 
John I put DRO's on both of my Lathes and I have a bunch of those plates never found a place to use them.

Paul
 
Last edited:
I also received the same brackets with my DRO kit that I installed on my Grizzly and ended up putting them in my scrap bin.
I ended up fabricating them out of aluminum bar stock.

JUL022.jpgJUL019.jpg

JUL022.jpg JUL019.jpg
 
Back
Top