My wedding ring

Tamper84

Active User
Registered
Joined
Oct 6, 2012
Messages
512
Well I finally started my ring. :bitingnails:Nothing with waiting till the last minute right lol. So I got all new indexable tooling!!! :LOL: Well I got the inside all bored out, and tried to make an expandable mandrel. But it didn't work:think1:So now I am going to remake it again tonight with a new idea. I am going to use a pipe tap and plug to help it expand.

Oh btw something broke in my quick change gear box last night too!!!:bawling: Something else to fix, so for now I am hand feeding everything. Enjoy a picture for the time being.
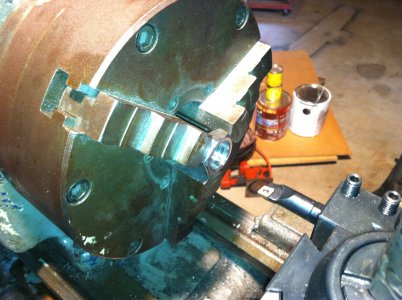
image.jpg
 
A tapered mandrel may be what you want, someone more familiar making this kind of stuff will be able to help you. Nice boring bar! No pressure you just have to get married :panic:
 
Just be sure you don't wear it around your machinery. Mine has been safely stored in my tool box since 1978 when I nearly lost my ring finger while push starting a car.

Sorry about the QCGB.

Tom
 
A tapered mandrel may be what you want, someone more familiar making this kind of stuff will be able to help you. Nice boring bar! No pressure you just have to get married :panic:

Hmmmm. I was thinking of a tapered one, but no taper attachment. I got a whole set of boring bars, along with regular lathe inset tooling!! Ya know I needed it lol :jester: I was going to post a picture of my mandrel, but I'm too embarrassed to post it.

Just be sure you don't wear it around your machinery. Mine has been safely stored in my tool box since 1978 when I nearly lost my ring finger while push starting a car.

Sorry about the QCGB.

Tom

Trust me I won't wear it while I'm working. I know a guy who ripped his finger off!! I like having all 10 of me lol.
 
If you turn a spud that fits within 0.005 of the ring ID, drill and tap it with a normal tap, but not very deep, you can use a common set screw to expand it. A taper tap leads so slow that if you don't do a full thread more than a few turns, it will work. Take a slit saw (or hack saw) and make two saw cuts @90° all the way back to the shoulder, everything will stay tight when you jam the set screw in. Before you use the spud, snug the set screw in just a little and skim the OD straight, you don't want a tapered OD on it.
 
Thank you Tony. I did that last night, but I didn't fit it that close. I will try this tonight!!!

Thanks,
Chris
 
Hmmmm. I was thinking of a tapered one, but no taper attachment. You don't need a taper attachment for that, just swivel your compound or you could just file and polish one since the ring is so narrow, another way might be to turn a piece of stock the ID of the ring and the width, tap the endfor a bolt and washer. You can turn the washer down as you turn the ring.:thinking:
 
The taper needed for a tapered mandrel is so shallow, that it is usually easier to turn it with the tail-stock set-over method. A taper of just a couple of thousandths per foot will be sufficient to hold the part.

This method intentionally mis-aligns the tail-stock center with the headstock, by adjusting the screws in the side of the tail-stock. I like to put a DI on the side of the tailstock, and carefully adjust the screws the distance required. This almost eliminates the need for test cuts, but since dimensions are not critical for the mandrel, this is not really necessary.

-Cody
 
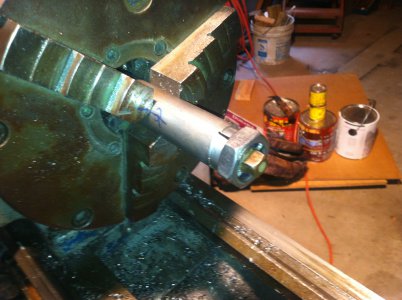
Well folks. The ring is done!!! Well except polishing it!!! Thanks for all of the advice. I had to make the mandrel and I used a pipe plug to expand it. Although it wasn't good at repeating itself. But it worked. Here is the mandrel.

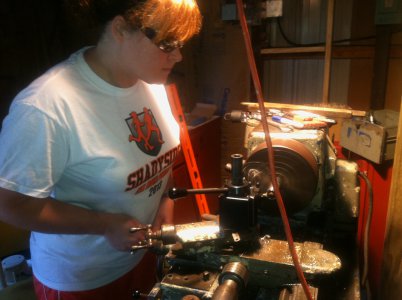
I even got the fiancé out there. She actually wanted to help. So I showed her how to crank the handles and away she went lol.

Chris
p.s. I have no clue on how to put my pictures in order and in line in the post.

p.p.s. notice the hair is pulled up short sleeves and safety glasses. Also before the extension cord is mentioned, it is completely out of the way. I had to rig up a temporary light as the shop is not done yet. I tried to work that into the deal, time just fell short lol

- - - Updated - - -

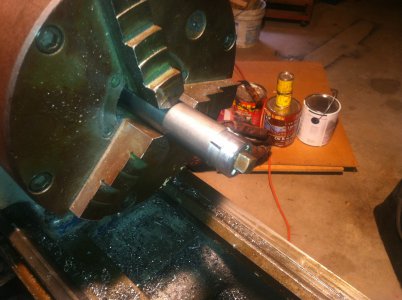
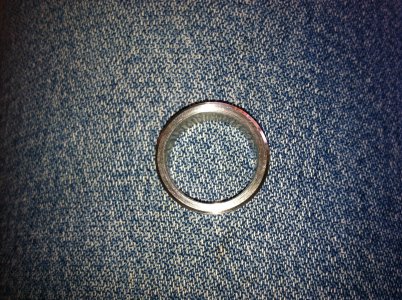
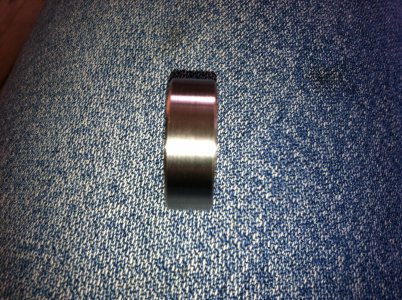
Ok and here is the outside mostly finished. I took a finishing cut and also chamfered the edges. Didn't get a picture of that. Tomorrow is polishing day!

Chris

image.jpg image.jpg image.jpg
 
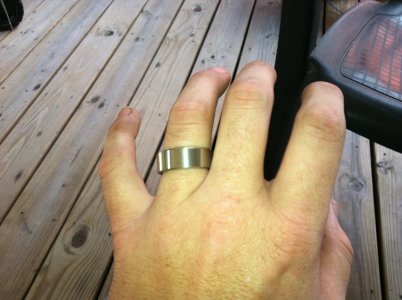
Its done!!! Thanks everyone for the help!!!! image.jpgimage.jpgimage.jpgNot bad I guess for my first actual lathe project.


Thanks,
Chris

image.jpg image.jpg image.jpg
 
Back
Top