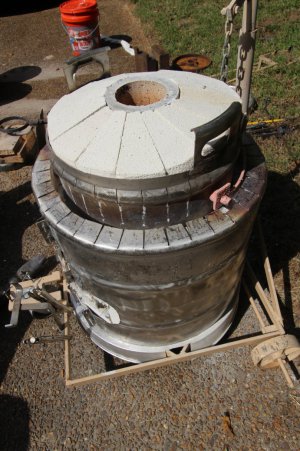
My Iron-Melting Furnace

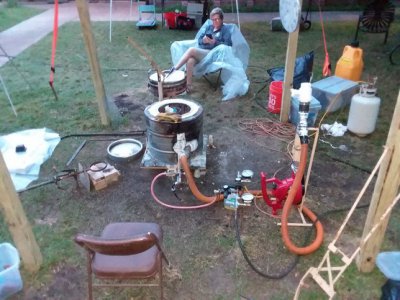
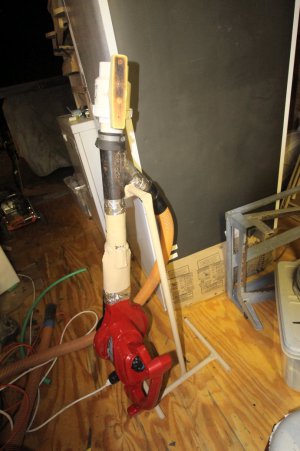
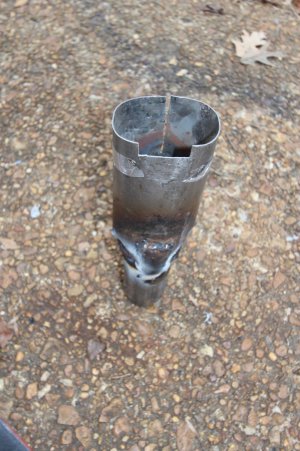
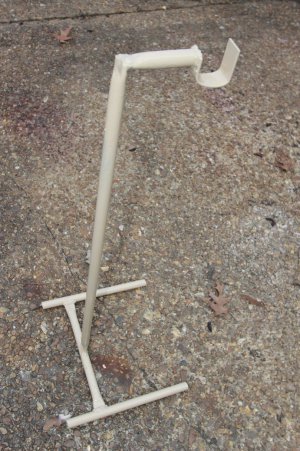
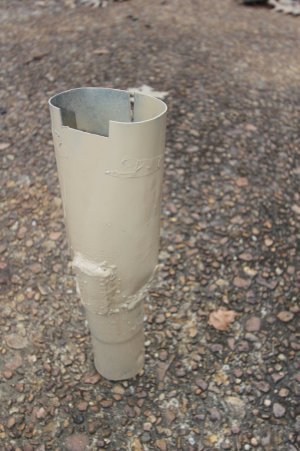
Here is the adapter I made for the leaf blower, and the stand I made to support the blower.
For the most part, I had to make up designs for the various equipment as I went.

I run the Toro blower on the lowest setting, and can fine tune the combustion air flow into the furnace with the PVC valve.
As it turns out, the Toro on the LOW setting is the exact amount of combustion air that my furnace needs to combust 2.7 gallons of diesel per hour, when the PVC valve is closed (all the blower air goes into the furnace with the PVC valve closed).
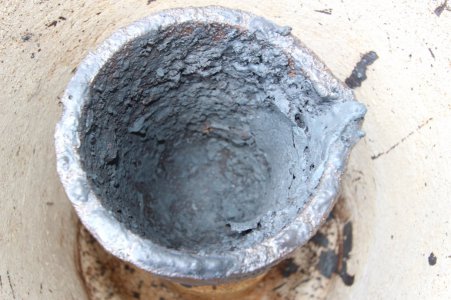
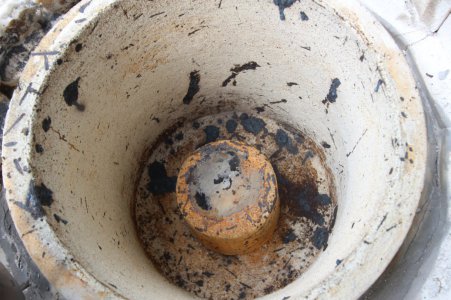
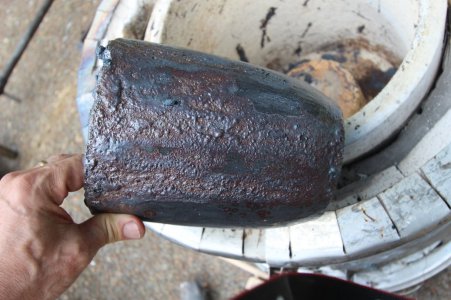
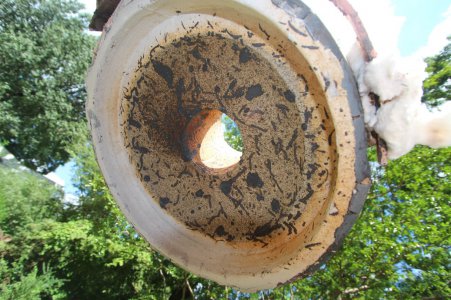
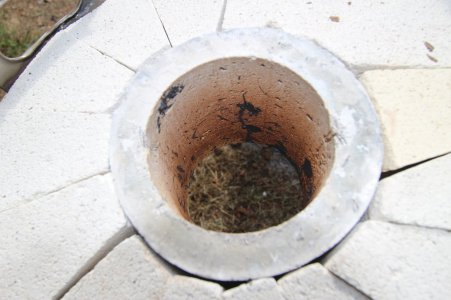
rImg_1270.jpgrImg_9155.jpgrImg_9159.jpgrImg_9161.jpg
 
Next I had to find some scrap gray iron to melt.
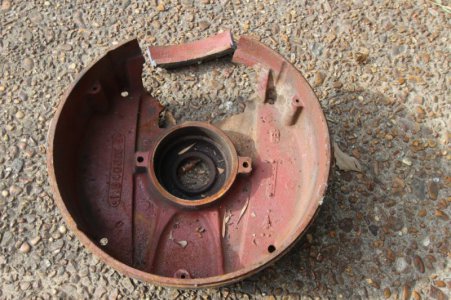
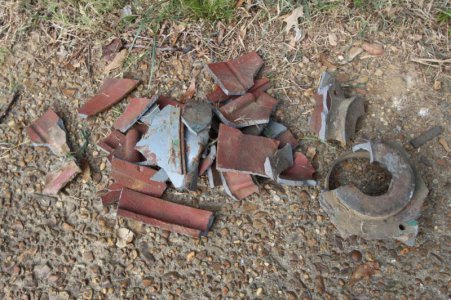
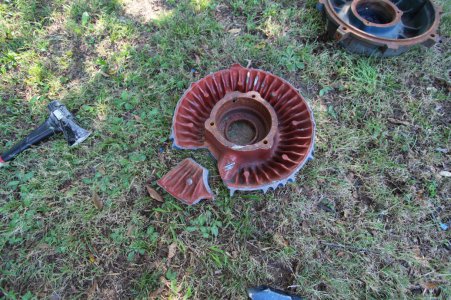
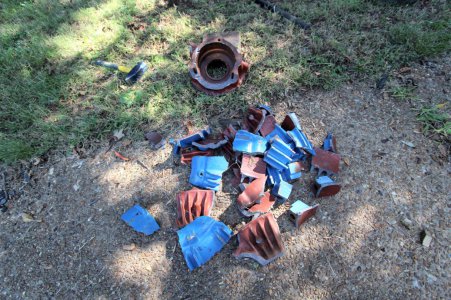
Motor end bells turned out to be excellent and consistent iron scrap, and I had a buddy who ran a motor-rewind shop, so he let me dumpster-dive.

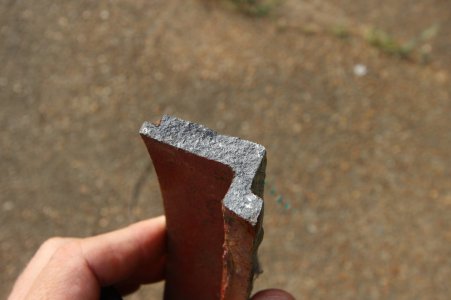
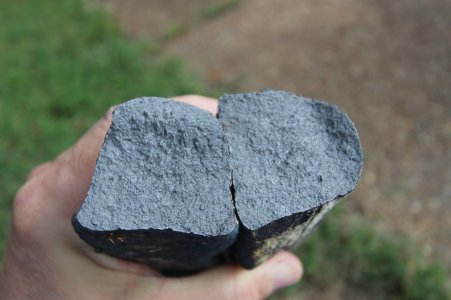
You can generally tell if scrap iron is usable by breaking it with a sledge hammer, and looking for a nice uniform even break, with no inclusions or white (hard) spots in it.

One common myth that many in the backyard community seem to adhere to is that scrap iron must be clean and free of any corrosion or paint.
You do not have to clean the corrosion off of iron, even if it is heavy, and you don't have to clean off paint either.
I did not believe this to be true until a buddy of mine demonstrated a perfect iron pour with flawless castings, using iron that looked like it had been on the bottom of the ocean for 100 years.
I stopped cleaning my scrap after that, and I get perfect casting results every time, so myth busted.


rImg_1087 (2).jpgrImg_1088.jpgrImg_1089 (2).jpgrImg_1894.jpgrImg_1895.jpg
 
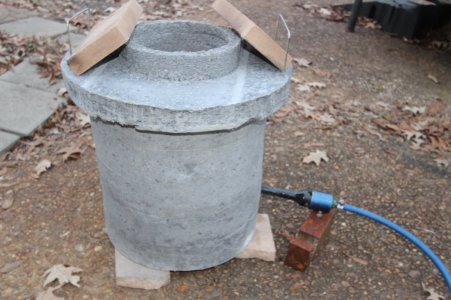
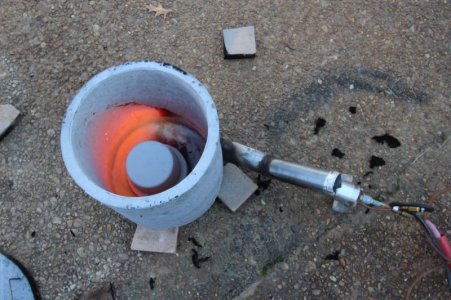
I dried out the hot face for about an hour the first time I used it, using a propane burner.
The plinths also have to be dried.
The trick is to use enough heat so that the hot face begins to steam, but not so much heat that the steam explodes the refractory.

Over about an hour, the propane burner is gradually increased in output, being careful not to overheat the refractory while it is still steaming.
Finally the steaming will stop, and the propane burner is turned to full output for about 5 minutes.
This is the only dryout method that I use.
Others use very long dry-out schedules, but I don't.

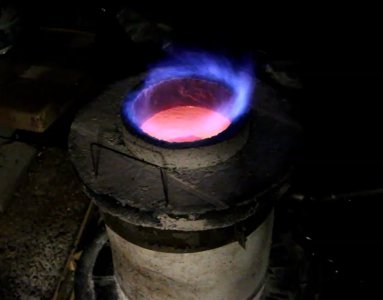
The blue flame hue was with my oil burner, and it was caused I think by the stainless needles that I added to my refractory.
I initially thought that stainless needles would help keep the refractory together, but they have no strength at red hot temperatures, and so they really don't do anything.
The needles to produce a beautiful blue flame though.

rImg_9037.jpgrImg_9046.jpgTest-01-Image2.jpg
 
Man, Nice write upon the Furnace! Thanks for sharing.
Thanks,

I studied several iron furnace designs that various folks had posted online, and paid careful attention to what worked, and what failed.
This furnace design is sort of a hybrid of things I saw online, with my own spin added to the mix.

I sort of stumbled through this furnace build, but I had seen others having good success with melting iron, and so I knew it was just a matter of using high-quality materials, and then figuring out how to operate the burner to achieve maximum heat.

.
 
I made my first iron pour with the new furnace, and everything well pretty well.
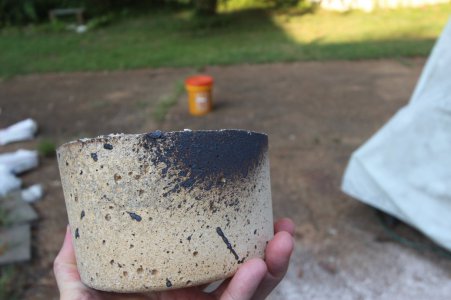
I looked closely for degredation of the interior and crucible, and all things considered, everything held up well.

Mizzou is noted for being a tough refractory, expecially with iron.

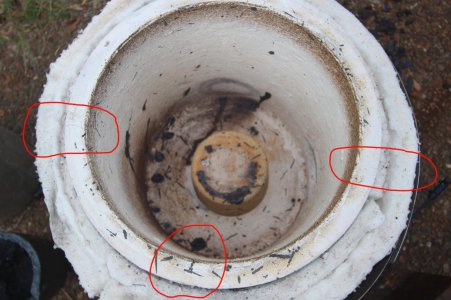
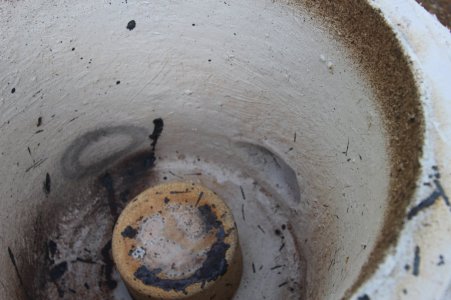
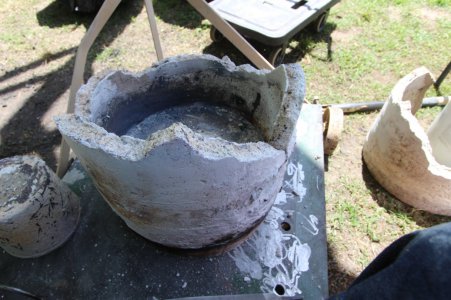
A few minor cracks appeared at the top of the hot face, and some slag degredation on the exterior of the crucible.
I got a nice clean iron pour, which broke cleanly with a nice even gray break.

I had to adjust the lid a bit.

Note that I originally did not use the insulating fire bricks around the exterior of the hot face, and the lid actually recessed down past the top of the hot face top edge.
All lids leak some hot gasses, and this lid design directed the leaking hot gasses down beside the outside of the hot face, heating up the stainless shell.
I ended up removing the lip from the lid (filled the lip with plastic refractory to make a flat surface), and made the lid/hot face joint flat and horizontal, with directs any leaking hot gas out horizontally.
This fix solved the lid problem.


rImg_1186.jpgrImg_1187.jpgrImg_1190.jpgrImg_1216.jpgrImg_1980.jpgrImg_1993.jpgrImg_1995.jpgrImg_1997.jpgrImg_2007.jpgrImg_2009.jpg
 
As luck would have it, my camera battery died just before pour time, so I missed getting the pour on camera.

I was still in trial mode, and so lots of clutter around the furnace, which should be avoided.

I also installed some thermocouples on the outside of the hot face, to see how hot it got.
The outside of the hot face gets very hot, and the thermocouples all burned up. Luckily they were inexpensive.

The outside stainless shell of the furnace remains cool to the touch will the furnace is running (after I added the insulating fire brick layer).
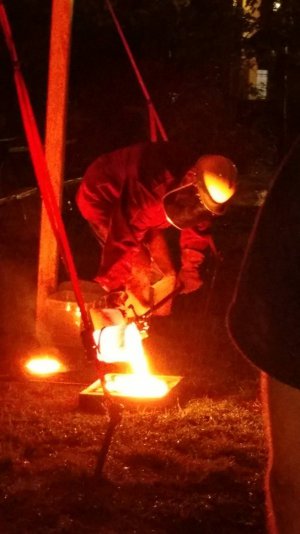
The burner tube also runs cool to the touch except right up close to the furnace.
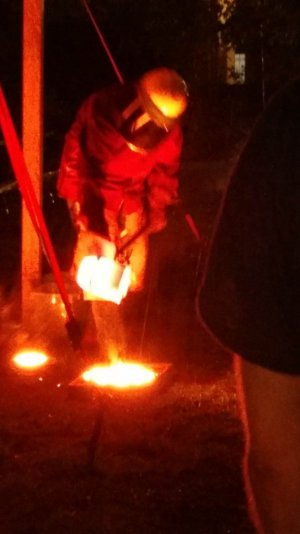

View attachment Pour-01.mp4
 
I made four iron pours using the new furnace, testing out some new sand, and demonstrating its operation to several friends and family members.
I was asked to do a demonstration for a local art-iron group in town, and so I disassembled the furnace so that I could move it.

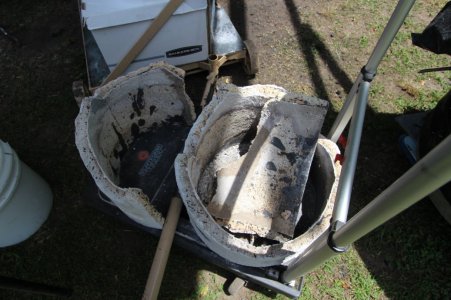
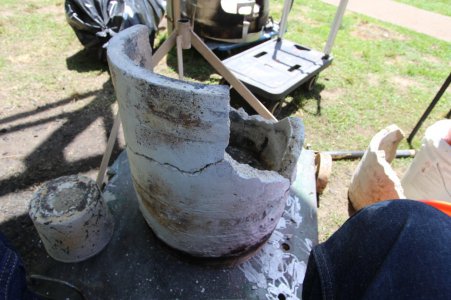
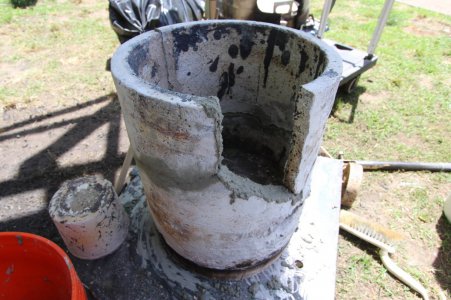
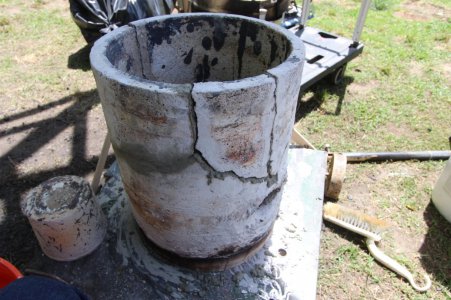
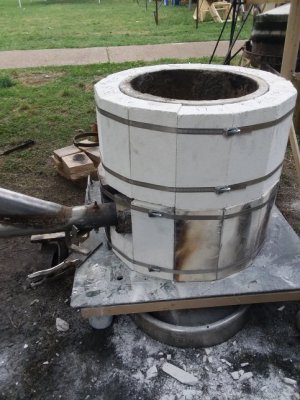
The hot face had become cracked during the four iron melts, and when I picked it up to put it in the van, it fell into 4 pieces.
I was not sure what to do, but I was due at the show in 30 minutes, and so I transported everything to the iron festival.

As I was walking around the iron festival, someone was patching the cupola that they use at the show with a white putty-looking material, packing it into the interior of the furnace by hand.
A light bulb went on in my head, and I asked if I could borrow some of that material, which turned out to be 3,800 F plastic refractory.
I was not even aware of such a refractory at the time.

I was able to patch my hot face, reassemble my furnace, and make a demonstration iron pour, which seemed to be well liked by the art-iron crowd that was at the festive.

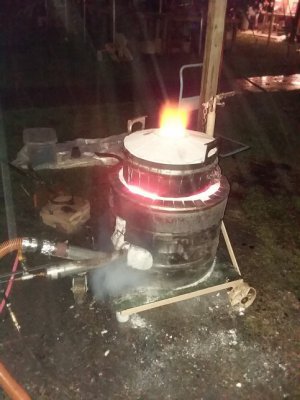
It was dark by the time I was scheduled to do the demonstration pour, but I am use to doing pours at night, and much perfer that since it is much cooler, and easier to see what is going on in and around the furnace as far as heat, temperature, and such.

The pour went well, and the patched furnace worked well.

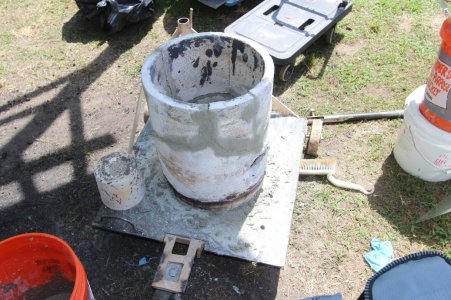
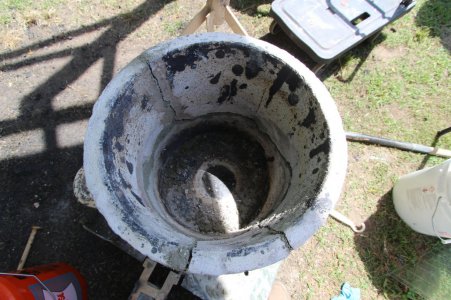
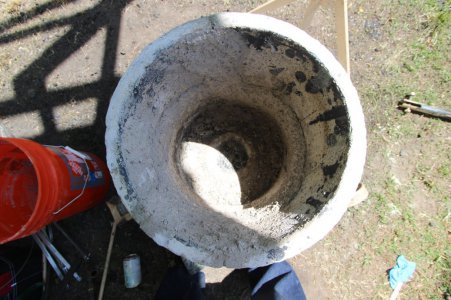
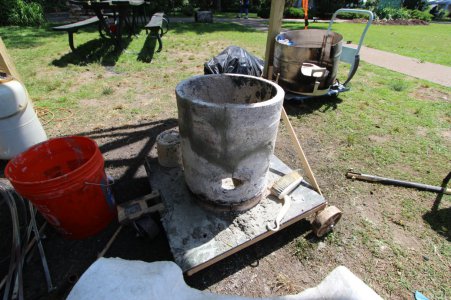
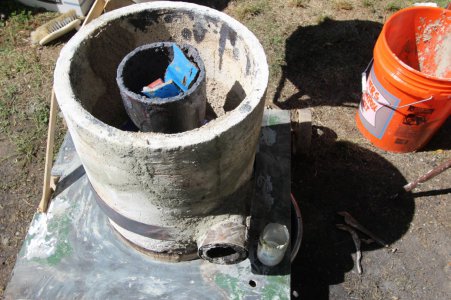
Below is the furnace rebuild, which I had to do at the festival.

rImg_3784.jpgrImg_3785.jpgrImg_3786.jpgrImg_3787.jpgrImg_3788.jpgrImg_3789.jpgrImg_3791.jpgrImg_3793.jpgrImg_3794.jpgrImg_3796.jpg
 
Discovering plastic refractory was a stroke of luck, and occurred by chance at the iron festival.

There were a few who said "You furnace is ruined; you can just throw it in a dumpster".
At first glance I thought they were right, but after patching the furnace with plastic refractory, I realized that a cracked hot face is no big deal.
All hot faces seem to crack.

But the Mizzou was still solid as granite, and the plastic refractory is the toughest material I have ever seen, and so the furnace has continued to work flawlessly after the cracking problem.
I removed all of the metal bands from the outside of the hot face, and have had only slight cracking in subsequent iron melts.

I touch up any cracking with plastic refractory, but have had only small cosmetic cracks at the top of the hot face since the festival.

It was just sheer luck that I discovered plastic refractory, which made me realize that Mizzou can easily be repaired indefinitely.


r20190518_173145.jpgr20190518_195551.jpgr20190518_202639.jpg

00041.jpg

image0000001.jpg
 
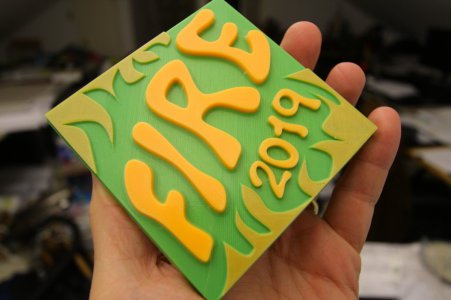
This was a 3D pattern that I made for the iron festival.
I have an iron casting of it somewhere that I need to find.
If you ever have a chance to attend an art-iron cupola pour, I highly recommend it.

I changed filament colors in mid-print just by snipping off the green filament, and then feeding in yellow filament until the feeder grabbed it.

RImg_3736.jpg
 
Back
Top