My Iron-Melting Furnace

greentwin

Registered
Registered
Joined
Jun 21, 2022
Messages
84
I got interested in making a foundry and casting some aluminum, after seeing a few articles about it in the model engine magazines.
When I decided to build the green twin, I did not initially consider trying to cast any parts in gray iron because I did not think it was possible in a backyard setting.

I did an internet search, and there was an individual who was melting iron with an oil-fired burner, and so that is when I decided I had to learn how to do that, with the confidence that it could be done, and was being done in a backyard setting.

I am told that he is certainly not the first to melt iron on a hobby level, but this was the first time I had seen it anywhere online.
.
 
I use new diesel to fire my furnace.
Some use waste oil, but I won't use it due to concerns about heavy metals being in it.

I starting reading up on oil burners, and my first experiment with an oil burner was a $20.00 paint sprayer from Harbor Frieght, and a can of kerosene.
I would (carefully with a full face shield and gloves) light off the kerosene spray, and create some very impressive flames.
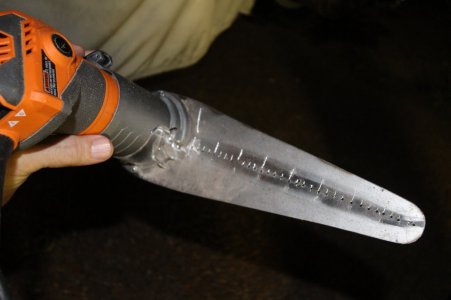
It was apparent I needed a paint sprayer in a long tube, for a foundry burner, and so that is what I ended up building.

My first furnace was just a circular stack of hard fire bricks, and a welded steel crucible, with a propane burner.

.
 
A few safety notes for those who may consider building a furnace.
You want to avoid any refractory dust, ceramic fiber airborne particles, metal fumes, toxic metals, etc.
Do your safety homework before you attempt to build a furnace.

Ditto when you attempt to operate a furnace or burner.
Operating a furnace and burner is not a casual affair, and like driving a car in busy traffic, you have to be well versed at it to avoid mishaps or injury.
.
 
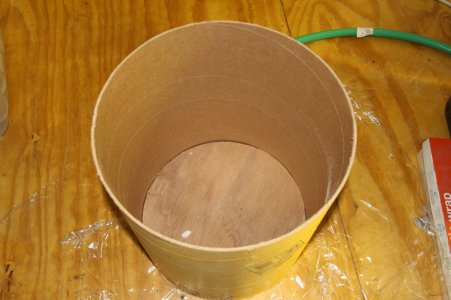
I build my first "cast refractory" furnace using two sonotubes, and a massive amount of refractory (perhaps 8 bags at 70 lb each).
While my first iron furnace did work, it is very slow to reach pour temperature due to its high mass.
I ended up building a second furnace, with the intent of keeping the mass as low as possible, and so this thread is about my 2nd iron furnace.
.
 
For my 2nd iron furnace, I used a total of two 70 lb bags of refractory, and it functions far better than the first furnace, with much shorter melt times.
Below are photos of how I did it.

I am constantly learning new things about foundries and furnaces, and if I had to build another iron furnace, I would probably do things slightly differently, but this furnace is highly functional, and I am very pleased with how consistently it operates.

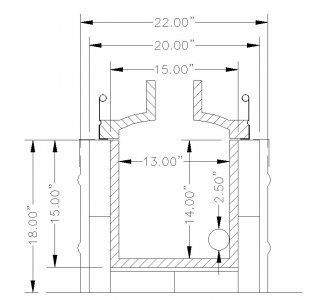
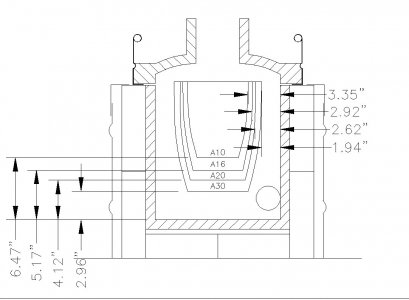
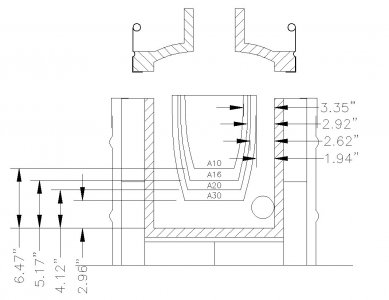
These are the dimensions of my furnace, and the intent was to be able to use a range of crucible sizes, by varying the plinth height.
The plinth is the support that the crucible sits on top of.

NOV-2019-01.jpgNOV-2019-02.jpgNOV-2019-03.jpg
 
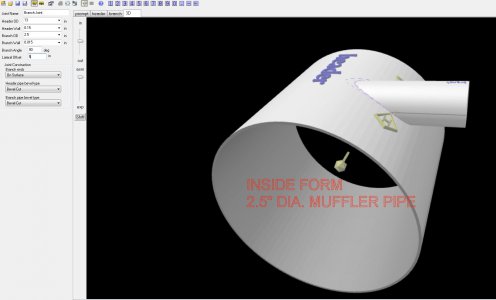
The idea is to have the burner tube opening (called the tuyere) enter the furnace tangential to the furnace body, to create a swirl of hot gasses that do not impinge on the crucible.
The centerline of the tuyere is generally at the bottom of the crucible.

.
 
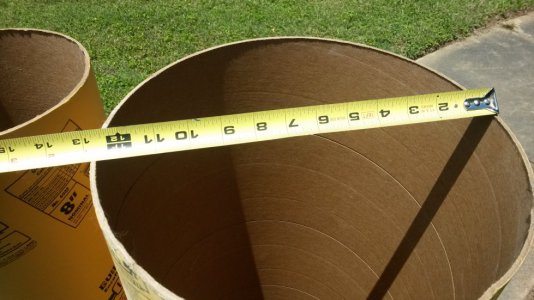
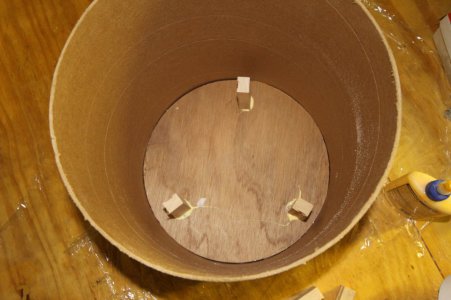
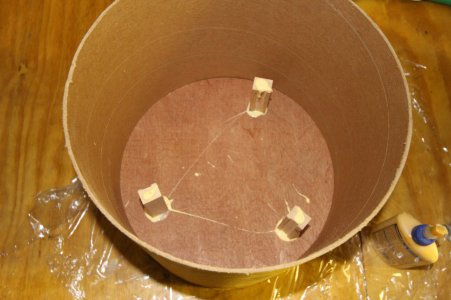
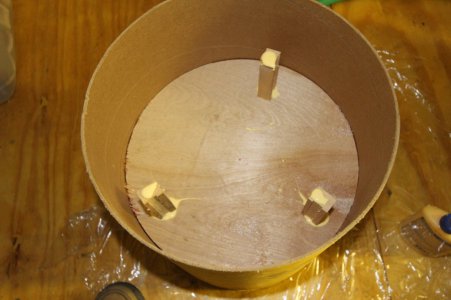
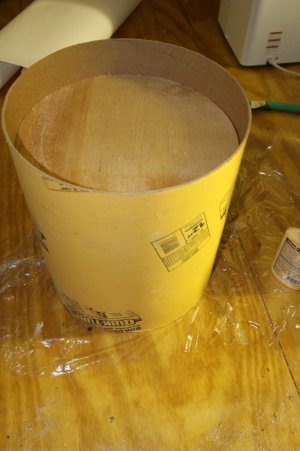
I used an online program to get a template to use for the tuyere opening, and bought some sonotube (tm) from the hardware store.
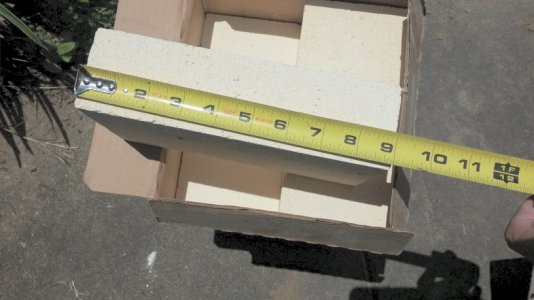
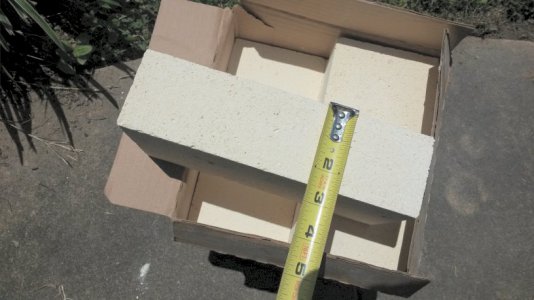
I also purchased some insulating fire brick and ceramic blanket.

0003.jpg0005.jpg0007.jpg0010.jpg0011.jpg
 
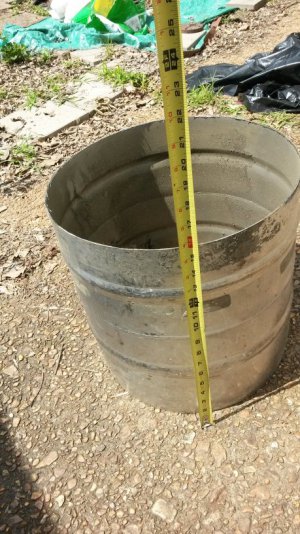
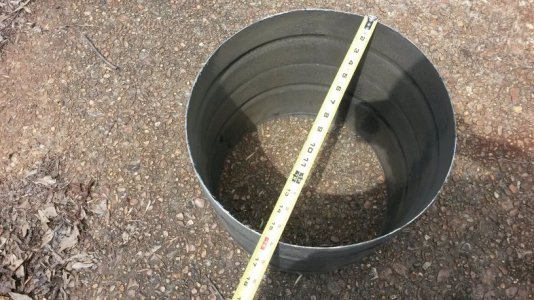
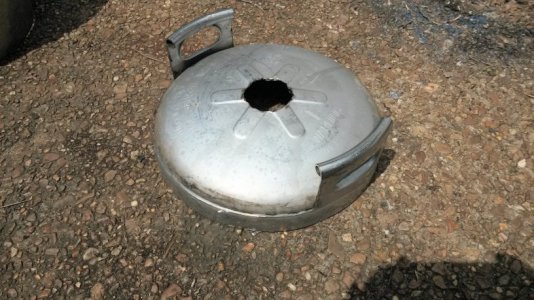
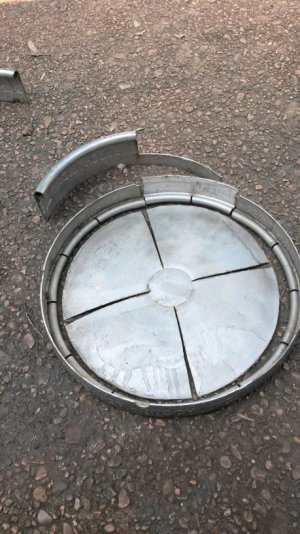
I bought a used stainless beer keg, and sliced it up.
Those things will spring open, so use caution if you cut the shell.

This turned out to be a minor blunder, since my furnace turned out to be the diameter of a 55 gallon drum, and I could have just purchased a stainless 55 gallon drum, and saved myself a lot of welding.

r20170610_144903.jpgr20170610_144942.jpgr20170610_145026.jpgr20170610_154746.jpg
 
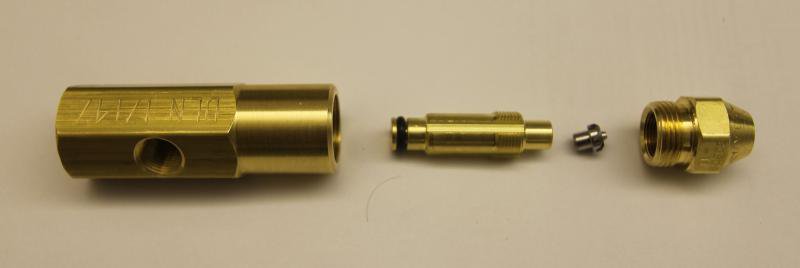
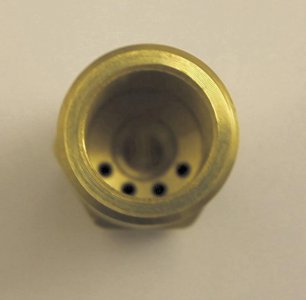
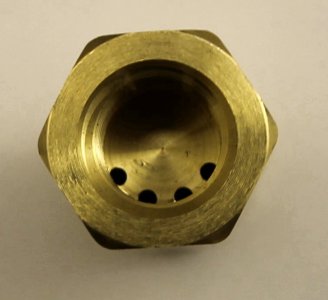
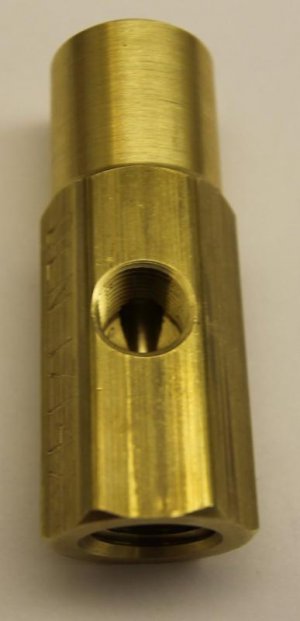
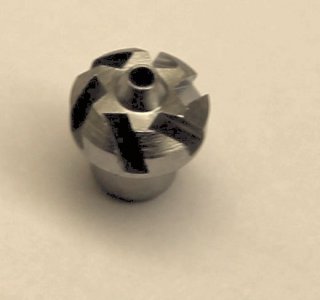
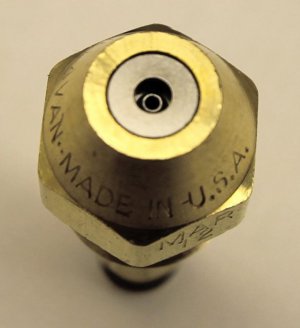
Here is the spray nozzle that I used for the burner.
This nozzle is commonly used in oil-fired heating units, and so is a proven design.
You don't want to leave the burner tube in the furnace after you turn it off though, else you will melt the o-ring in the nozzle.

I actually ended up redesigning this nozzle to eliminate the o-ring, but that is another story.
I never melted an o-ring, but I did not want to worry about that.

This nozzle uses atomized air through the center, combined with fuel fed in through the hole in the side of the adapter, to atomize the fuel.
The very tip of the nozzle has small angled slots in it, which help mix the atomized fuel with combustion air.

I use a variable speed Toro leaf blower to provide combustion air to the furnace.

IMG_4286.jpgIMG_4287.jpgIMG_4288.jpgIMG_4289.jpgIMG_4294.jpgIMG_4297.jpg
 
Back
Top