My 1959 Heavy 10 Toolroom

Lucas E

Registered
Registered
Joined
Mar 24, 2015
Messages
171
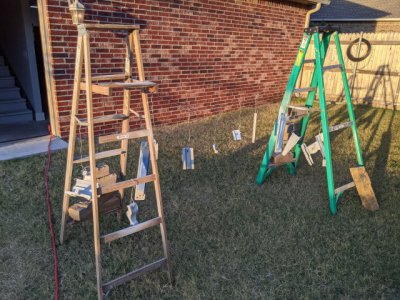
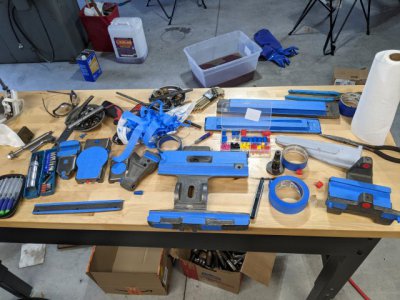
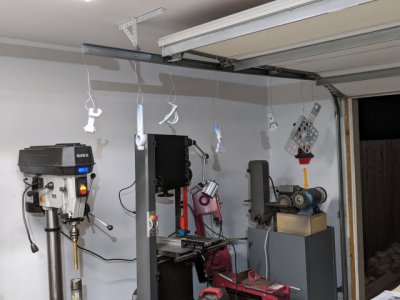
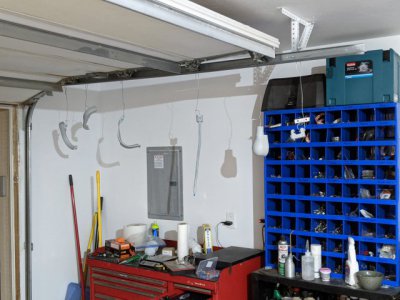
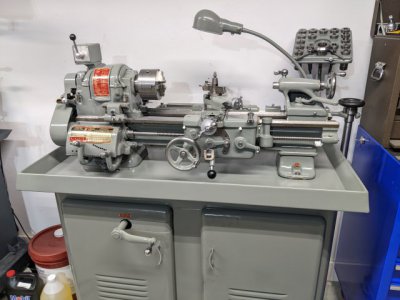
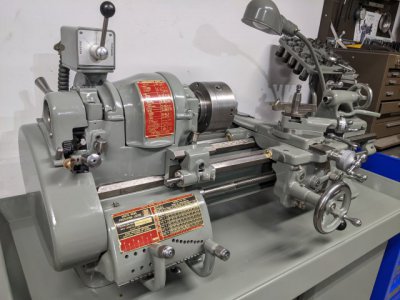
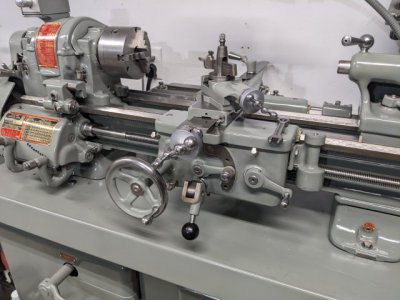
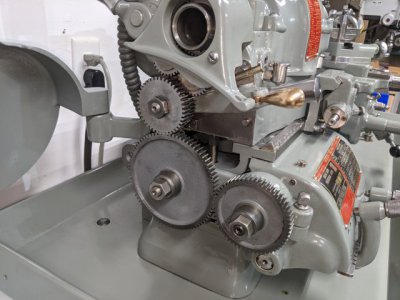
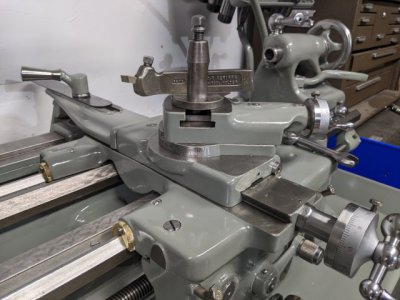
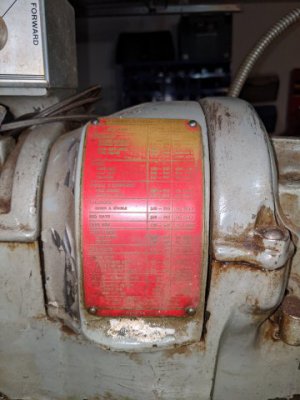
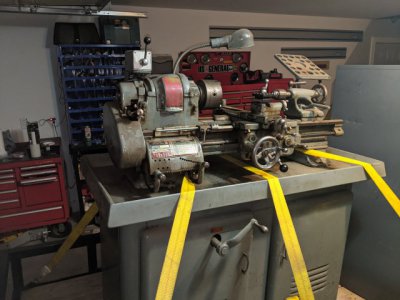
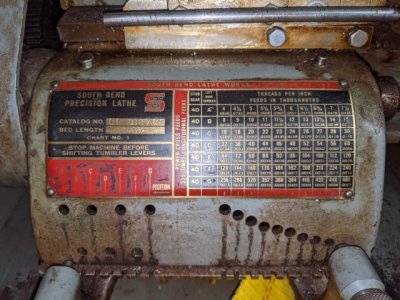
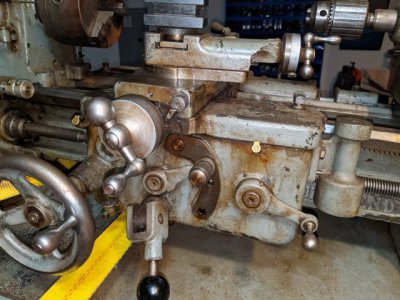
Here's some pictures of my 1959 South Bend Heavy 10 Toolroom Lathe. Spent almost 3 months working everyday after work and all day on the weekends to restore it. Completely disassembled, repainted, replaced some bearings and gears, and then reassembled. Wear on bed is only .0015" at it's worst so I didn't bother to scrape it. I'll probably rescrape the cross slide and compound eventually, but wanted to get it together and see how she works first. I still need to install the belt, but I had shoulder surgery last Thursday and I'm going to be in a sling for 2 months so that's going to have to wait.
 

Attachments

  • PXL_20211210_010339620.jpg
    PXL_20211210_010339620.jpg
    55.3 KB · Views: 197
  • PXL_20211210_010346716.jpg
    PXL_20211210_010346716.jpg
    63.6 KB · Views: 189
  • PXL_20211210_010351779.MP.jpg
    PXL_20211210_010351779.MP.jpg
    61 KB · Views: 165
  • PXL_20211210_010405518.jpg
    PXL_20211210_010405518.jpg
    56.2 KB · Views: 161
  • PXL_20211210_010800984.jpg
    PXL_20211210_010800984.jpg
    61.7 KB · Views: 155
  • PXL_20211210_010357962.jpg
    PXL_20211210_010357962.jpg
    60 KB · Views: 146
  • PXL_20210925_033052679.jpg
    PXL_20210925_033052679.jpg
    36.7 KB · Views: 142
  • PXL_20210925_033059993.jpg
    PXL_20210925_033059993.jpg
    62 KB · Views: 143
  • PXL_20210925_033047771.jpg
    PXL_20210925_033047771.jpg
    85.5 KB · Views: 144
  • PXL_20210925_033140720.jpg
    PXL_20210925_033140720.jpg
    84.8 KB · Views: 156
Very nice indeed!!
 
Beautiful Restoration! Please post pictures of the process, if you have them?
 
Beautiful!!
I'd bet it'll perform as well as it looks!
Congrats!!
 
Beautiful Restoration! Please post pictures of the process, if you have them?
Thanks, I have bunch of pictures, but they were mostly taken to help me remember what parts went where and what to mask. I'll try and post a few of the more interesting ones up later today.
 
Here's some pictures of my high tech paint booth. Painted everything outside and then hung on my garage door tracks to dry. There's also a picture of some parts after masking before primer. After the final paint had dried I used a razor to cut the tape lines so it didn't lift any of the painted surfaces. Then used alcohol to soften the adhesive from the precision surfaces, then scraped with a razor blade, then a final wipe with alcohol, then stoned with a precision ground flat stone, then oiled to protect. Sounds like a lot, and it is, but once you get the process down you can run large batches of parts and have them come out great without really thinking.
 

Attachments

  • PXL_20211008_233431094.jpg
    PXL_20211008_233431094.jpg
    110.6 KB · Views: 89
  • PXL_20211002_231358013.jpg
    PXL_20211002_231358013.jpg
    76.7 KB · Views: 85
  • PXL_20211023_002906828.jpg
    PXL_20211023_002906828.jpg
    51.8 KB · Views: 82
  • PXL_20211023_002913321.jpg
    PXL_20211023_002913321.jpg
    64.9 KB · Views: 126
Last edited:
Looks like it just came out of the factory. I think we have all had to come up with make do paint setups. For years I hung parts off the basket ball hoop outside the garage, or strung a wire from the pole to which ever vehicle that was handy. Nice work. Mike
 
What paint did you use?
The paint is Automotive Art single stage auto paint. It just happens to be the single stage that the local auto paint supplier carries.

The primer is Evercoat super build 4:1 polyester primer. It is really the reason for the good results as it easily allows for smoothing of the castings. You can apply it directly to the metal and it's super thick. I sprayed 3 thick coats on in one spray session and then let it dry over night. Id then sand it all down smooth with 220 and then 400. Degrease and it was ready to spray with topcoat.
 
Back
Top