Maxnovo Tam 18 x 40 inch Lathe restoration project

Hi Moddy,
my greeting was translated by google translate!

i look forward to see the beautiful lathe come back to life!!!

mike:))
 
Hello, I have a small update today.

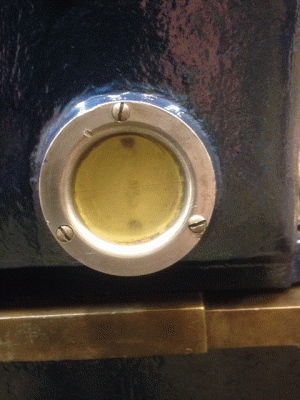
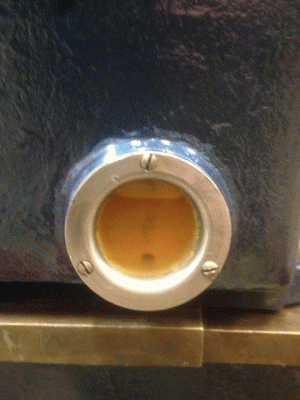
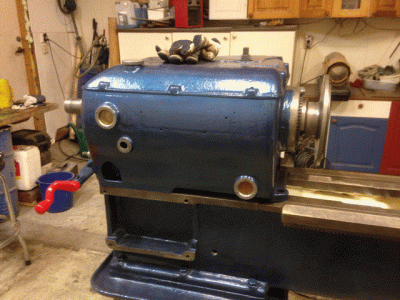
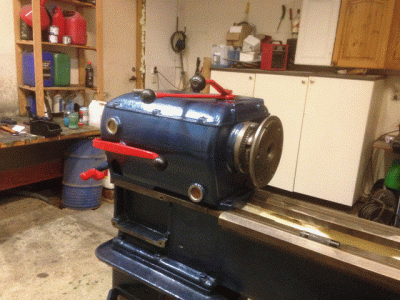
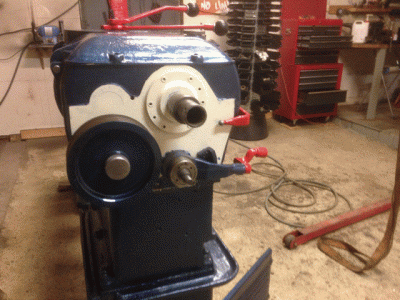
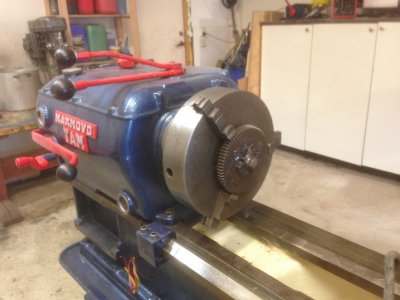
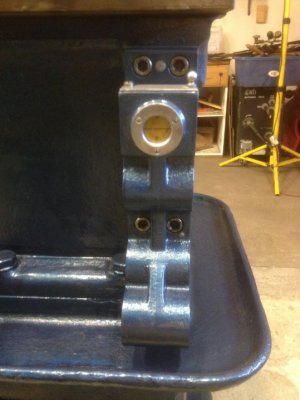
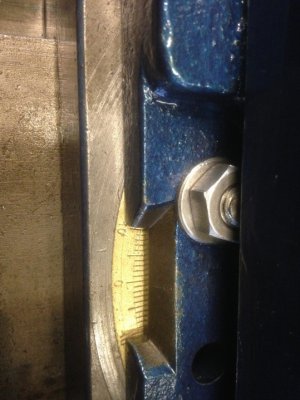
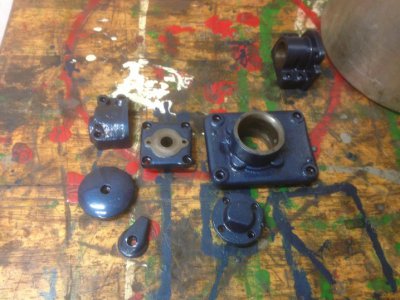
I have finished the head stock gear box, replacing the worn out bearing and seals. Now I can see the oil level!
IMG_0519.gifIMG_0521.gifIMG_0524.gif

I have not found any clear evidence of the year of manufacturing on this machine, but a lot of parts is marked with the number 911. I think maybe this could be the serial number.

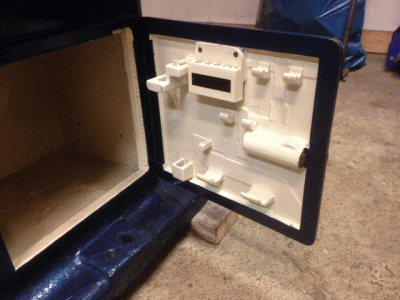
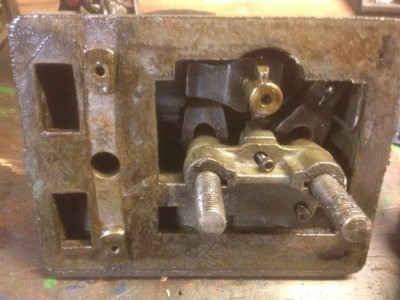
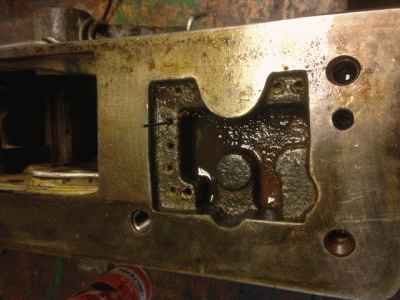
I also have a question that you people maybe can answer: What tool should be in fitted in the door on the picture below?

IMG_0523.gif

There was no tools with the machine, so I have to find out what tool it should be, and also find the tools. Any kind of help is appreciated. Please alert me if you have an idea or a picture of similar set up. Also, ofcource if you have a tool that might fit in my door, tell me and we can make a deal on it.

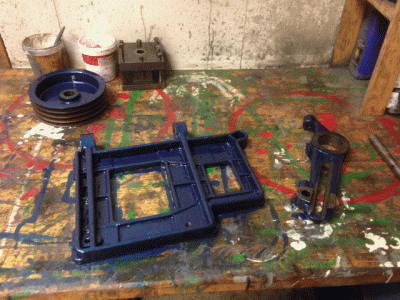
Next step is the motor bracket. It was pretty corroded, so I have sand blastered it and now it starts to look god.
IMG_0526.gif

Thats it for now, I'l try to post again early next week after a full weekend in the shop.

BR

IMG_0519.gif IMG_0521.gif IMG_0524.gif IMG_0523.gif IMG_0526.gif
 
You have that looking great. I really like your choice of colors. What were your issues with the paint? Mike
 
The handeles for the gear box was dry last night, so I have to post a update with the handeles on...

IMG_0529.gifIMG_0530.gif

I'm glad you like the colors, They are by accident, but I'm also happy with it. The original color on this is a slightly lighter blue on the outside, a light orange on the inside and blood red handles.
I used a standard hammer-paint blue color from the local machine shop, and did not like the light orange, so I used a "hellelfenbein" color that was left over from my tractor restoration. The handles also got some leftover paint from the wheels on the tractor.

The issue with the paint is: When this baby was new born in Italy, they used filler on absolutely every part of it. It must have been absolutely gourdes when it left the factory with paint like a new car! I just put a steel brush in my grinder and softened out the edges, and throw paint on it. The next time I paint it, I'l will use filler to get the same finish.

Any ideas on the tools in the door? I'l try to post the question around over the weekend to try to find some.

IMG_0529.gif IMG_0530.gif
 
Here's a link to "my way grinder" that I used to regrind my L & S bed with.

https://www.google.com/url?sa=t&rct...Yhj9FlTrHMO5lZhAjVWCkHg&bvm=bv.85761416,d.eXY

This only works provided you have three reference surfaces that are not worn or damaged. You could probably do it on your lathe if you wanted to do so.

As for the ground out areas on the tail stock ways, you could fill it in with some Moglice or metal Epoxy and machine flat. But if it don't get in the way of your tailstock or steady rest, I wouldn't worry about it!

I have the same problem on the L & S I've been rebuilding. It has a section of the tailstock ways cut out for almost 24"!!!
 
Hello Again!

Thanks, 4gsr for your link. That is actually the movie I referred to that I saw on youtube.

I have a short update now:

I have been able to restore the original "Drum Switch" and make it works again. I'm glad I will be able to use that just because it's so pretty
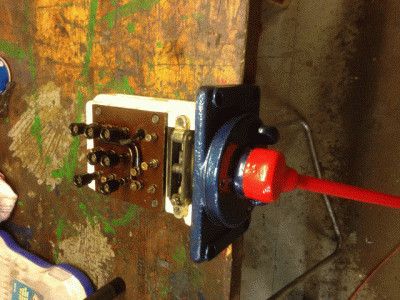
IMG_0532.gif

Now I have a lot of parts waiting for paint and so on, and the cables is in place, yet still not connected. The original electrical parts is in different states of refurbishment and I plan to have the electrical connections done by eastern.
I have a friend that is electrician, and he is amazed by the fact that all original electric switches is so sturdy and robust that they can be refurbished after all this year. That would never have been possible with modern electrical switches.
I have just opened them up (They are assembled with "normal" screws, of cource) Cleaned them and used a Dremel with steel brush on the BRASS contact points, Replaced a couple of rusted screws and some paint and polish.

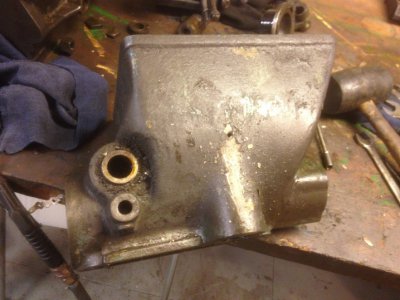
I have started on the Apron to that needs a lot of work.
I was able to open up most of the lubricating tubes on the apron, but one is impossible to open, and another one I drilled a hole in, so I have to replace two of the aluminum tubes.
IMG_0534.gif

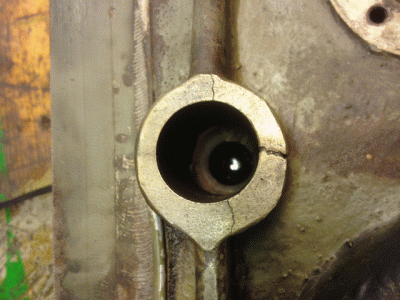
When I got the Apron clean, I saw some cracks around the feeding axel hole. I plan to weld that and redo the lubricating hole that passes through this to feed oil to the "mode change axel" I'l post an update to show the results of the fix
IMG_0533.gif

Please post any input you have on tools that is common on a lathe like this.

BR
 
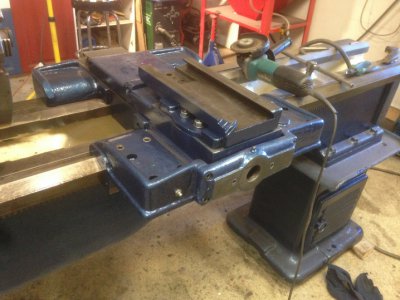
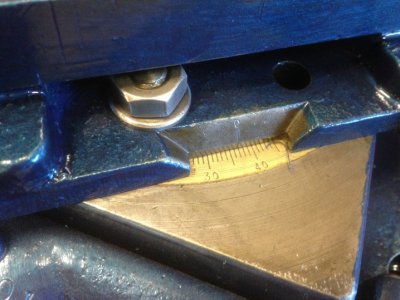
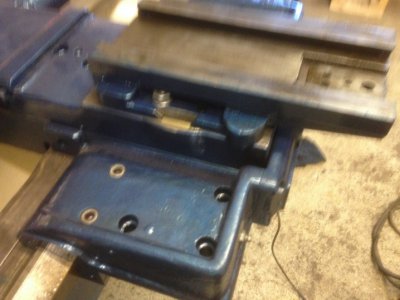
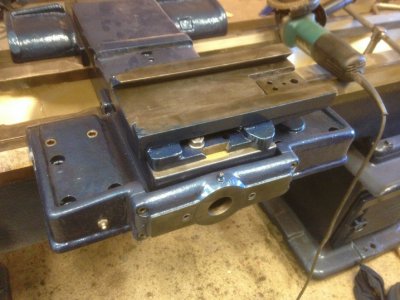
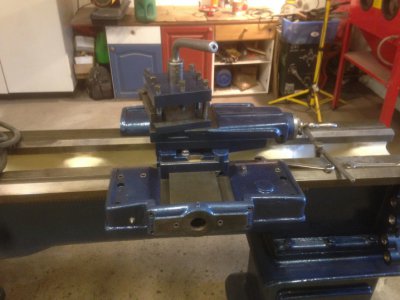
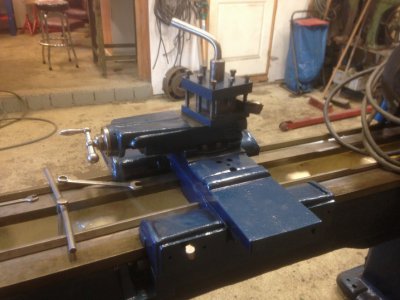
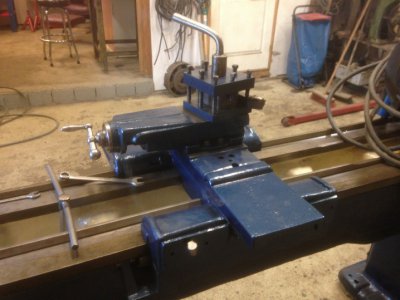
I have been working pretty hard on this for the last weeks, and here is a pictorial of the progres:

IMG_0563.JPG IMG_0564.JPG IMG_0565.JPG IMG_0566.JPG IMG_0567.JPG IMG_0568.JPG IMG_0569.JPG IMG_0570.JPG IMG_0571.JPG IMG_0572.JPG IMG_0573.JPG IMG_0574.JPG IMG_0575.JPG IMG_0576.JPG IMG_0577.JPG IMG_0578.JPG

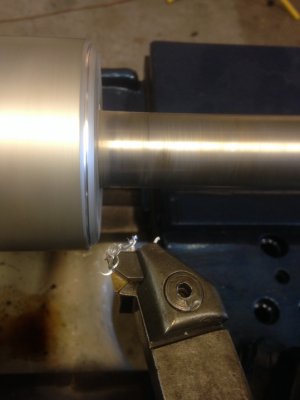
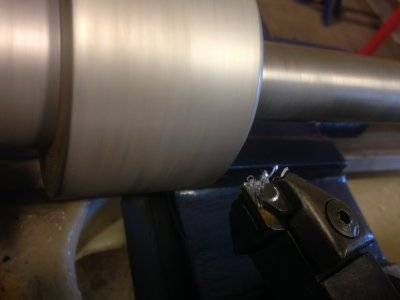
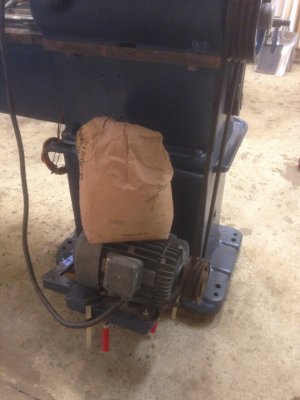
I also had to hook it up temporarily with another motor just to be able to celebrate "first chip" this weekend.

Only needs some bearings, and two shafts and a lot of albowgrease to have feeding on it now...

BR
 
your lathe is coming along very well!!!
i like the color.
the way the engineers designed the machine will ensure it's longevity.
you're a lucky guy to have such a beautiful machine ! :)
 
Back
Top