- Joined
- Feb 2, 2014
- Messages
- 1,068
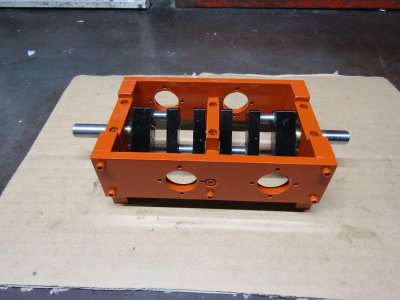
I have never built an engine with more than 2 cylinders before but I was really impressed with how smoothly my last engine the "Horizontal Twin" ran that I am going to try a 4 cyl version. I want to use three ball bearings on the crank shaft so that means I will have to make a built up crank. Now I haven't had a lot of luck with built up crankshafts in the past in fact I dread making them so maybe I need a different approach.
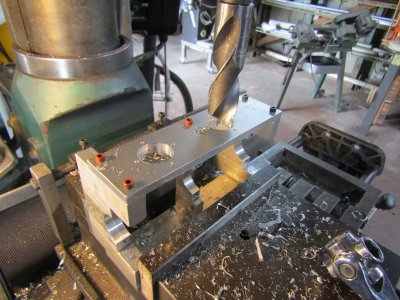
I started by carefully making the webs all the same length, thickness and width except for the outside two they are thicker. I drilled all the holes on the mill using ther DROs so I could could get them all the same spacing and in the correct location.
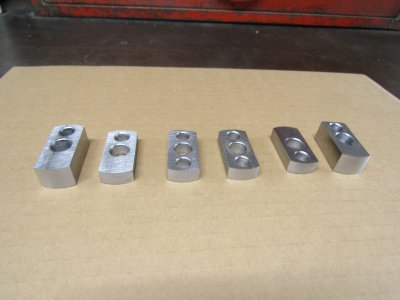
The holes were sized for a close slip fit so I need a way to hold the webs at exactly a 90 degree angle to the main shaft.
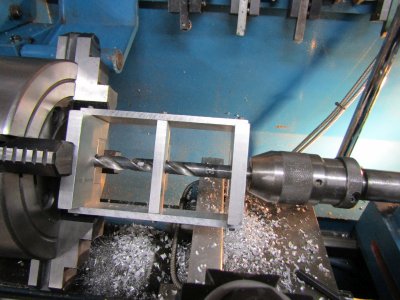
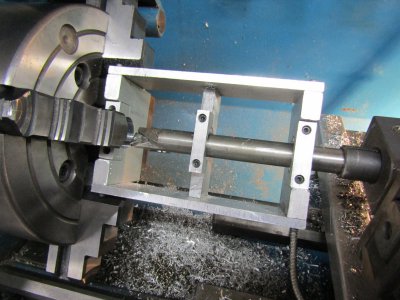
I put the main shaft in the lathe chuck at the desired length for the first web. Using a lot of Loc-tite 620 I held the web against the chuck jaws using the tail stock and a socket.
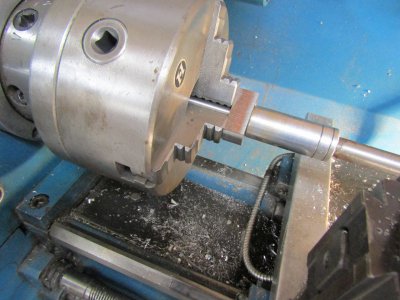
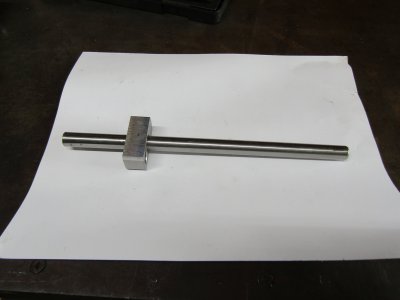
After about 15 minutes I removed it from the chuck and this is the result.
I also glued some of the rod journals before assembly using the same method.
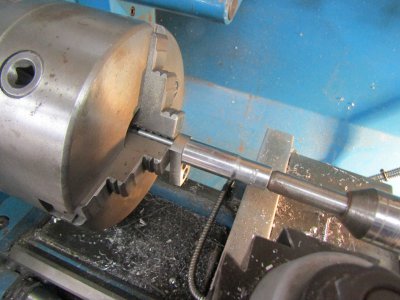
I reinstalled the main shaft with the long end sticking out this time and started adding pieces.
I cut 10 spacer blocks to insert between the webs as each new piece is added and no I didn't forget to put in the center bearing.
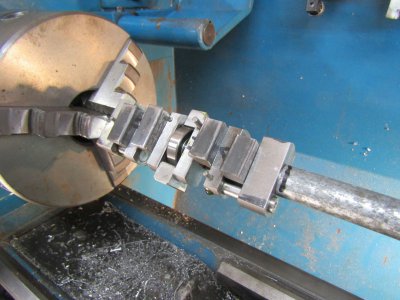
This was all held in place overnight to allow the glue to really set up.
All the joints were drilled and tapered dowel pins installed before cutting out the main shaft spaces and trimming the rod journals.
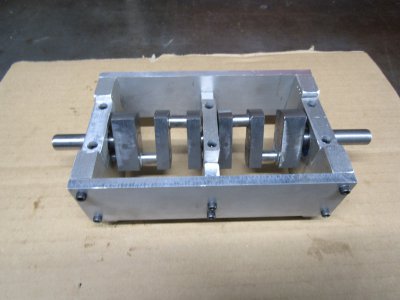
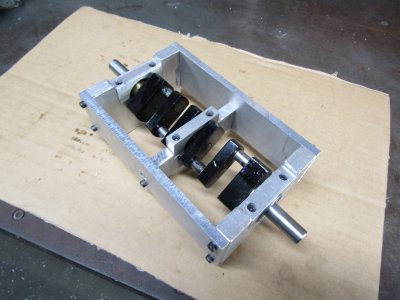
Here it is after filing off the dowel pins and a little more cleanup.
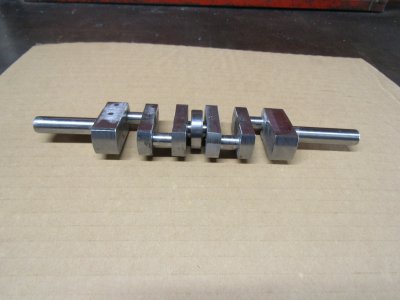
It looks to be fairly straight but the real test will be when it is installed in the engine block.
Fingers crossed.
Thanks for looking
Ray
I started by carefully making the webs all the same length, thickness and width except for the outside two they are thicker. I drilled all the holes on the mill using ther DROs so I could could get them all the same spacing and in the correct location.

The holes were sized for a close slip fit so I need a way to hold the webs at exactly a 90 degree angle to the main shaft.
I put the main shaft in the lathe chuck at the desired length for the first web. Using a lot of Loc-tite 620 I held the web against the chuck jaws using the tail stock and a socket.

After about 15 minutes I removed it from the chuck and this is the result.

I also glued some of the rod journals before assembly using the same method.

I reinstalled the main shaft with the long end sticking out this time and started adding pieces.
I cut 10 spacer blocks to insert between the webs as each new piece is added and no I didn't forget to put in the center bearing.

This was all held in place overnight to allow the glue to really set up.
All the joints were drilled and tapered dowel pins installed before cutting out the main shaft spaces and trimming the rod journals.
Here it is after filing off the dowel pins and a little more cleanup.

It looks to be fairly straight but the real test will be when it is installed in the engine block.
Fingers crossed.
Thanks for looking
Ray


