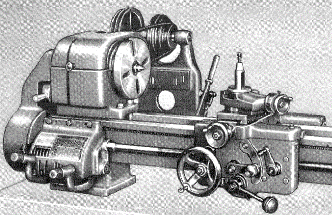
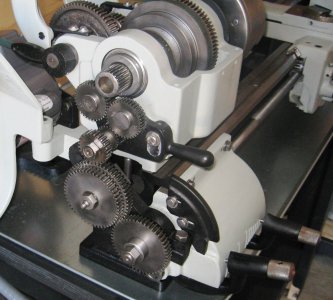
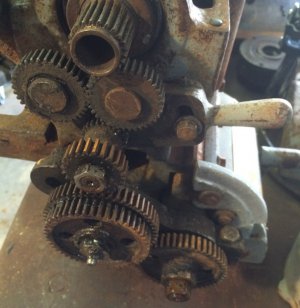
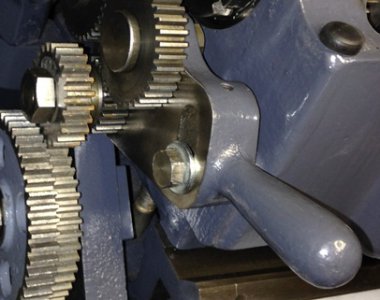
Installing a Logan QCGB. Logan 9B to 400 adaptation.

I think i mentioned this already but i am catching up still on info for this part of the project. I am farther along then what is show and am going back to document progress.

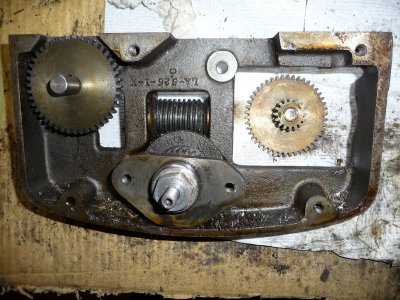
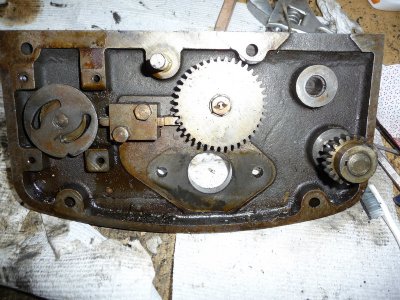
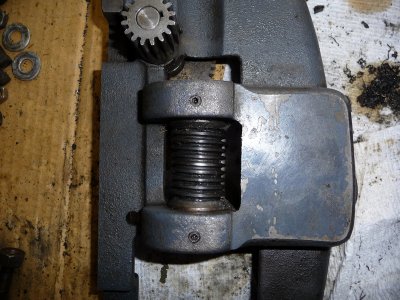
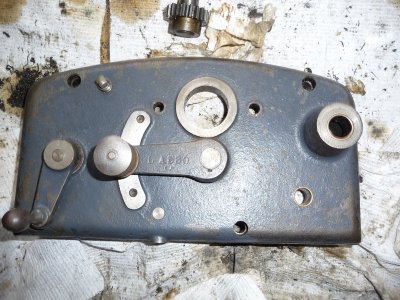
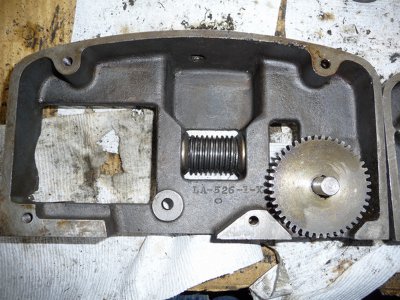
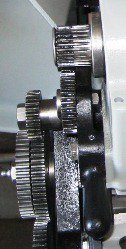
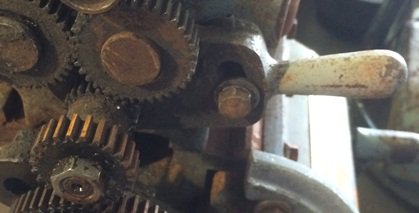
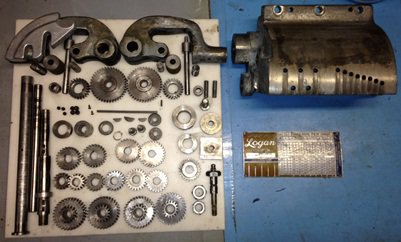
Next step is to take it all apart. Goal is to clean and re-paint but also get to the casting all by itself so i can start fitting it to the bed without the extra 10 pounds of metal.
IMG_0883sm.jpg

It came apart fairly easy. The Selector knobs shaft did not want to come out of the selector body and getting the pin in the selector shaft (between the two selectors that keeps them separate) was a challenge but otherwise this was straight forward. Since all the gears for the cluster are notched for a key it is easy to ID them while the gears for the selector have a the key integral to the gear. Also all of the double gears are the same part #. The Logan we site also has a cut-away of this to aid in re-assembly.

http://www.lathe.com/gearbox.htm

Wear wise the gears are in great shape. The selector shaft has play in the bushings as does the cluster shaft. Anyone have any idea how much radial slop is allowable?
IMG_0892sm.jpg

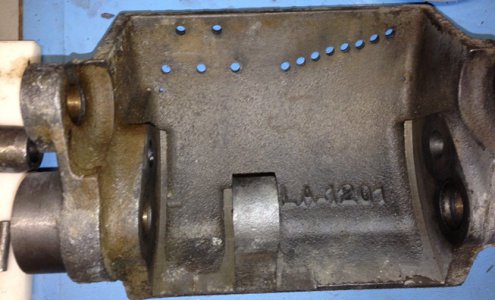
Here is that casting number. LA-1201. Again this is from the 9B-17 with Power cross feed.
IMG_0885sm.jpg

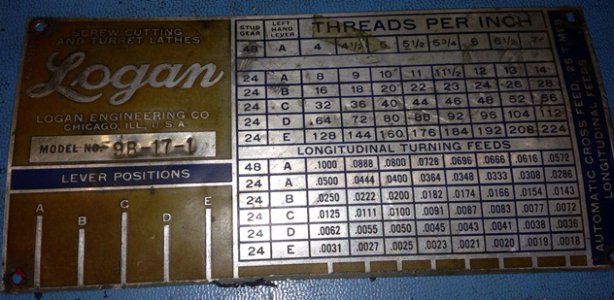
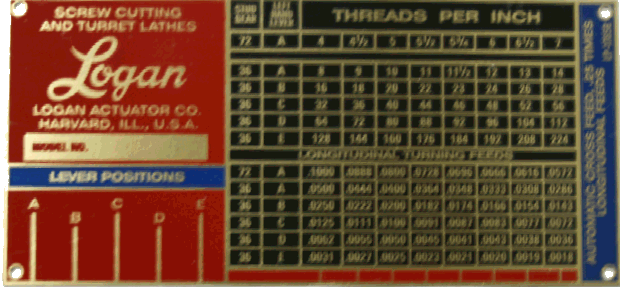
This is the ID plate. Hard to tell from the picture but the red paint is faded and the upper right has been damaged. It would not be possible to flatten it out, paint it and then sand off the top to bring the aluminum back and reveal the details. (Like i did for the Logan 400 ID plates) The other bummer is that Logan does not sell this ID plate. They sell this one.

http://store.lathe.com/lp1785b.html
Logan new QCBG ID.gif

It is for the newer boxes and uses a different stud gear. That is OK. I have a plan in the works to make my own ID plate. Will work on that later.

Matthew

IMG_0883sm.jpg IMG_0885sm.jpg IMG_0892sm.jpg Logan new QCBG ID.gif
 
:wavinghi:

Gonna have to make some more popcorn. Great stuff, Matt.
 
Thanks AR1911.

That is what i was thinking but was not sure. There must be some other mechanical gizmo that engages that slot but does not touch the screw. Is it always engaged and the selector just engages the cross feed?

Something else to research.

Of course the obvious questions is which aprons fit which machines? Are the 9" & 10" different?:thinking:
 
Mathew,

Converting your non-powered apron to a powered version would be a major project and I doubt if it's doable. It would be much easier to buy a different apron / saddle.......and then I'm not sure.

There are additional gears in the apron that power the apron and the cross slide. There is a three position lever on the front of the apron - center position is neutral, up is X and down is Y. If you take a look at Tony Griffith's site you can see the lever I'm talking about. http://www.lathes.co.uk/logan/index.html

Sorry if Rex's and my posts mislead you to think you should convert your existing saddle. Hope this helps.

Steve
 
Steve,

Thanks for the clarification.

FWIW I did not think my existing 400 saddle/apron could be converted. Not without remaking the apron and alot of parts from scratch. :lmao:

I bet though a saddle/apron from a 9B would fit right on there. Not sure about a 10" though. I suspect they are different.

I am just not familiar with mechanism that engages the slot in the lead screw. I imagine it is some sort of rotating device that does not touch the lead screw thread but has a key to pick up the slot. That rotational motion is then transmitted to the cross feed. The three positions would then be forward, no motion and reverse which somehow engages the gears without damaging them. Maybe the key is spring loaded and finds the slot as it comes around. That would be better then trying to mesh gears. but then how do you reverse the motion. Has to be more complicated than that.

Something else to learn.

If i were to tackle this i would just buy one and mount it.

Thanks.
 
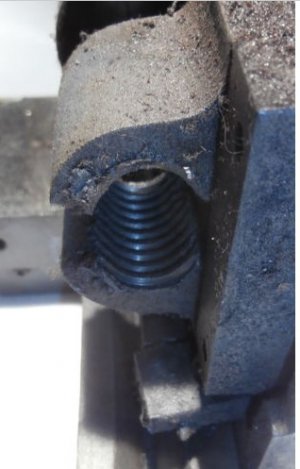
The lead screw passes through a worm gear at the bottom of the apron. The bore of the worm gear is smooth, with a key. It drives a spur gear, which meshes with a movable gear above it that connects to the selector shaft. In the down position it meshes with the longitudinal drive gears. Move the lever through neutral to the upper detent and the gear. Swings up to mesh with a gear on the cross feed. The lever at the bottom is the clutch to engage the feeds
That's a little simplified :))
 
Mathew,

Rex explained better than I could. Here's some pic's of the inside of my apron that may help.

P1040853-1684782052-O.jpgP1040854-1684788922-O.jpgP1040856-1684788785-O.jpgP1040857-1684789600-O.jpgP1040858-1684798414-O.jpg

Hope that helps.

Steve

P1040853-1684782052-O.jpg P1040854-1684788922-O.jpg P1040856-1684788785-O.jpg P1040857-1684789600-O.jpg P1040858-1684798414-O.jpg
 
Rex, Steve.

That is VERY different than the 400.

Rex Wrote "In the down position it meshes with the longitudinal drive gears. Move the lever through neutral to the upper detent and the gear. Swings up to mesh with a gear on the cross feed. The lever at the bottom is the clutch to engage the feeds"

The bottom position engages the longitudinal drive gears. You mean the drive shaft, like what the half nut does?
When you move up and engage the cross feed. Is it one direction only? Power in and manual out?
The clutch then acts the same as neutral or the middle position? It is not the half nut then.

Did i understand that right?

How does the power get up to the cross feed? Is the screw different? Wonder how different the saddle and cross feed assembly is then.

How different are the 9" from the 10"? Any idea?

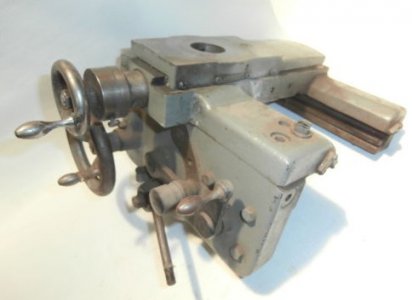
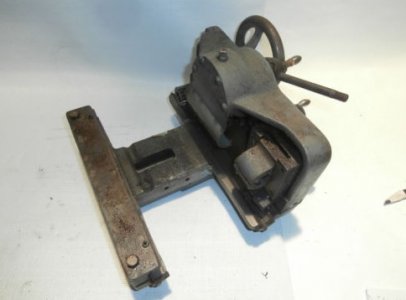
These are pictures of the 9B saddle that came off of the same Logan my QCGB came off of. It could have been purchased for $150. It is no longer available. You can sort of see the parts. Too bad on Ebay you cannot contact the buyer....

9B saddle 01.jpg9B saddle 02.jpg9B saddle 03.jpg

Matthew

9B saddle 01.jpg 9B saddle 02.jpg 9B saddle 03.jpg
 
The power cross feed is the side show. Great stuff and should be documented. Keep the info coming Rex, Steve and anyone else who can contribute.

Back to our main feature for a bit. With the QCGB taken apart for cleaning i was able to investigate what fits and what does not.

Here is my hit list.
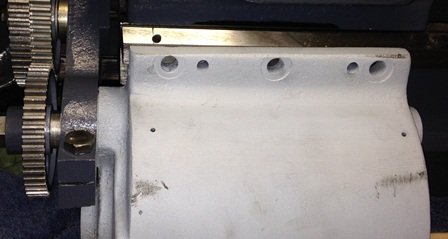
- Box. Where to drill and tap holes? What dictates the proper alignment and can i use the 9B's position?
- End Support. Will the 9B-17 drive shaft work as is?
- Bull gear to box drive train. What is needed?
- Drive shaft alignment. What has to be done to tram the shaft to the bed.
- Box clearance to the deck. Will the change levers clear the deck?

I will tackle each of these one by one.

Matthew
 
Box Location. Where do i drill the two dowel holes and three tapped holes?

From looking at the 9B, it looks like the QCGB aligns at the end of the bed. The problem is that it depends on if the head stocks are exactly the same and the stud gear is in the same location relative to the end of the bed.

img1sm.gif

The pictures below are from 9B's. (First is unknown. Second is of Rex's.) Both pictures appear to have the QCGB mounted at the end of the bed. (Note the removable cover that apears to extend over the bed)

IMG_0054sm.jpg IMG_3579sm.jpg

One thing i notice though is it looks like the Stud Gear is extended out farther than what my 400 has. (Mine is the 1st picture) That would really change the location of the box. What is that distance??

IMG_0963sm1.jpg IMG_0057sm1.jpg IMG_3579sm1.jpg

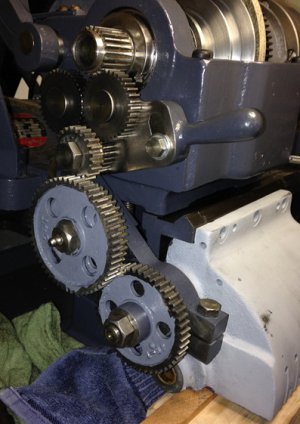
You can see below that when i did a mockup of the box and gear train that the box wants to be about .100" from the end of the bed using my short stud gear. (BTW, i am using a 24 tooth stud gear with two 48's. The 56 to the outside of the first (top) 48 is just along for the ride)

IMG_0962sm.jpg IMG_0965sm.jpg

So, if i mounted the box at the end and used my shorter stud gear shaft then i would have to move the QCGB "Y" gear mount out and likely space the QCGB input gear out a little as well.

The real question then is how long is the 9B's stud gear shaft and if i did that were would the box want to be mounted?? :anyone:

Matthew

img1sm.gif IMG_3579sm.jpg IMG_0054sm.jpg IMG_0057sm1.jpg IMG_0963sm1.jpg IMG_3579sm1.jpg IMG_0962sm.jpg IMG_0965sm.jpg
 
Last edited:
Back
Top