Hendey Gearhead Lathes

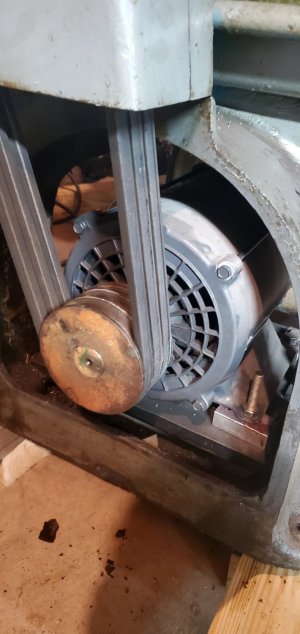
I've cobbled up a mount for a drum switch on the '40, reinstalled the motor, wired it all up, and cranked it up...
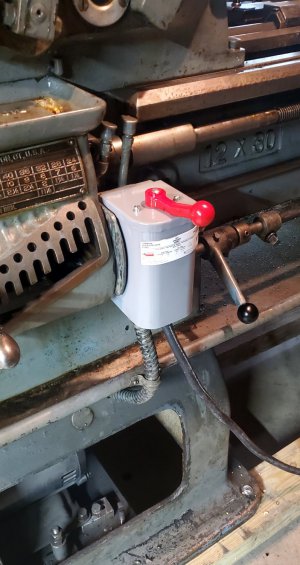
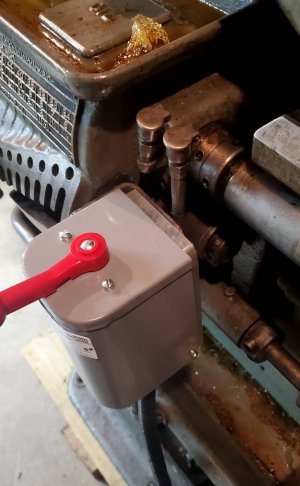
20230427_163020.jpg

20230427_163027.jpg

20230427_163046.jpg

It runs very well... but does have a few issues...

As soon as the motor starts, the spindle begins 'drifting'... I tinkered with the clutch adjustment but never managed to get it to stop drifting. I'm guessing the clutch disks are coated in very sticky gummed oil... I'll take the clutch apart and clean everything and see if that fixes it.

The lead screw engages smoothly in both forward and reverse... but the lever that controls the lead screw direction has a lot of play in it. That will have to be addressed.

The carriage feed works very well, as do the half nuts... hopefully there is no problem there.

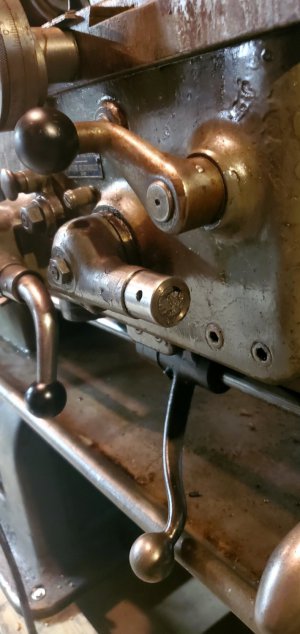
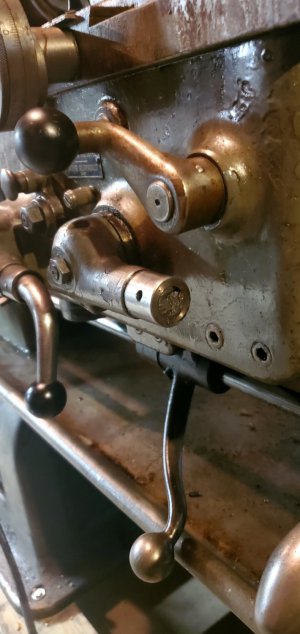
The cross slide feed doesn't... the feed clutch handle has been broken off...
20230427_163119.jpg

I engaged the cross feed by turning the handle stub with a punch in the pin hole that is visible in the picture... it won't fully engage, though, but it did engage enough to operate the cross feed. However, when I disengaged the feed clutch, the feed continued 'coasting', or drifting... I am guessing that something isn't right with the clutch... it likely was damaged when the lever was broken.

I'll have to remove and disassemble the apron to see if I can diagnose and repair it... I'll also need to see if I can make a new handle.

Just like the '44, this lathe is not pumping oil through the apron. The sight glass showed the apron being full of oil... but it wasn't pumping any.

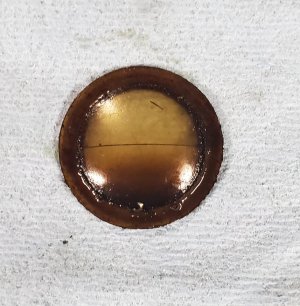
Well... never trust an 83 year old sight glass...
20230427_164057.jpg

On the lathe, it looked like the oil level was perfect... even removed and laying on a paper towel the oil level looks good...!

There was no oil in the apron... just the same thick layer of goo that was present in the '44...

-Bear
 
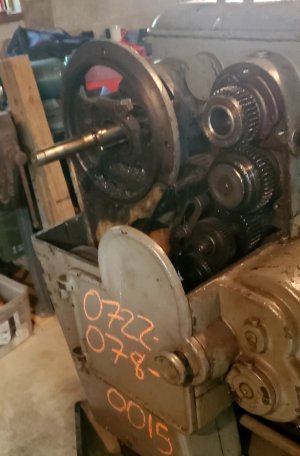
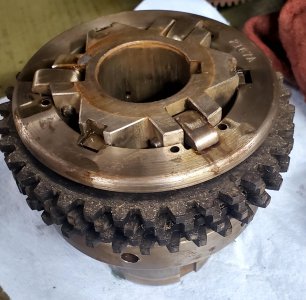
I've removed the spindle clutch from the '40...

20230502_094949.jpg

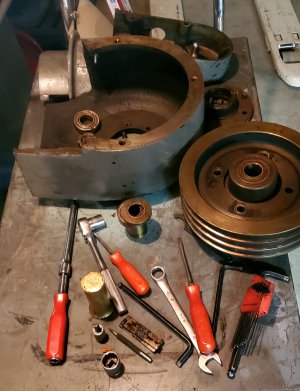
I now have a big pile of parts...

20230502_094956.jpg

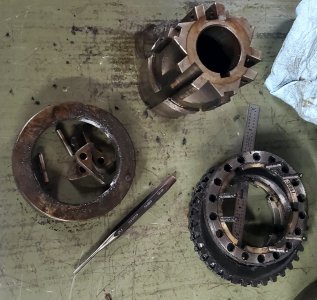
And a disassembled clutch...

20230502_095020.jpg

The spindle clutch on the '40 is very different than the clutch on the '44... both in how it comes off, and in how it comes apart. The '44 was a lot easier to work on.

Now I get to spend some quality time cleaning the various parts... that is always a lot of fun.

-Bear
 
I now have a thoroughly cleaned and reassembled spindle clutch...

20230502_111752.jpg

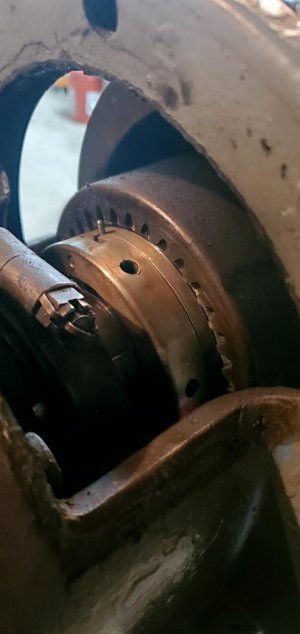
And have it reinstalled on the jackshaft...

20230502_114141.jpg

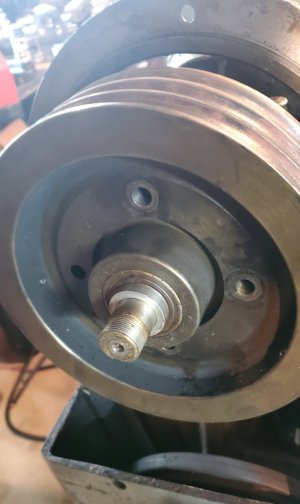
The clutch hub is also back on.

20230502_114149.jpg

Now I'm waiting on a bearing to arrive... this bearing goes on the end of the jackshaft and seats inside the end cover... it supports the outer end of the jackshaft.

The one that was on it turned easily, but not smoothly... so I ordered a new one from McMaster... it should be here this afternoon.

Meanwhile, I have to go buy a new cellphone... this old S10E has decided to refuse to make or accept calls. It may be repairable, but the battery is nearing the end of it's life, also, so I think it's time to retire it.

-Bear
 
Last week, I installed the new bearing, the motor, belts, and all of the covers.

Cleaning the clutch solved the problem of the spindle drifting. The clutch was pretty nasty.

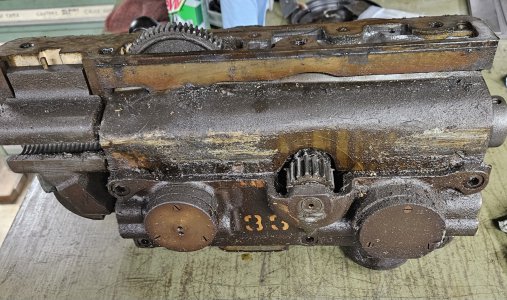
This morning, I removed the two control shafts and the apron and began disassembling the apron. This apron is a little different than the one on the '44... this one has a cover that goes on the back to keep chips out of the apron...

20230509_094427.jpg

It didn't help much... there was still a lot of chips inside.

I stripped all of the parts out of the main apron casting and have the casting soaking in the degreasing tank. I may have to let it soak for several days... it is a lot nastier than the '44 was.

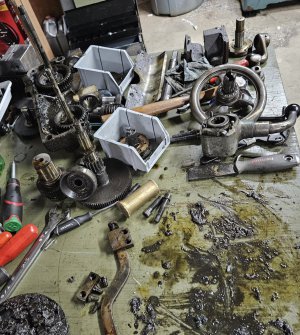
I now have a greasy, nasty mess on my workbench...

20230509_112954.jpg

I'll get all the parts sorted into bins tomorrow and get the workbench cleaned up, then begin cleaning the parts while the casting is soaking. I'll also need to straighten the lower control shaft, repair a broken bracket, and try to fabricate a new cross slide feed clutch lever.

It will be a while before I get to reassemble the apron... there is a lot of work to do first. That will give the casting plenty of time to soak, hopefully I'll be able to clean the gunk out of all the oiling tubes.

I'll also have to clean out the passages in the carriage... which means removing the taper attachment.

Stay tuned...

-Bear
 
After soaking the apron casting for several days, I finished cleaning it, then started trying to clean all the gunk out of the oiling tubes.

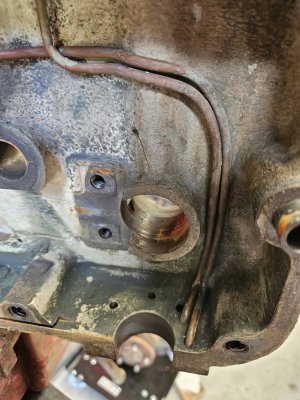
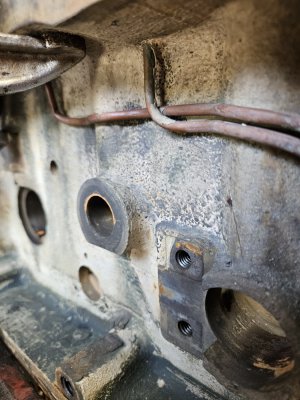
There are two main tubes and two short tubes. The short tubes are about 1-½ inches long and were no problem to clean out. The two longer tubes go from the pump at the bottom of the apron to the top, where they connect to the oil passages in the carriage. One is probably 10-12 inches long, the other is 14-16 inches... both have several bends.

20230516_114317.jpg

20230516_114324.jpg

The tubes are about .090" inside diameter. I attempted to push a thin wire through the tubes, but the sharp bends at both ends prevented that. I was spraying brake cleaner into the ends of the tubes and using compressed air to push the cleaner through. After about three hours of doing this over and over, the shorter tube finally opened up and I could flush it out.

The longer tube wasn't so cooperative... I finally put it back in a bucket with clean degreaser and let it soak another 16 hours... it didn't help...

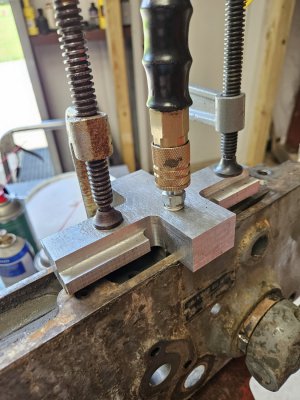
I finally took a piece of scrap aluminum, drilled a .100" hole through, then drilled the hole out partway through and tapped it for an air connection, then clamped it to the top of the apron using an o-ring to seal around the hole. This allowed me to hook the air hose directly to the casting...

20230516_114333.jpg

I was filling the fitting with cleaner, then connecting the air at 120 psi... it would take 30-40 seconds for the air to push the cleaner through.

After 2 hours of doing this repeatedly, I realized I wasn't getting anywhere with it and began thinking about replacing the tube...

The tubes press through the casting on both ends and are flared on the outside ends of the holes to keep them in place. There are also several bends in the tubes, and they have to fit TIGHTLY to the inside of the casting to keep from rubbing the gears in the apron. I knew it would be very difficult to replace these tubes and get everything right... maybe almost impossible...

In desperation, I decided to try one more thing... heat. I was hesitant to use heat because I was concerned about baking the gunk inside the tube, which would make it much more difficult to remove, but at this point, I felt like I might as well try it.

I applied the 120 psi to the tube, then lit my small propane torch and started heating the tube... after a minute or so, I heard a pop, a puff of smoke came out of the lower end of the tube, and the air flow through the tube increased...

I shut the torch off and let it cool, then started flushing the tube with cleaner. It was better, but still not flowing freely, so I hooked the air back up and heated the tube up again. This time, it popped again and blew a bunch of crap out of the tube.

After thoroughly flushing the tube, it is now flowing very well... I'll call this a success, and I'm very glad I don't have to try replacing the tube...

-Bear
 
I admire your tenacity. Gunked oil lines are horrible to deal with. Even reinstalling the fittings can be ugly as they are easy to cross thread but difficult to thread if there is any tension on the line. Your tips for dealing with this stuff are gold. Dave
 
Ok... after being 'distracted' for a few weeks, I've found time to get reaquainted with the 1940 lathe...

The cross slide feed lever had been broke off before I bought the lathe...

20230427_163119.jpg

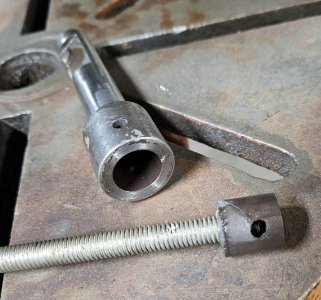
While I have the apron apart, I need to make a replacement handle. I began by chucking the control shaft in the lathe and drilling and tapping a 3/8-16 hole in the broken end. I then threaded a length of all-thread into the hole and used it to remove the broken end from the shaft.

20230628_113621.jpg

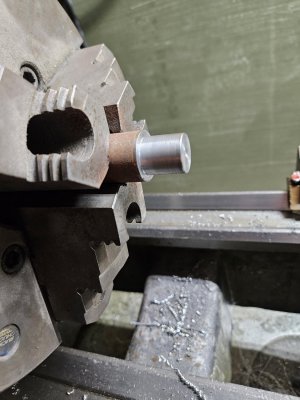
I found a length of mystery metal to make the replacement handle from... I've chucked it up and turned the end to fit the end of the shaft...

20230628_125356.jpg

That is as far as I went today... the yard needed mowing this afternoon...

Stay tuned.

-Bear
 
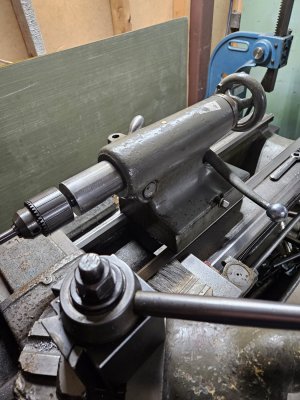
This morning I went back to tinkering with the '44... The tailstock on the '44 doesn't like to remain centered with the chuck.

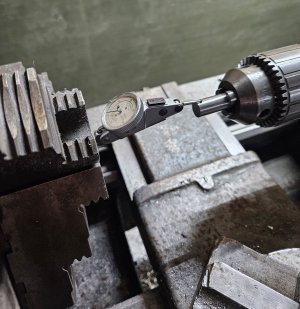
I put a jacobs chuck in the tailstock and chucked a gage pin in it, then put a test indicator in the lathe chuck... it didn't take long to determine that the tailstock is pretty well thoroughly worn out...

I can center it front to back... but the quill lock moves it .005". Indicating top to bottom revealed that the center of the quill is .025" lower than the center of the spindle... and the quill has .010" play in all directions.

Out of curiosity, I took the tailstock off the '44 and put the tailstock from the '40 on the '44. After adjusting it on center, it is .004 low with no apparent slop in the quill. The quill lock only moves it about a half thousandth. This tailstock is in MUCH better condition and will likely stay on the '44 at least until I get the '40 running...

20230823_111803.jpg

20230823_111809.jpg

-Bear
 
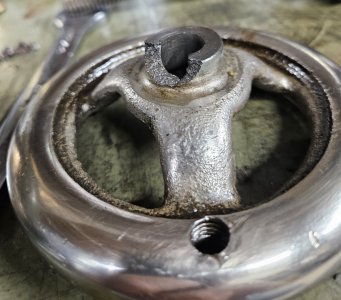
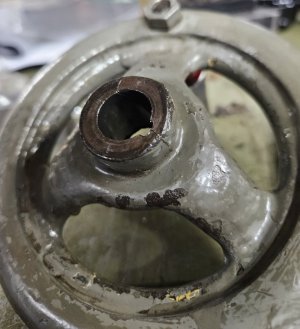
I worked on the tailstock this morning. The tailstock handwheels on both lathes were damaged. The one on the '44 had a chunk broke out of it...

20230830_120720.jpg

...and the one on the '40 is cracked in two places on the hub...

20230830_120715.jpg

It was about to fall apart.

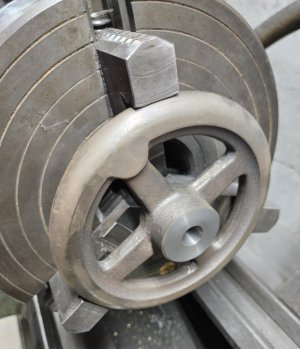
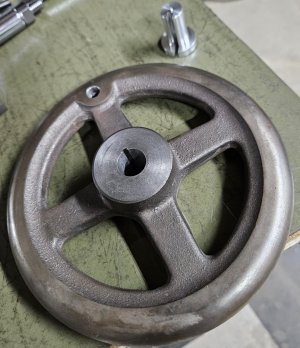
I bought a 6" handwheel off ebay that was old, but had never been machined to fit a shaft. I set it up on the lathe today and bored the hub to fit the 9/16" journal on the leadscrew.

20230908_095329.jpg

I then moved it to the mill and drilled and tapped for a handle.

I machined a 9/16" broach bushing and broached the keyway in the hub...

20230908_121857.jpg

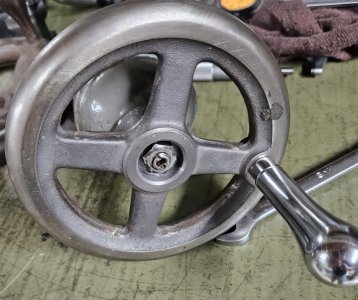
After installing it on the screw...

20230908_122329.jpg

Next, I need to reassemble the tailstock and make sure it will eject the centers and chucks... I may have to 'extend' the screw to eject the tooling.

-Bear
 
Nice work. That's a good looking handwheel!
 
Back
Top