Hendey Gearhead Lathes

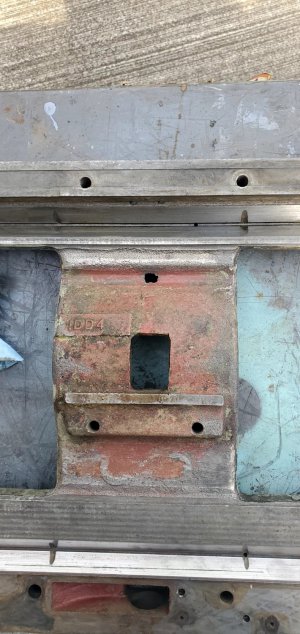
I've been trying to come up with a plan to fix the half nuts... I finally decided to take the half nuts out of a 1918 cone head tie bar 12" parts donor that's been sitting in the corner of my shop. I really doubted they would fit in the '44, but decided it was worth trying.

I removed them this morning and cleaned them up... and was surprised to find they are identical to the ones in the '44...

20230411_110808.jpg

...and in much better condition.

I'll use them... and save the damaged ones. I'd like to attempt to repour the babbit and see if I can repair them, but for now, I have a set I can use in the '44.

-Bear
 
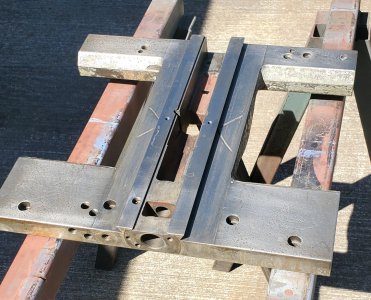
This morning I took the carriage out of the degreasing tank, pressure washed it, then dried it with compressed air and cleaned out all of the holes...

20230412_112545.jpg

It is ready to reassemble. I'll need to install all the plugs for the oiling system, then cut new felt way wipers and install the wiper covers, then it will be ready to put back on the lathe.

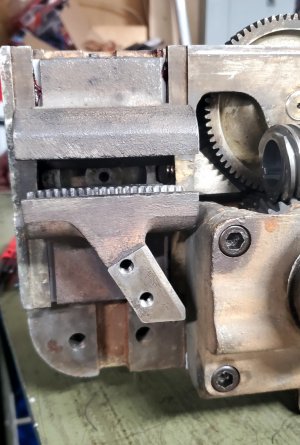
I also fitted the half nuts from the parts donor lathe and installed them...

20230412_112341.jpg

I had to set them up on the mill and take 0.006" off the thickness of the slides, then mill 0.010" off the width of the base... I took all of that off one end rather than 0.005" off each end... but I did make sure to take it off the same end of each half to keep the threads in the half nut syncronized with each other.

I'm finished with the apron... I hope... it is ready to be reinstalled.

I also finished cleaning the cross slide and have it ready to reinstall.

My goal is to have the cross slide and apron finished this week... I'd like to have the control shafts reinstalled also, but I won't get that far. I still have to see how straight I can get the bent lower shaft... that will take some time.

-Bear
 
I was preparing to put the carriage back on the lathe and decided to reinspect all of the oil passages to be sure they were all clean. I discovered that I had missed a couple. There are two passages that provide oil to the cross slide dove tails.
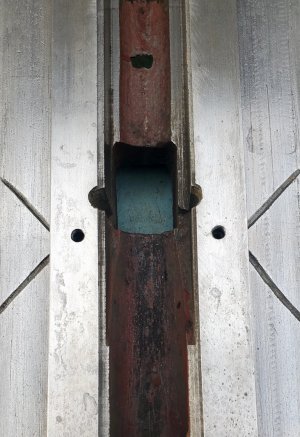
20230413_081917.jpg

The one on the left I had cleared yesterday... the one on the right I missed clearing it.

I couldn't figure out how it tied into the oiling system... I knew it did, but how? There would have to be a horizontal hole drilled somewhere to connect it to the system... and that hole would have to be drilled from the outside, but I couldn't see where.

I had put compressed air on it a couple of times trying to determine where it came out... but it acted like a blind hole... no air escaping anywhere.

I finally turned the air pressure up some and tried it again... this time something popped and blew a wad of gunk and degreasing fluid out the left hand hole... right into my face.

I'm glad I was wearing safety glasses... and had my mouth closed...

So now I knew which direction the connecting hole went... I started scraping thick paint off the side of the carriage and found the plug...
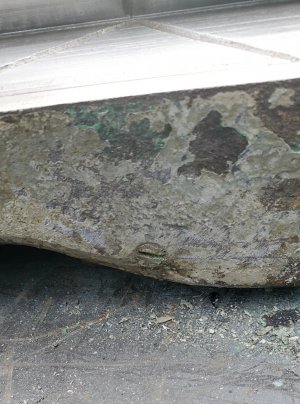
20230413_082024.jpg

I removed the plug and cleaned that hole out.

The other one that I missed was a passage that provided oil to the rear way...
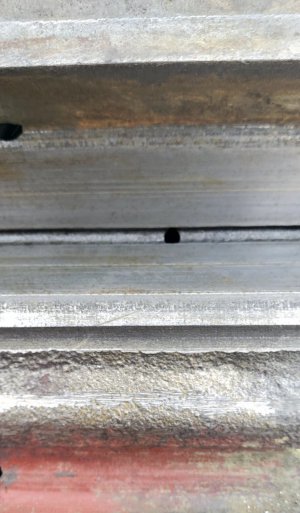
20230413_090248.jpg

20230413_090252.jpg

I hadn't noticed it because I didn't realize the oiling system oiled the rear way.

Again, I could not figure out how this hole was connected to the system... I scraped all the paint off on every surface that was square to the hole... no plugs anywhere. I was putting air to all possible passages, trying to get some air out of that hole... no luck. After an hour of fooling with it, I still had no idea.

Then I suddenly realized how Hendey did it...

There is a groove machined in the left side of the carriage... it is filled with what appears to be an asphalt based filler...
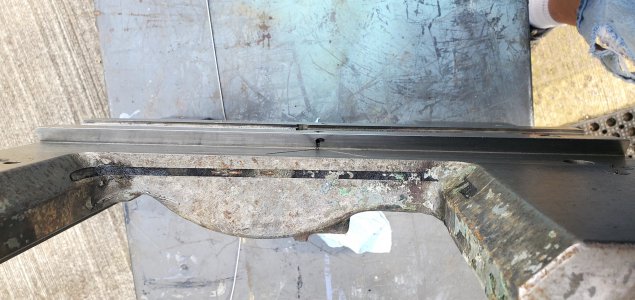
20230413_090319.jpg

I had been wondering what that groove was for... there is a brass tube inserted into that groove, then the filler covers the tube. You can see part of the tube where the filler has worn away. This tube has two bends at each end... the front 'dogleg' connects to the oiling system and the back 'dogleg' connects to the hole over the rear way.

It is completely clogged... and there is no way to clean it out. It would have to be removed and replaced, then the groove refilled. I'll just manually oil the rear way...

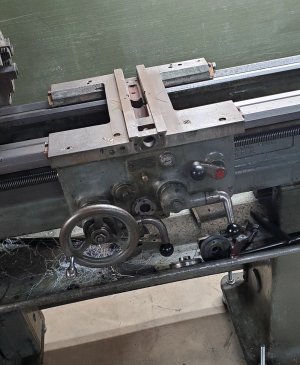
Anyway, I've now reassembled the carriage, cut and installed new felt way wipers, and reinstalled the carriage and apron...
20230413_111558.jpg

I filled the apron with Vactra 2 and ran the carriage down the bed back and forth until it started pumping oil out the holes...

The oiling system is working great... I'm glad, I didn't want to have to take it apart again...

-Bear
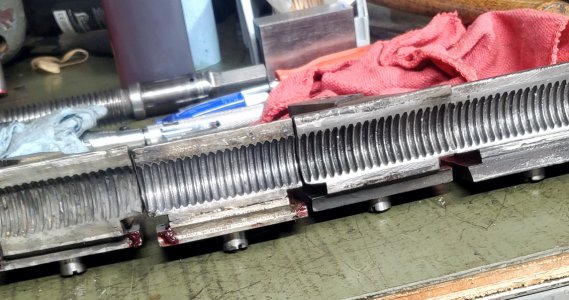
 
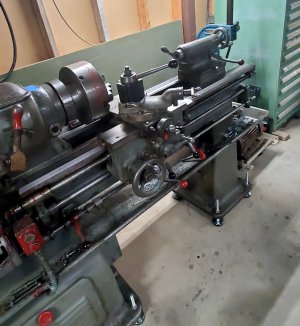
I've reinstalled the cross slide, compound, and feed reversing shaft...

20230417_122031.jpg

This was mostly uneventful, except for having to straighten a bent chip guard that covers the rear of the cross slide lead screw.

The cross slide dial has three screws that hold the assembly together. Two of the three are missing... I'll have to replace them. I haven't installed the rear carriage gib yet... all of the hardware was missing from it except for one bolt, so I'll need to replace them, also.

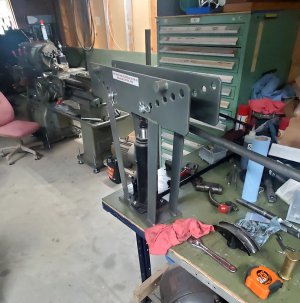
I mentioned in a previous post that the lower shaft was bent... I removed all of the brackets, levers, etc from that shaft and attempted to straighten it using my Harbor Freight pipe bender...

20230417_122104.jpg

It only took a few minutes to get it reasonably straight... not perfect, but fairly close. I'll see how it works out, it's not very critical.

-Bear
 
I installed the lower shaft...

20230418_114122.jpg

This shaft serves two different functions.

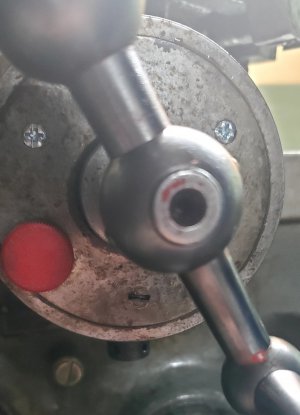
It has two handles keyed to it that rotate the shaft, engaging/ disengaging the spindle clutch. It also has the feed stops on it... when the apron hits the feed stops, it slides the entire rod, which pushes a lever to disengage the feed. Being slightly bent doesn't affect either function, so it works fine even though I didn't get it perfectly straight.

I still need to install the rear carriage gib/ clamp and clean and reinstall the tailstock and this lathe will be ready to operate. The front carriage clamp block is missing, I may have to machine a replacement for it, but I've discovered that clamp is also missing on my 12x4 tie bar lathe. It hasn't affected that lathe... and most lathes don't have a front clamp, so it may not even be necessary.

-Bear
 
I turned the head diameters down on two 10-32 screws and installed them in the cross feed dial...

20230419_100020.jpg

The one remaining original screw is at the bottom.

I've also installed the rear carriage gib with new bolts.

Of course I had to crank the lathe up and run it for a few minutes while checking all of the apron functions... everything seems to be working good.

I adjusted the tailstock quill clamp, then assembled and installed the tailstock.

20230419_110654.jpg

For now, I'll consider this lathe to be fully functional, at least until I use it some... I may find other problems.

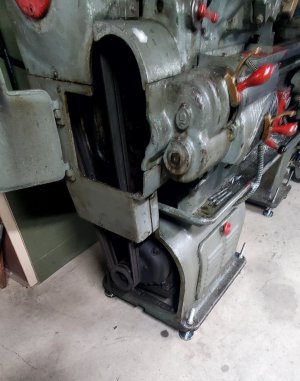
The lower motor door is off the lathe...

20230419_111428.jpg

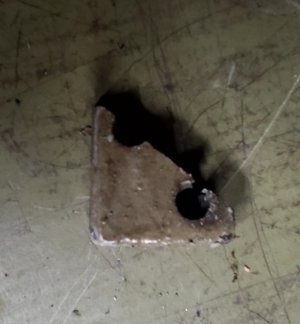
I do have the door, but the lower door hinge is broken. This is all I have...

20230419_111508.jpg

I'll have to try and machine a new lower hinge and put the door back on.

-Bear
 
I made my first part on the lathe this morning... just a simple part...

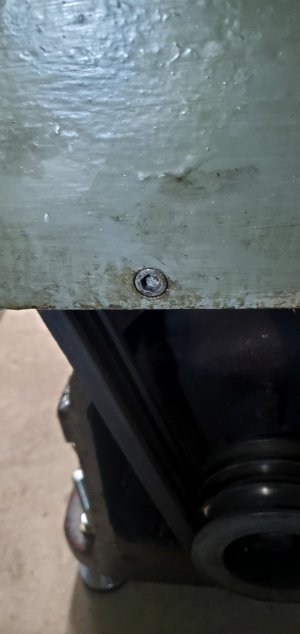
The motor belt cover has one mount bolt in the center...

20230421_082259.jpg

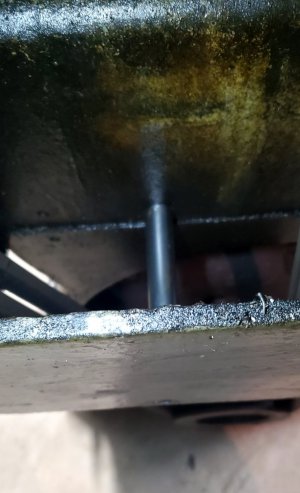
It is supposed to have a sleeve (spacer?) over the shank to support the thin cast iron cover... otherwise the cover can break if the bolt is tightened too tight. The sleeve was missing on this lathe. I cut a piece of tubing and faced it off to length on the lathe, then installed it...

20230421_082312.jpg

I started working on the lower cover hinge... and soon realized that one of the hinge bolts was broke off in the lathe base. I decided to try to remove it with an E-Z out... yeah right... those never work...

I won the lottery...!

20230421_083854.jpg

That made my entire morning better!

Anyway... I whittled a replacement hinge out of aluminum... it looks kinda goofy, but it works... I'll refine it later on...

20230421_111032.jpg

All the covers are on now, anyway...

20230421_111251.jpg

-Bear
 
I've noticed something interesting about this lathe...

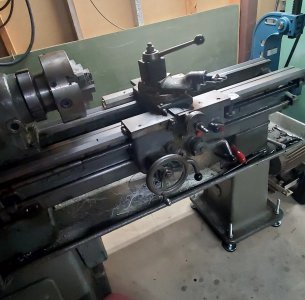
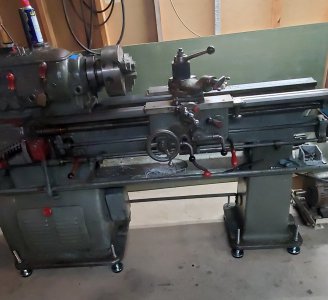
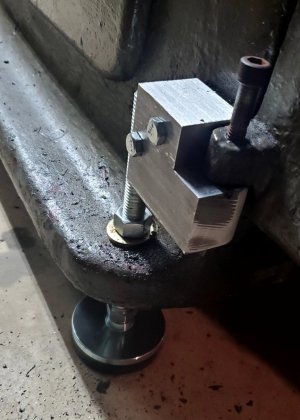
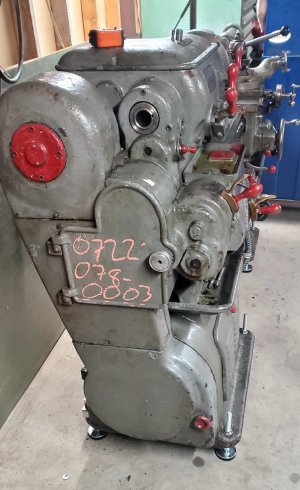
Measuring from the floor to the center of the chuck, my South Bend and all of my Hendey conehead lathes measure about 43 inches... this gearhead measures 49 inches to the center of the chuck. The leveling feet that I put on the lathe account for about two inches of the difference.

It's almost awkward to use due to being so much higher than the other lathes...

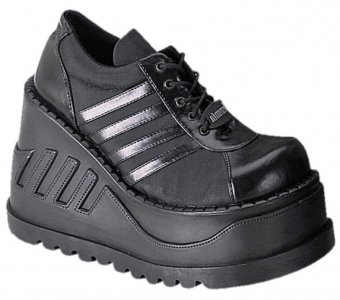
So, to compensate, I'm thinking about buying a new pair of shop shoes... something like this...

Screenshot_20230424-072707_Chrome.jpg

Or maybe...

Screenshot_20230424-073205_Chrome.jpg

Those may be too plain, though. This might be more stylish...

Screenshot_20230424-074403_Chrome.jpg

I think any of these might work well with my new haircut...

Screenshot_20230418-223806_Chrome.jpg

Seriously, though... I'll run the lathe a while and see if I get used to it... if I don't, I may build a platform from 2x6s and plywood to go in front of the lathe.

-Bear
 
I've started tinkering with the other gearhead... the 1940 model.

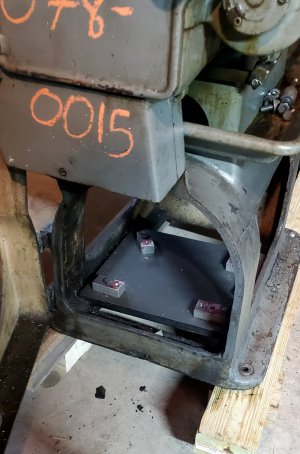
I've removed what is left of the electrics... the motor, three button control, and about eight feet of nasty, dry rotted wire....

20230425_112035.jpg

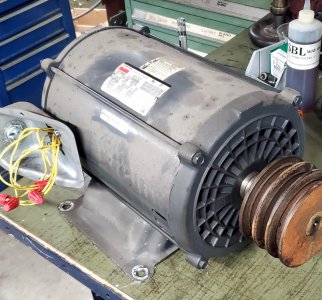
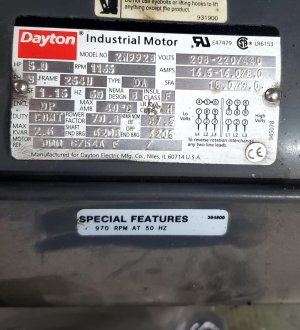
The motor is dusty, but appears to be in excellent condition...

20230425_112054.jpg

20230425_112106.jpg

It is already configured for 220v. Hopefully I'll get it wired up and tested this week.

-Bear
 
Back
Top