- Joined
- Jun 21, 2022
- Messages
- 84
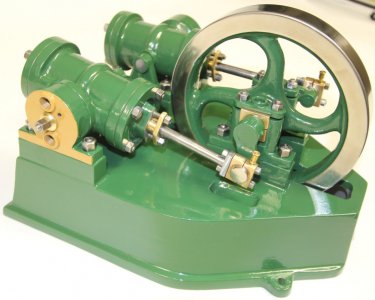
A buddy of mine showed me 3 photos of a steam engine for sale in England a few years ago, and said he wanted to build a few scale models.
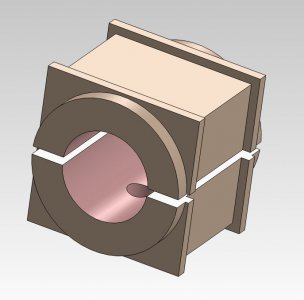
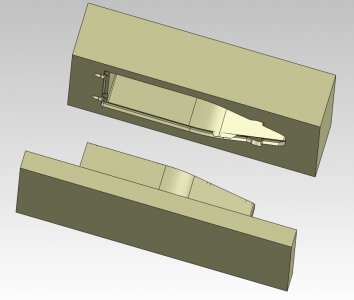
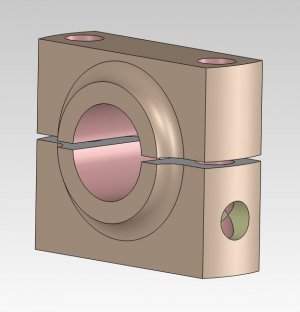
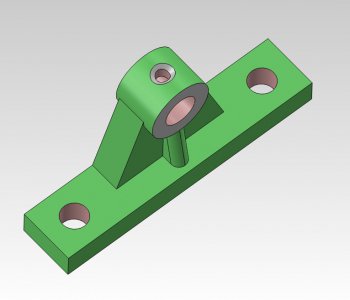
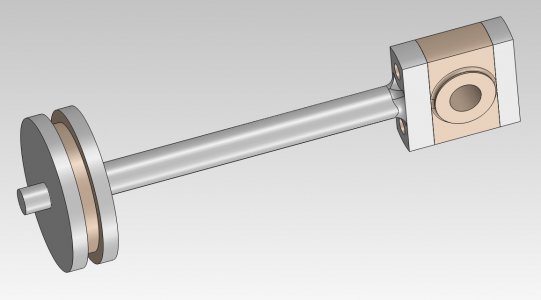
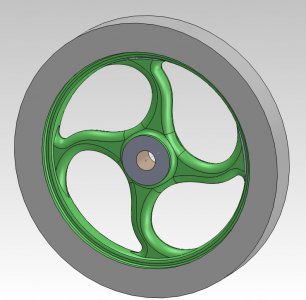
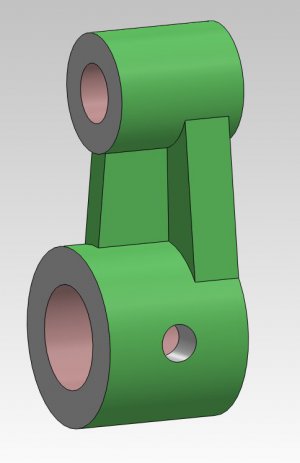
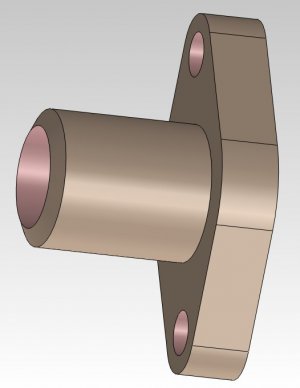
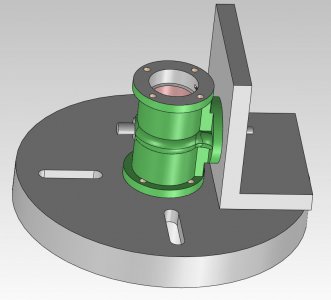
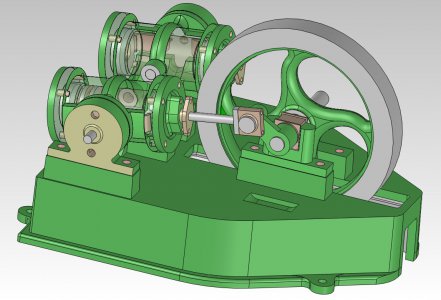
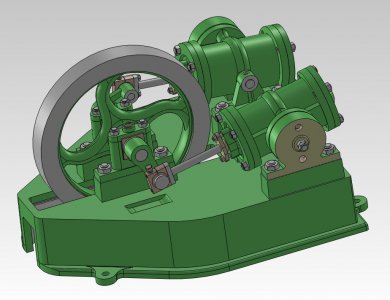
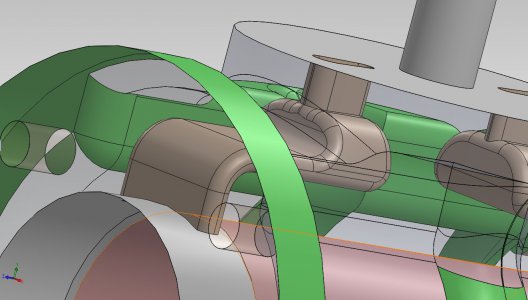
I wanted to practice 3D modeling, and so I developed a 3D model for the engine (a twin oscillator) in Solidworks, not really thinking I could actually design an entire engine in SW.
The 3D model turned out so well that we started to discuss a couple of barstock builds, and then said "Why not cast it in aluminum".
The I said "Well why not just cast it in gray iron?".
The problem was, I had never made a complete engine of any type, had limited machining skills, no foundry experience or foundry, and did not even know if melting iron in a backyard setting was even possible, much less safe.
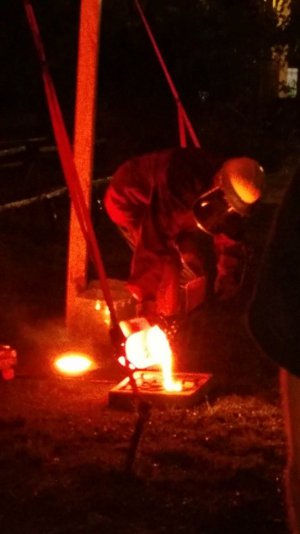
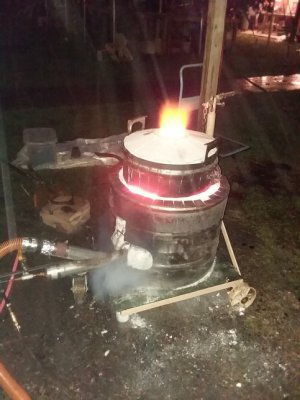
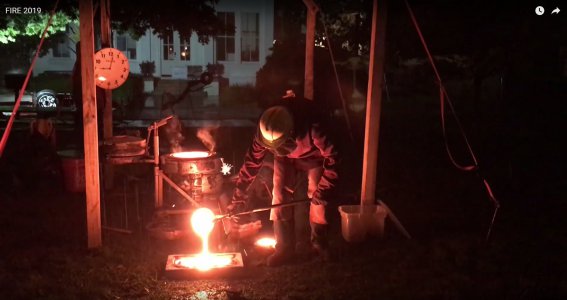
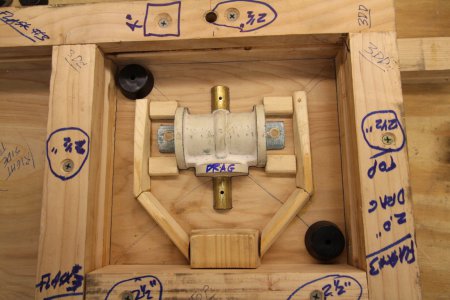
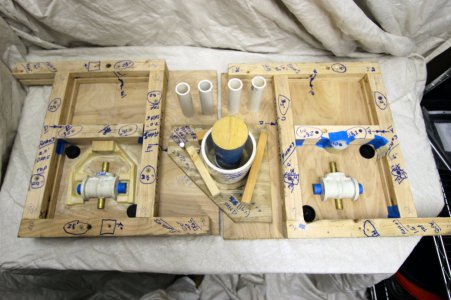
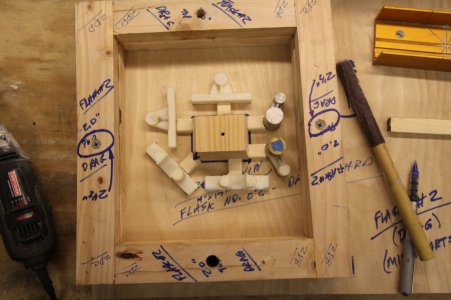
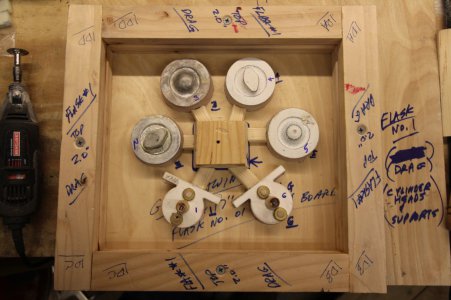
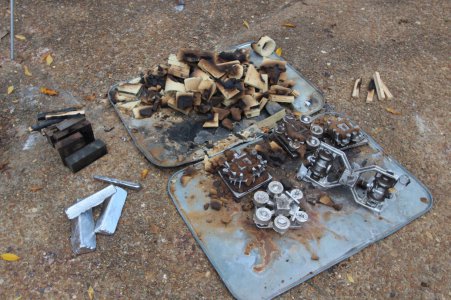
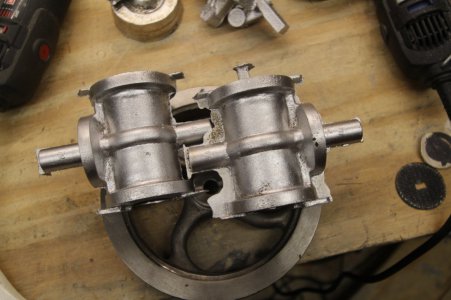
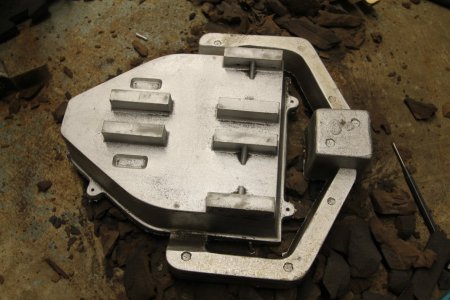
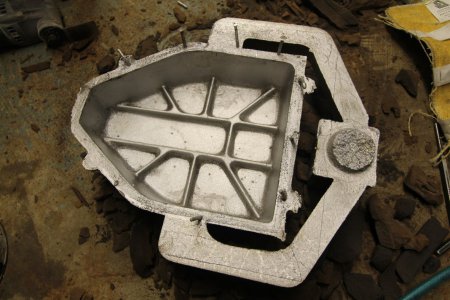
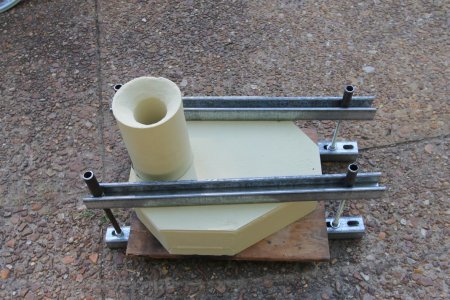
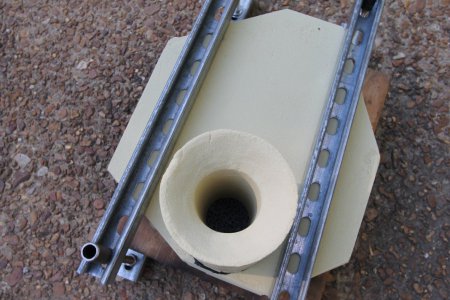
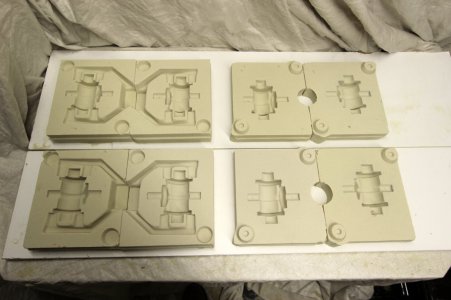
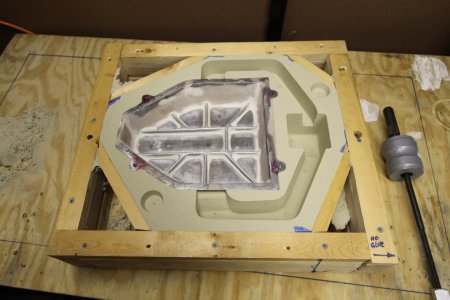
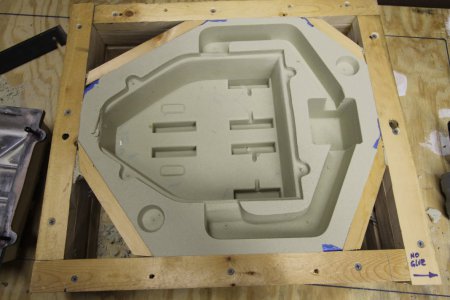
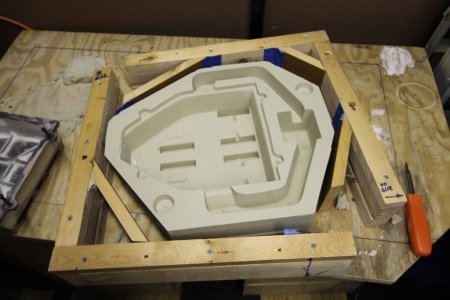
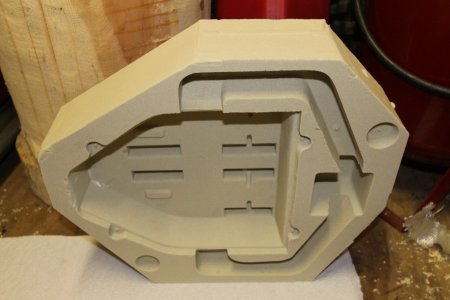
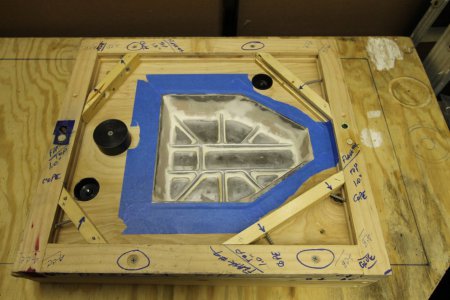
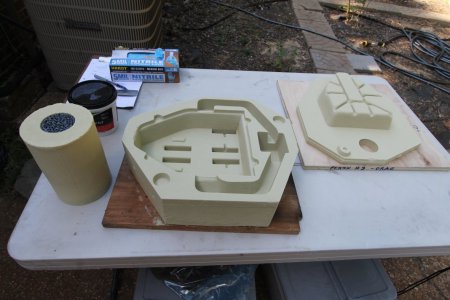
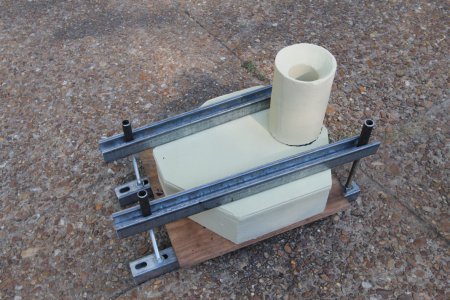
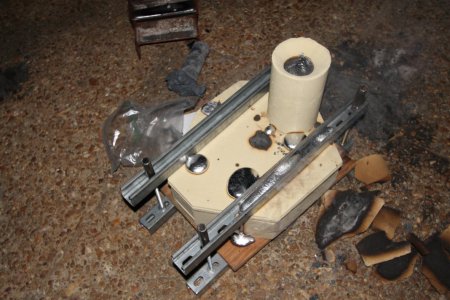
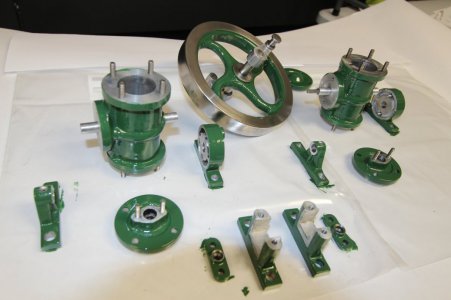
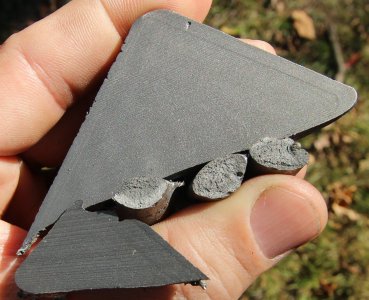
I built a foundry, learned how to melt gray iron and aluminum, learned pattern making and 3D printing, and began to cast parts.
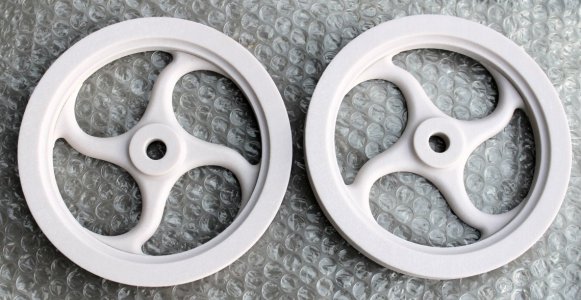
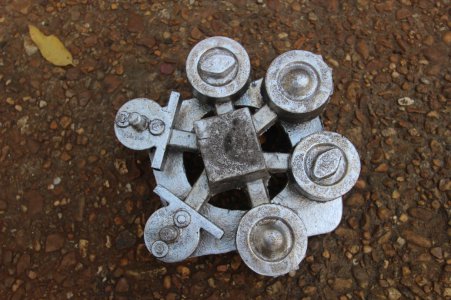
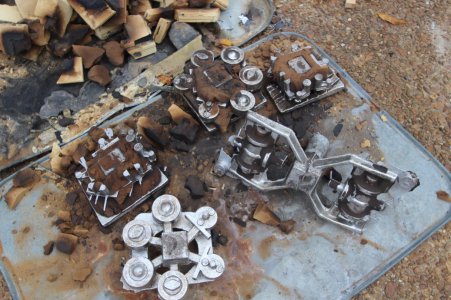
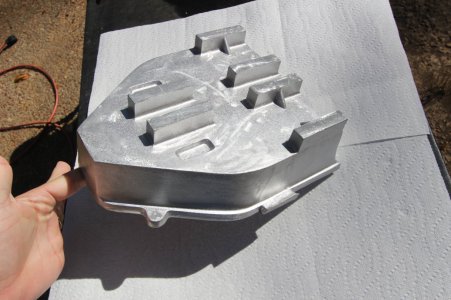
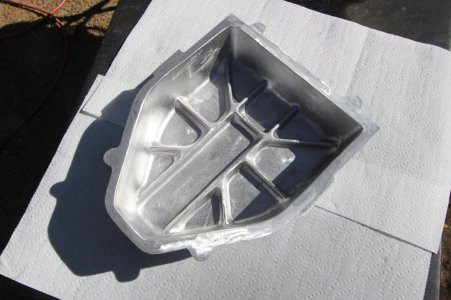
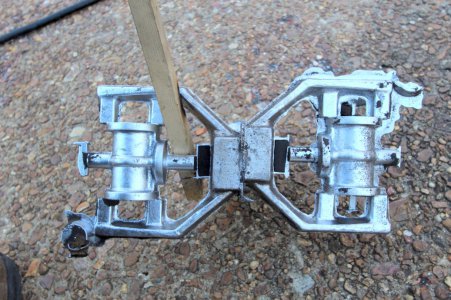
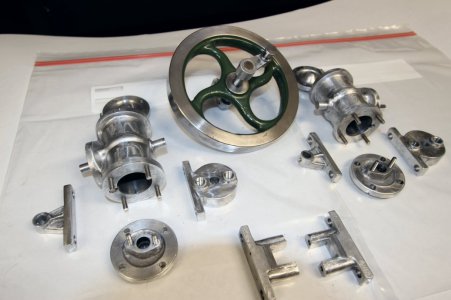
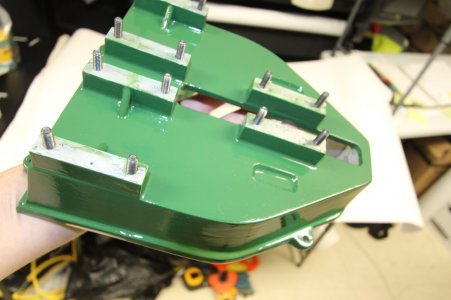
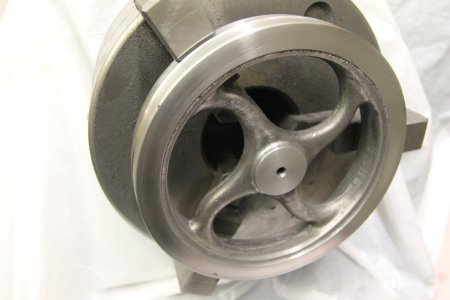
After much experimentation, two flywheels were cast in gray iron, with the remaining parts cast in 356 aluminum.
What a wild journey the build was, but my buddy and I finally pulled of building two scale replicas of the engine in England, and I was able to publish the engine with drawings in Live Steam Magazine.
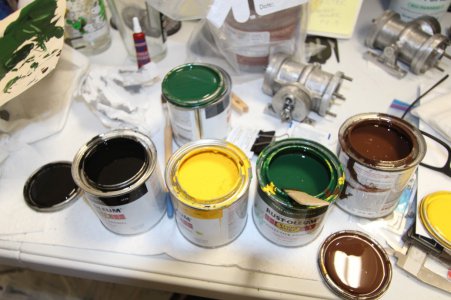
Some photos and narrative below.
.


