Enco 13x40 Spindle bent or headstock mis-aligned?

Yes use the 2 collar shaft you have now. It's out .0043" right. I sounds like your head has a pin then. Just forget about the test bar and chuck up the tube and take more cuts until the far right is .0001 to .0002" Big.

I suspect the test bar has some issues. Bed time here. No problem on when you call..It's my cell and I have it close all the time.

Rich

All right, I'll go with the cuts until I can get the right collar a little bigger by the amount above. Is it okay that I have removed the chuck and 2-collar bar? Should I re-do the cuts? And, do I repeat the procedure each time as if I were cutting the first time on each collar? I assume that should be consistant. Would there be an advantage to using the aluminum at all, I'm not that attached to it.

Thanks for you generous offering of time.

Barry

Oh, and one bad thing about these lathes is the necessity of removing the change gears and tension arm to get to the adjustment bolt on the front back of the headstock.
 
I tried to explain this in Mikes post. On the 2 collar test bar re-cut the 2 pads first, make them narrower, say 3/8" to 1/2". You don't seem to get it yet that turning is the best way as this is what a lathe does. I find the test bar slid into a hole that was probably turned and not ground is a bad deal on these cheap lathes. Using a precision test bar in a lousy hole is a waste.

Put the chuck back on and put your test bar back in. Turn all the surfaces again to clean up. Cut the center relief down .020 lower then the collars.

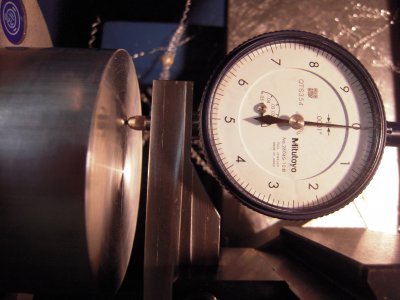
Now you have to turn both collars the same size. If the right side is big, turn it down so each collar mic's the same. Now remove the the tool post and mount a mag base and dial indicator on the compound put the indicator on side of the 2 collar test bar, zero the indicator in the same exact place the tool bit was. Take off your gears, loosen the bolts and but snug them back up, but not tight. Now crank the saddle left and right Adjust the head so the test bar is zero and + 0002 like I said before.

When you indicate the 2 collar bar it will show the 0043" off as it was before. Adjust the head so the bed is zero.
Then tighten the bolts, check it again and if it is still good assemble the gears and take another cut with the tool bit. This should do the trick. Mike called me today and we talked. He is following this post and if he hasn't written yet, I wish he would as he has good news :)

If you have questions, ask away or call me. 651 338 8141.
 
Last edited by a moderator:
I tried to explain this in Mikes post. On the 2 collar test bar re-cut the 2 pads first, make them narrower, say 3/8" to 1/2". You don't seem to get it yet that turning is the best way as this is what a lathe does. I find the test bar slid into a hole that was probably turned and not ground is a bad deal on these cheap lathes. Using a precision test bar in a lousy hole is a waste.

Put the chuck back on and put your test bar back in. Turn all the surfaces again to clean up. Cut the center relief down .020 lower then the collars.

Now you have to turn both collars the same size. If the right side is big, turn it down so each collar mic's the same. Now remove the the tool post and mount a mag base and dial indicator on the compound put the indicator on side of the 2 collar test bar, zero the indicator in the same exact place the tool bit was. Take off your gears, loosen the bolts and but snug them back up, but not tight. Now crank the saddle left and right Adjust the head so the test bar is zero and + 0002 like I said before.

When you indicate the 2 collar bar it will show the 0043" off as it was before. Adjust the head so the bed is zero.
Then tighten the bolts, check it again and if it is still good assemble the gears and take another cut with the tool bit. This should do the trick. Mike called me today and we talked. He is following this post and if he hasn't written yet, I wish he would as he has good news :)

If you have questions, ask away or call me. 651 338 8141.

Rich,

You kind of answered my question, but there are some things you are not following. First, I already adjusted the headstock before beginning this THREAD. That means that the .0043 is no longer going to be the offset. Secondly, I was not disputing the value you place on using the 2 collar test bar and I intend to do that, following the directions that I quote from you above and that I have already printed out from the previous thread with Mike. You did not, however, answer the question as to whether it would be preferrable to use the hollow bar I show in the pictures and at the end of the video (you did watch that, didn't you?) or the larger 2" aluminum bar stock (not hollow) that I have. Since the headstock as been adjusted since cutting the first 2 collar test bar, I will likely need to recut it anyway as you note above. Thus the question: Which is better, the hollow 1-3/8 bar re-cut, or the 2" aluminum starting fresh?

Are we on the same page now? I also will not be able to get to this until probably Friday at which point I will have attempted to do what you instructed, and will call you and report my success or failure or at least the results.

Maybe then we can talk also about precision ground test bars and poorly ground or turned spindle taper holes and the apparent falsified tests of the certifiers who say they meet certain criteria. Maybe I will just consider find a Leblond or Clausing.
 
I read and write these at night after a long day or scraping, As I am sure you are frustrated as Mike was. I watched the You Tube at least 3 times....I was saying to put the tube back in. It now has collars and relief in it right?

here is what I said " Put the chuck back on and put your test bar back in. Turn all the surfaces again to clean up. Cut the center relief down .020 lower then the collars.

I was talking about your steel tube.

You can also use the aluminum if you want. Both should cut the same.

I'm lost about you adjusted it and is now cutting straight?

I need to talk to you this typing and trying to explain something is the pit's sometime.

If the machine cuts straight forget about the spindle hole unless your using a collet or a lathe dog? If you want to use a lathe dog, cut a dead center in the chuck and let the dog rest on the jaws to eliminate a face plate.

Good night


Last edited by a moderator:
Barry,
wish I could help. But after say 20 times you get fast at reset. It is not easy. I think my machine came from the same mold, just diff Chinese.

I'm not going to complicate this thread; but I will say mine is now "cutting" my on test bar. Forget the MT in the HS. I used my bar as a guide only to get me close.
My first was too small, second was a tube. The third AL 2".

i successfully recut an AL bar to w/I a tenth. Yeah. So now it's done. I gave my Enco away. The JET is much better machine, but.....
My thought, as a novice was to start new. That was misjudgement. But, if we hired and expert to help, that was really knowledgeable, it would be a savings.

With that being said, it appears you are there.

mike. Best wishes.

Everyone needs to be aware of these issues.
that is why we need these groups.
 
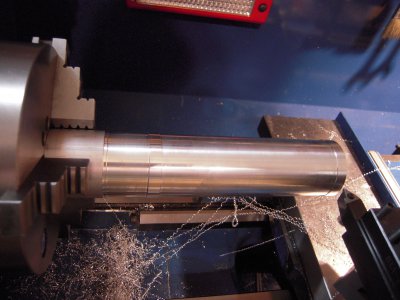
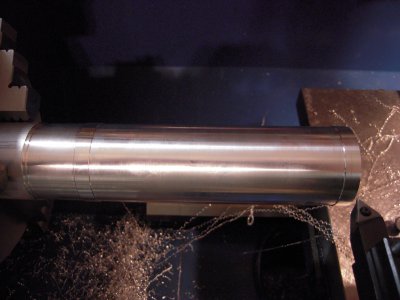
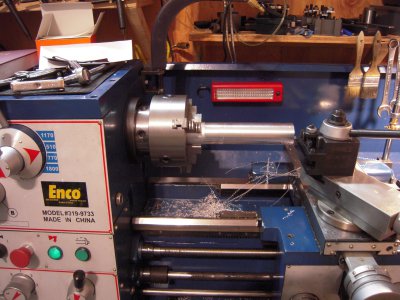
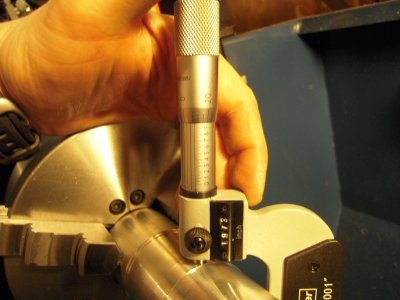
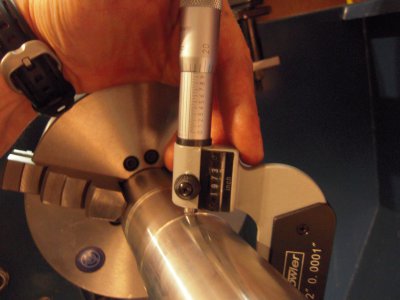
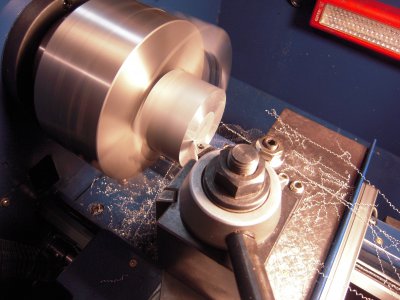
Well, I had a good long talk with Richard today and we basically carried out the plan noted above. I decided to use the 2" AL bar stock, as cutting easier might result in less cutting forces with 8" sticking out and therefore less part deflection. I followed the procedure for making a 2 collar bar this is noted here:View attachment Lathe Alignment Test I&II.doc

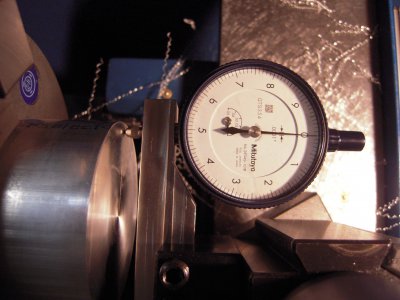
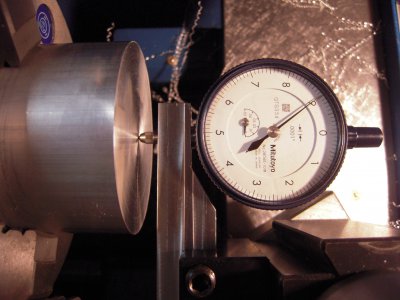
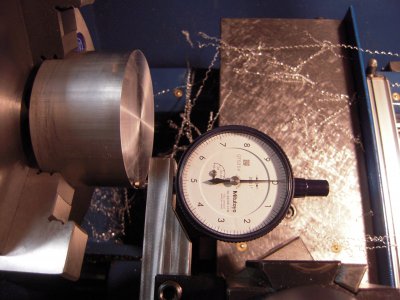
You can see my set-up in the pictures here:
DSCN0253.JPGDSCN0254.JPGDSCN0255.JPG

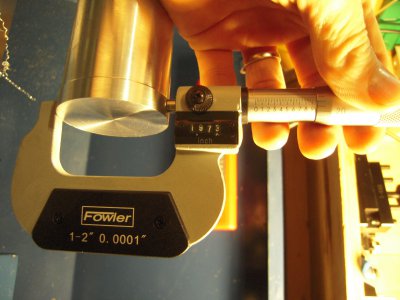
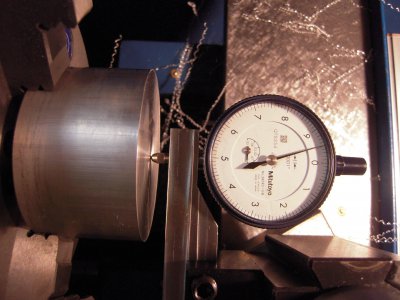
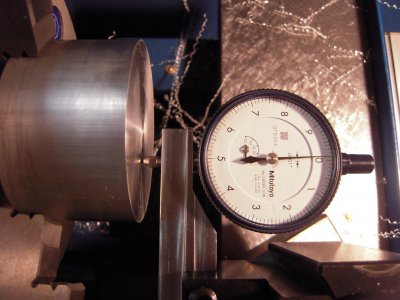
After 4 trials of cutting and measuring I was able to get a .0002 difference at least as well as I could mic it. But the good thing is it is much more parallel to the ways than previously.

DSCN0256.JPGDSCN0257.JPGDSCN0258.JPG

So basically success, except that I still get an annoying bit of run-out (about .0005 in the diameter of the part) after it is cut. Richard and I discussed this, and after tightening the bearing a little less than 1/8th of an inch of rotational translation. it was not much different. Wonder what all the possible causes of that could be? Also, as I did the "Lathe Alignment II" test after all of this was done, I got the results shown in the pictures here:
DSCN0245.JPGDSCN0252.JPGDSCN0251.JPGDSCN0250.JPGDSCN0249.JPGDSCN0248.JPGDSCN0247.JPG
Not bad, but a strange dish right in the middle. Is that my cross-slide gibs or something? It's good enough for now, but I'm tempted if I ever get some time to take it all apart and completely re-condition the lathe just to see if it's worth taking Chinese beginnings and seeing if one could turn it into something better, but then I think I would rather just get an old US or British or German toolroom lathe in bad shape and try that. I think I need to start making money with this first.

DSCN0253.JPG DSCN0254.JPG DSCN0255.JPG DSCN0256.JPG DSCN0257.JPG DSCN0258.JPG DSCN0245.JPG DSCN0247.JPG DSCN0248.JPG DSCN0249.JPG DSCN0250.JPG DSCN0251.JPG DSCN0252.JPG
 
The dishing on a face cut is likely due to the lower SFM's in the middle of the piece. I've been up & down that issue and the eureka moment was observing that the harder the metal, the more pronounced it is. Sometimes it went inward, sometimes outward and it corresponded to whether or not I was using carbide or sharp HSS on either hard or soft metal. I took the compound apart looking for the issue with a TDI -nothing wrong. Everything checked-out square. Different cutters interact differently on varying metals when SFM changes. In the case I had a bump instead of a dish, a second pass cleaned it up and it never went negative -telling me, there was nothing wrong with the machinery involved.


Ray
 
Gary,
I am amazed at the similarity of our lathes. My Enco was very different; however, my JET and your Enco are almost identical after seeing the pictures you posted. Just different color. Read that elsewhere.

thanks to Richard again. Good show! And Gary your documentation will help others with these machines.

i think a standard test bar should be AL, as you determined.

thanks for your help to the community.

mike
 
Thanks everyone once again for all the help. And I think I agree with the dishing issue, as it does seem to gone with clean-up especially of both sides. I was using uncoated carbide on 6061 aluminum.

I have now aligned my tailstock to the headstock, and sadly now that everything is nice and precise, I am out of time to do any fun cutting, but that will come next weekend I hope. However, I may start a new thread on how to true-in a import set-tru type 6" 6-jaw chuck. I'm going to try it first, but I am going to cut the back plate first a bit more as it fits a little too tight after my initial work on it. But this is all for a new thread.

Many thanks for all the help here, and hope that what I have done helps others, and feel free to contact me with anything that you might need from what I have learned. Great group here!

Oh, and Mike, yes I think our lathes are essentially the same, you can see better in these later pictures. I really should have shown the location of my headstock bolts and the adjustment nut/bolt assembly, but your post does show that well. I was thinking of making a video showing the process, but I would have been very long tedious and boring or taken a great deal of time to edit that all out.

Barry
 
I have asked Barry to align his tail-stock the way I have been teaching for years and the way my dad did it. I asked him to take pictures like he did on the 2 collar test shown in this post. He took lots of pictures. He did it over the weekend. I am setting him up. Thanks Barry! Hopefully he will post it tomorrow. He's a great photographer and makes lots of great adjustments :)) in more ways then one...!
 
Back
Top