- Joined
- Jul 8, 2018
- Messages
- 880
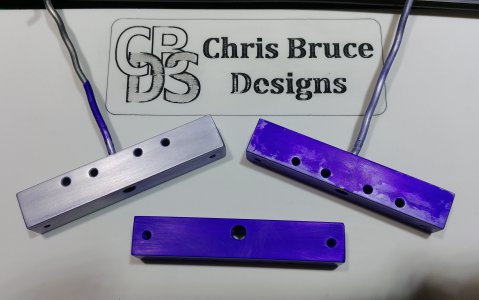
I did a bunch of anodizing a few years back. The .pdf is a print of the project on another site. here's a clip of setting power:
Thanks! Very informative

I did a bunch of anodizing a few years back. The .pdf is a print of the project on another site. here's a clip of setting power:
Hi. Thanks for that Java program! Could you please make to code so the thickness is set in microns in the metric version? I actually had to google what "Mil" means... why isn't "thou" used consistently? Is "Mil" a specific anodizing term?This is a small java program I made a couple of days ago directed to calculate the anodizing time given the part's surface area, current density (it is directed to users of constant current anodizing rectifiers), and desired oxide layer's depth in mils.
The software was written for a group of users from Spain, so the main screen comes up in spanish but there is a checkbox selection for english speaking users. Surface area can be entered in in2 or cm2.
You're aware that this was 8 years ago, yes?Hi. Thanks for that Java program! Could you please make to code so the thickness is set in microns in the metric version? I actually had to google what "Mil" means... why isn't "thou" used consistently? Is "Mil" a specific anodizing term?