- Joined
- Jul 30, 2022
- Messages
- 33
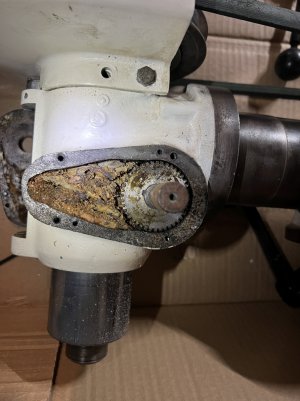
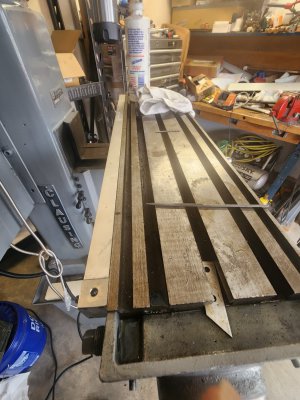
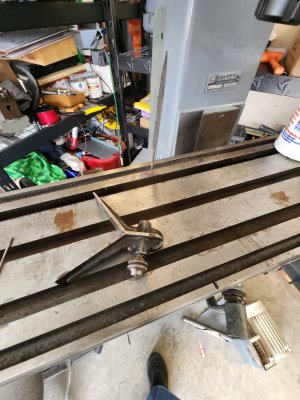
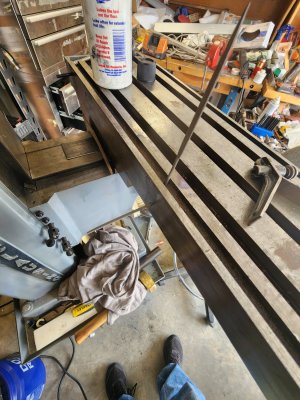
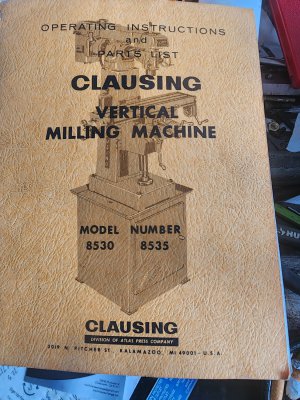
I just picked up an 8520[?] yesterday so I’ll be re-reading this thread. Mine doesn’t have the model number on it anywhere so I’m not certain it’s an 8520, but I assume it is since they were more common. It needs some TLC, but it was only $700, so it’s ok.
Did you find an instruction manual for the tear down, or did you just figure it out as you go? If there’s a step by step somewhere, I’d like to know. I like to tinker, but I don’t really know what I’m doing.
Did you find an instruction manual for the tear down, or did you just figure it out as you go? If there’s a step by step somewhere, I’d like to know. I like to tinker, but I don’t really know what I’m doing.
")