- Joined
- Sep 22, 2010
- Messages
- 898
Randy
That was almost 5 years ago, and I can't really remember what I did yesterday. LOL
My mill is a Taiwan made clone of a Bridgeport, may even be made in the same factory that made the later models, but the supplier is one that deals only with industry, they do not have anything there that ressembles hobby grade.
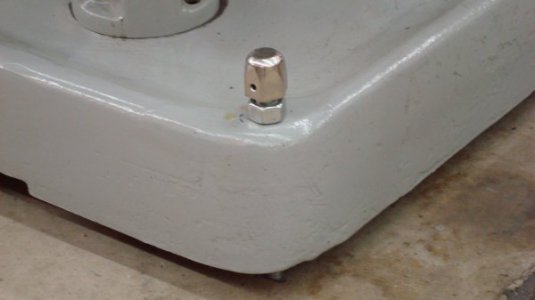
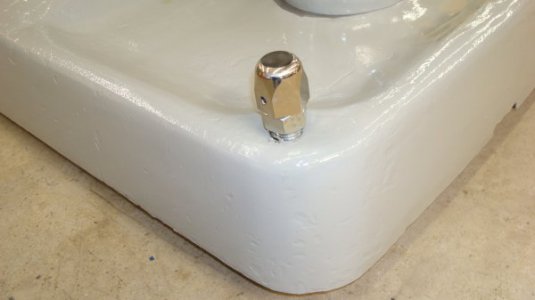
I remember looking at the holes, wondering how I would get a levelling nut under it without raising the machine too much off the floor. The motor barely clears the ceiling as is. The base casting rested solely on the four corner feet. I tapped the hole, not sure if there was thread there or not but I seem to remember at least a bit of what looked like thread. The two front ones are bolts, I think they were grade 8 that I had rethreaded all along the shank for a client then they gave up the project. The back two were all-thread with a nut locked on.
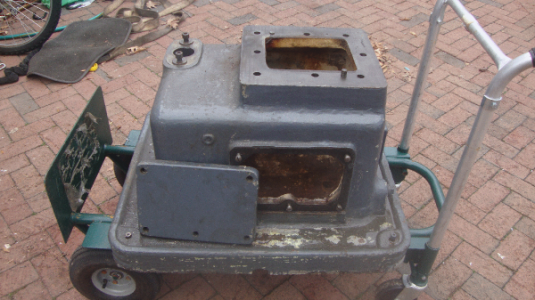
I have looked into putting castors on the mill, but need to address the height issue. In the bridgeport yahoo group there is a folder called Kev's Bridgeport moving dolley which looks very interesting.
I know that Nelson is pushing the Zambus Castors, I picked up the line of Footmaster ones. http://www.footmastercasters.com/
Like any innovation there is the guy and the company that designed the product then there are the companies that copy it. Footmaster is the original designer of the levelling castor. They have a larger selection and improvements that their patents still protect that Zambus has not copied YET.
In order to use the Footmaster castors, I would need to build up a support cage, like the ones that were shown by Kev, or like the ones shown in this groups BP dolley such that the machine would be cradled below the castors. Also theose machies are top heavy and the force is to the side, so any castor should be put on some form of outrigger.
As I figured the machine was going to just sit where I placed it, which is strategically placed just so far from the corner of the wall such that at full retraction of the ram, it will swing on the column and roatate right around with only micro inches to spare, actually I think I went about 3/8" but it is tight. The table also lines up with the doorway so when I work on long stock I can have it protruding through the door. So far anything I have tried to put on the table has been doable.
So if you do not need to roll the mill around, Kev needed to because his electrcal box was behind the mill and he needed to be able to pull it out from the wall to get at it, then tap the holes, and use the bolts/all thread to level it.
Walter


