- Joined
- Feb 25, 2021
- Messages
- 3,146
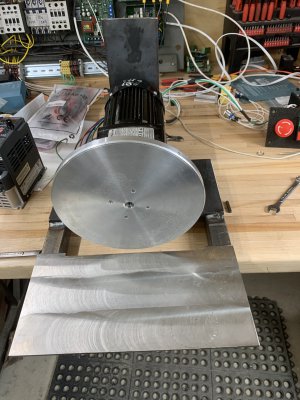
Inspired by @Janderso, I’ve started my own diamond lapping machine. Thanks to him for the ideas and feedback.
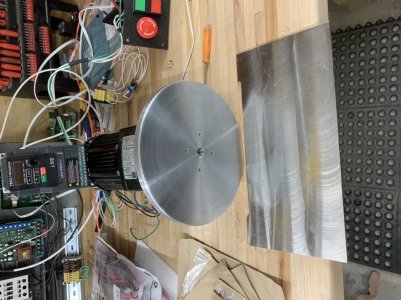
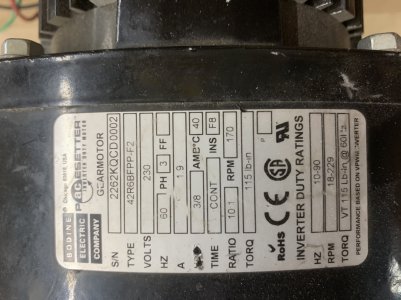
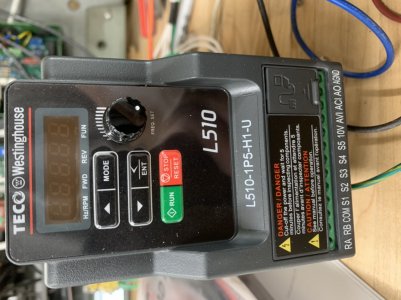
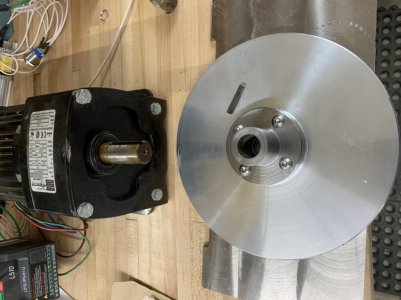
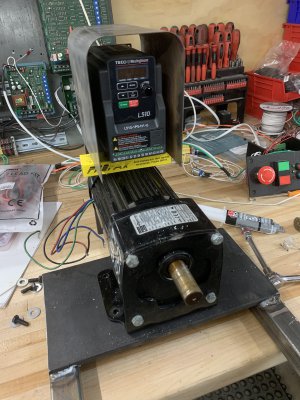
I found a used geared motor, 3/8hp, 3ph, 170rpm on ebay. Also a Teco L510 VFD, 120v single phase input, for up to 1/2 hp. This is probably excessive frills, but I’ll get variable speed.
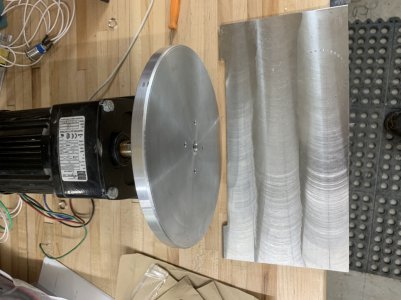
Ordered a 8” diameter disk of 6061, 1/2” sawcut, for the platten, and a 1/4” x 6” x 12” piece of stainless for the table from McMaster.
The motor has a 3/4” shaft. I had an odd piece of turned CRS that I turned into a hub.
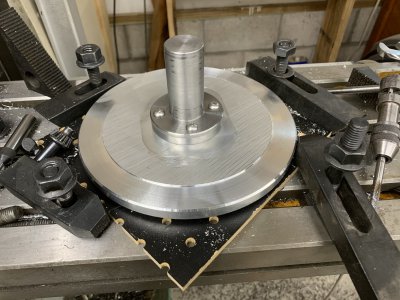
Turning the aluminum platen was a bit of a challenge. I wanted the face true with shaft to minimize runout, but I couldn’t thiink of a way to turn the face and bore the hub for the motor shaft in the same setup.
I ended up mounting the hub on the platten first. 1/2” hole in the platten, press fit to the hub. Hub drilled and tapped for 1/4-20, so I can mount a simple center to true the lapping plates, or a washer to clamp the plates if desired although I expect magnets will suffice.
Turned the face of the platen with the hub clamped in a 4 jaw, and could turn enough of the rim and outside of the back face of the platen so it was true with the front face. Then I flipped the combination in the 4 jaw and indicated the cut part of the back face as well as the rim of the hub to within a 1/2 thou. Drilled and bored the hub to a close fit for the motor shaft.
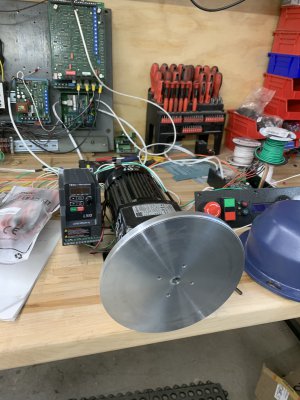
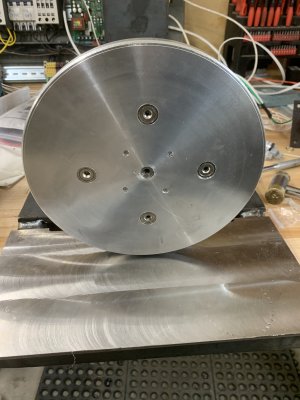
Stll need to broach the hub for a key and drill and tap for a couple of set screws. Then cut recesses for the magnets.
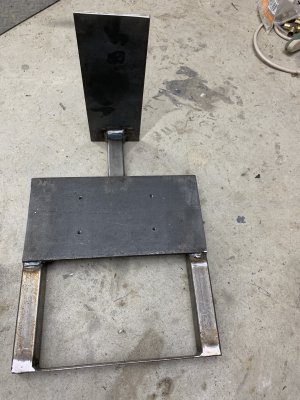
Haven’t gotten past that in terms of finalized design, although pondering a few ideas.
I found a used geared motor, 3/8hp, 3ph, 170rpm on ebay. Also a Teco L510 VFD, 120v single phase input, for up to 1/2 hp. This is probably excessive frills, but I’ll get variable speed.
Ordered a 8” diameter disk of 6061, 1/2” sawcut, for the platten, and a 1/4” x 6” x 12” piece of stainless for the table from McMaster.
The motor has a 3/4” shaft. I had an odd piece of turned CRS that I turned into a hub.

Turning the aluminum platen was a bit of a challenge. I wanted the face true with shaft to minimize runout, but I couldn’t thiink of a way to turn the face and bore the hub for the motor shaft in the same setup.
I ended up mounting the hub on the platten first. 1/2” hole in the platten, press fit to the hub. Hub drilled and tapped for 1/4-20, so I can mount a simple center to true the lapping plates, or a washer to clamp the plates if desired although I expect magnets will suffice.
Turned the face of the platen with the hub clamped in a 4 jaw, and could turn enough of the rim and outside of the back face of the platen so it was true with the front face. Then I flipped the combination in the 4 jaw and indicated the cut part of the back face as well as the rim of the hub to within a 1/2 thou. Drilled and bored the hub to a close fit for the motor shaft.

Stll need to broach the hub for a key and drill and tap for a couple of set screws. Then cut recesses for the magnets.
Haven’t gotten past that in terms of finalized design, although pondering a few ideas.
Last edited:


