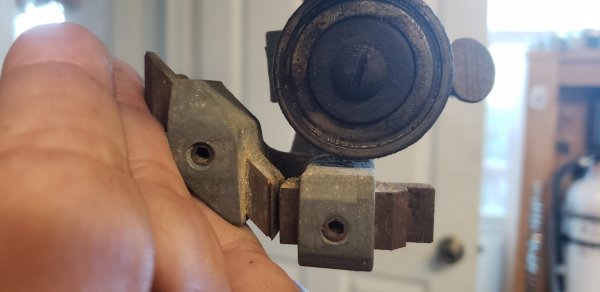
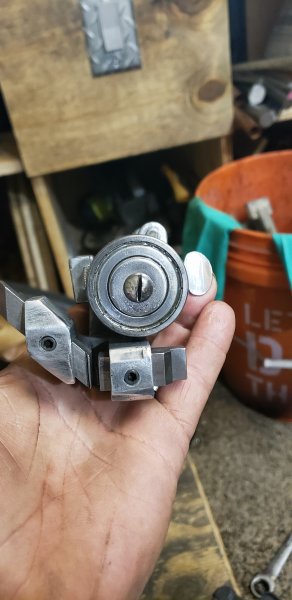
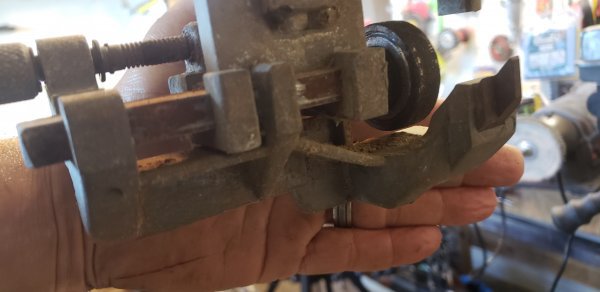
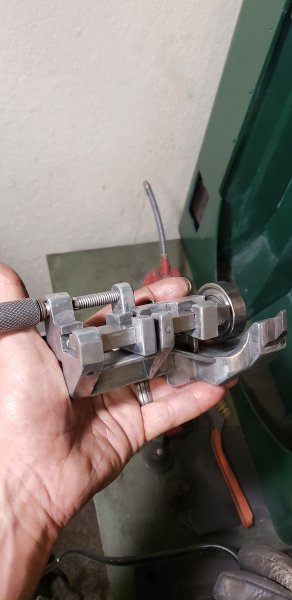
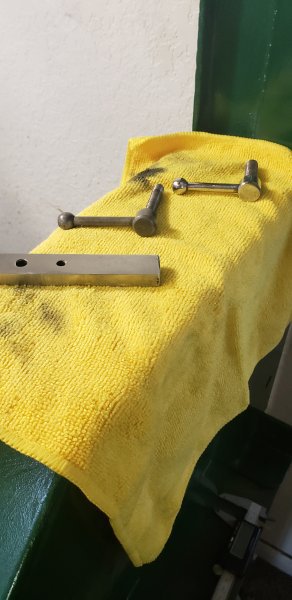
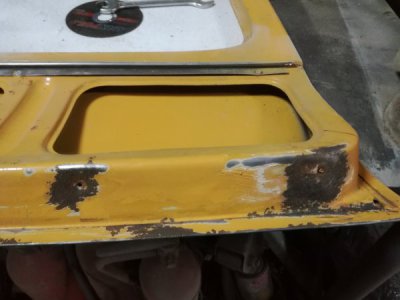
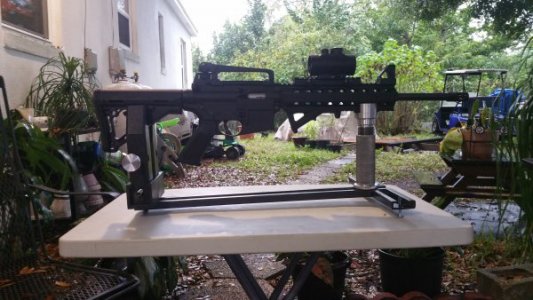
I did a POTD back in May to make a drill fixture for reworking a part at our car assembly plant. Part of the fixture was a couple of hardened steel drill bushings. Well, they’ve been in use for over 6 months at 250 holes per day, or around 50,000 cycles. Finally seeing a little wear in them so remade them today.
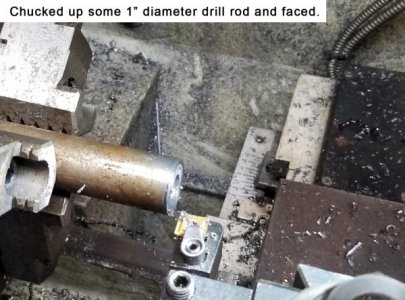
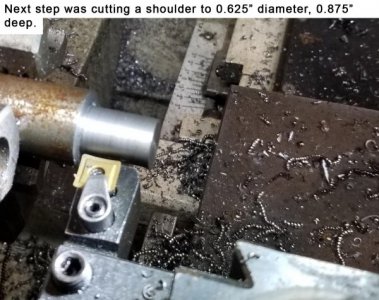
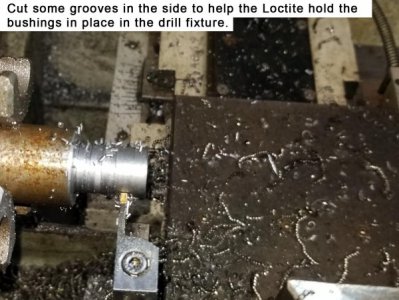
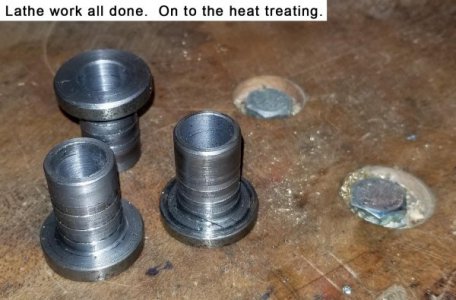
Chucked up some 1” drill rod, faced, and turned a shoulder at 0.625” diameter 0.875” long. I used a grooving tool to cut some ridges in the outside of the bushing. These will be Loctited into an aluminum holding fixture, think the grooves will help the Loctite get a better grip.
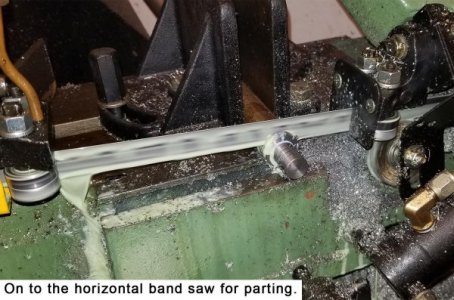
Cut off the bushing on a band saw. Could have parted on the lathe, but with drill rod I usually go the saw route.
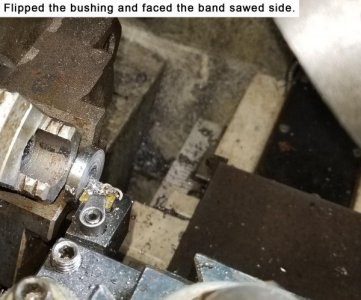
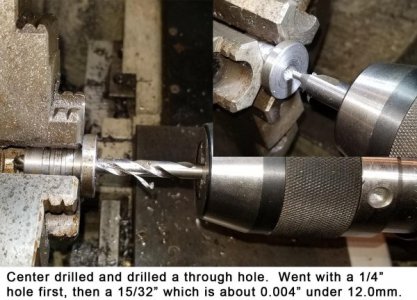
Re-chucked with the rough side out and faced. Center drilled, and drilled a ¼” through hole. The final size would be about 0.006” over 12 mm which is slightly over a 15/32” drill. Ran a 15/32” drill bit through which was 0.004” under 12 mm. Finished drilling with a 12 mm drill, then bored to about 0.006” oversize.
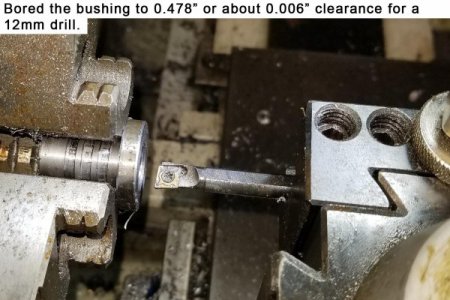
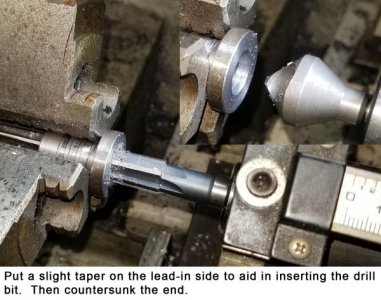
The drill fixture is used to knock holes through a plastic part, so we are using a brad point drill bit. I put a little taper on the first 0.15” of the hole with a 2MT ream, then countersunk the hole.
On to heat treating. I picked up a 110V Thermolyne 2025 muffle furnace (anyone know why they call them a muffle furnace? If I was to hazard a guess, there isn’t any forced air so maybe the sound is muffled?) and used that to heat the bushings to 1500 F. The “book” says steel goes to Austenite at 1350F, take it to 1450 to 1500F to completely take it to Austenite. Steel was quenched in motor oil which as expected caught fire. I keep a piece of sheet metal handy to drop over the can and snuff out the flames.
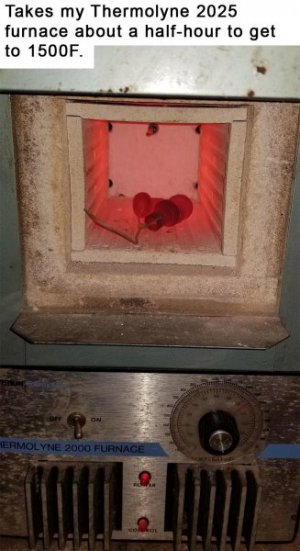
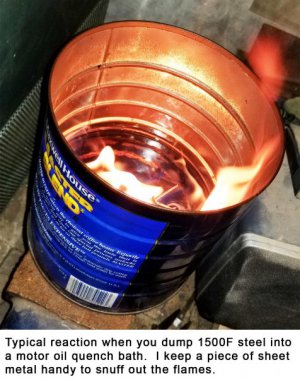
As an aside, the Thermolyne took 30 minutes to get to 1500F, so might go back to flame hardening with the oxyacetylene torch which takes under a minute to get to temp, then hold for 5 minutes more.
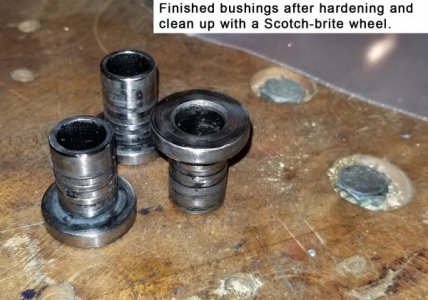
Cleaned up most of the scale with a Scotch-brite wheel on a bench grinder. Those wheels can be pretty pricey, but they do a wonderful job deburring, derusting and general cleanup.
Thanks for looking.
Bruce

