1969 Honda CT90 Riding Restoration

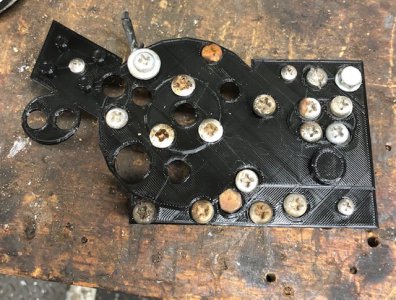
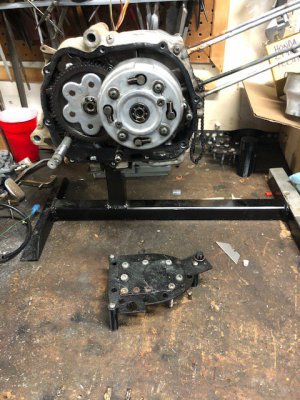
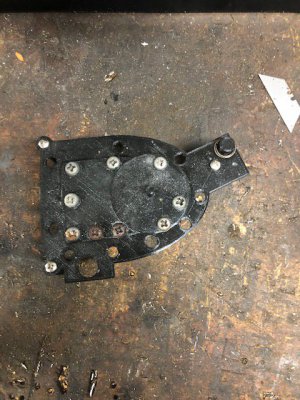
i designed and 3d printed some engine disassembly aids , some bolt location/holder template thingys

the problem,
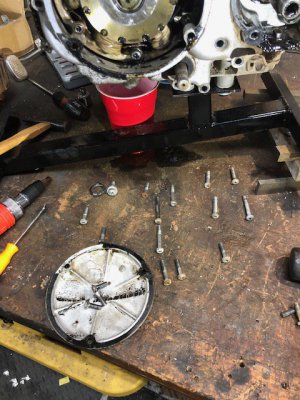
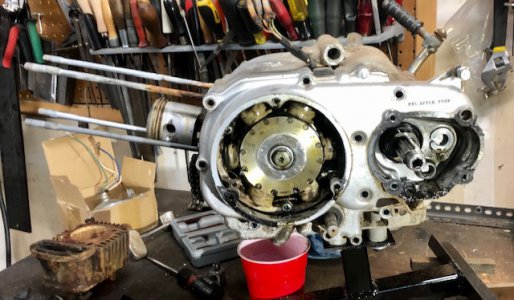
how not to mix up case bolts on the dynamo side?????

IMG_4435.jpgIMG_4436.jpg

the solution,
a template/holder that has locations for the bolts as they come off the engine

IMG_4437.jpg


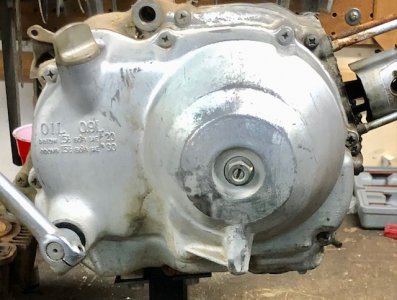
And the clutch side gets the same attention.
a different template/holder was designed and printed

IMG_4438.jpgIMG_4444.jpgIMG_4445.jpg

i'll be adding some holes for the next example!

the 3d printer has proven to be an asset to design and printing of quirky items.
i have a lot of fun testing the limits of what i create
 
Update 1/25/21

Both the 1967 K0, and the 1969 K1, after much effort, run beautifully- i can say with pride :grin:

the 1967 K0 requires new tires and tubes, they are being shipped! ($100- 2 tires, 2 tubes :))
it runs well and is fun to rail up and down the street- the dirt testing will soon follow !!!

the 1969 K1 had the ignition coil ($25) and some wiring damaged :bang head:
i had ordered a replacement wiring harness, but it won't be in for a month ($45 from Thailand)
so i fabricated a simple harness (>$5)
the harness had only essential wiring to facilitate engine operation and battery charging.
i installed it into the bike along with a new 22mm upgrade carburetor ($18)
i reset the ignition timing
i installed a red LED indicator light ($2) , to indicate the ignition switch activation
after a quick once over i gassed her up and gave it a couple kicks
she started running on the second kick and sounded great!
after making a warm-up lap around the block , she was given the ready to ride clearance! :encourage:

i'll be making improvements to the front end in the next installment....

same bat time, same bat station!
 
Update 1/31/21...

after receiving the rim strips, tires and tubes, i concentrated on the 1967 K0 this weekend

i dismounted the front tire and wheel from the K0 .
there was a faulty quad ring in the brake assembly that allowed grease to permeate the brakes
i cleaned the grease from the housing and replaced the brake shoes
i cleaned the front drum and scuffed the drum id with some 80 grit in a cross hatch pattern
i replaced the seal with an o-ring of sufficient diameter
after bearing inspection, they were recently replaced- i felt no need to go further
i popped the tire off the rim with a set of HF 400mm tire spoons
i discarded the rim strip, front tire and tube
i mounted the new rim strip tire and tube and inflated to 28psi
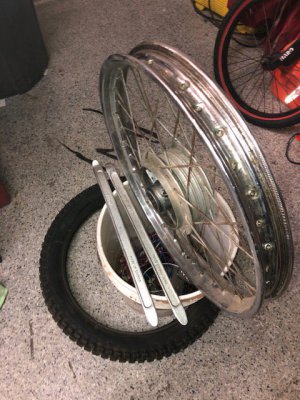
IMG_4460.jpg

Being a CT90 K0, the stock tire size for the front was 2.25-17
the rear is 2.75-17.
the set of tires i got were 2.75-17
needles to say, i needed to gain some real estate in the front end to keep the new tire from rubbing
the straps that hold the left and right sides of the fender to the forks were stamped with 3mm deep radii edges for stiffening.
i simply scarfed the edges off the strap and shifted the front fender geometry 14mm to the front.
this greatly changed the front fender angle, allowing for deeper tire travel,
as well as reducing any chance of the tire rubbing during rough terrain excursions
i bobbed 14mm off the headlight/front end cowling mounting standoff to assure proper alignment of the cowling post repair
i locked down all the hardware and adjusted the front brakes
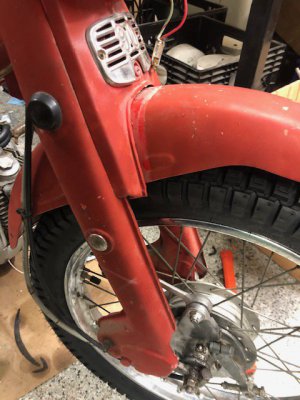
IMG_4468.jpg

i jumped up and down on the front end like the Samsonite Ape,
to see if i could collapse the front end enough to rub- Nothin' Doing- we are golden!!!

On to the rear wheel assembly...
i broke the rear chain and drifted the axle out, and removed the rear wheel assembly
the bearing in the sprocket unit were rough, i replaced the 6303-1RS with a 6303-2RS for longevity
on the wheel, i pushed out the wheel bearings and swapped the 6203-1RS bearings with 6203-2RS replacements
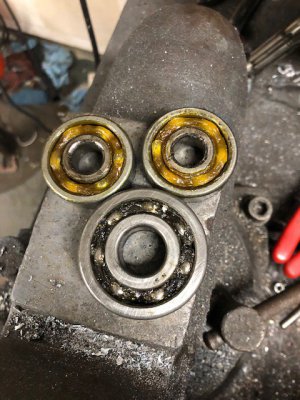
IMG_4462.jpg

I half mounted the rear tire and installed the tube-
i gave the tube a puff of momentary air and mounted the other half of the tire
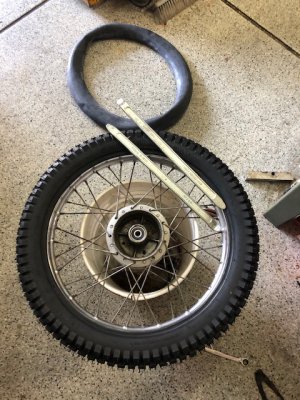
IMG_4463.jpg

i looked at the cushions for the sprocket drive and replaced them
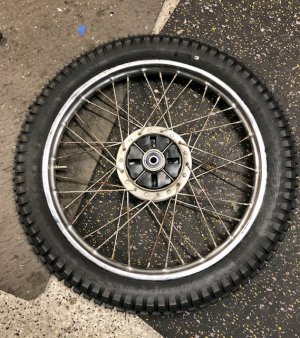
IMG_4465.jpg

here were the old, chewed up, cushions
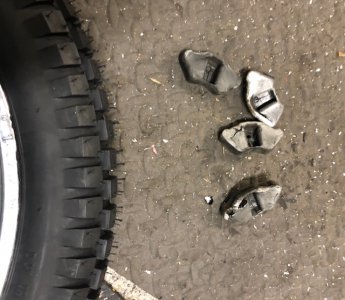
IMG_4466.jpg

and a shot at the new cushions installed!
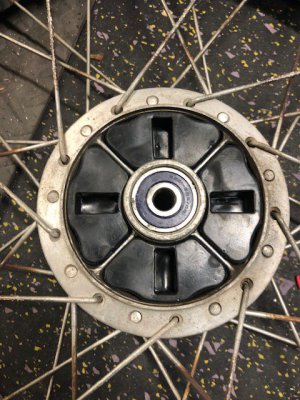
IMG_4467.jpg

i cleaned the rear brake drum and shoes, dressed the drum with 80 grit and prepped for install

i'll install the wheel after dinner and move a bit more forward!

thanks for reading!!!

plenty more to come :grin:
 
Looks like you are having fun! My brother has two of these. One is an older push rod engine version vs the cam chain style of yours.
 
One summer in the late 60's I spent putting together Hondas from the crates to rolling onto the showroom floor. The trail 90 was by far the most time consuming, because the footpeg/skid pan bolts never lined up. I could put together a CB450 faster than getting those bolts in. And they sold a ton of them in a rural farming community over 100 miles from the next Honda dealer. I got all of $3.00 each for each assembly/prep. It was my cousin's dealership and I was a happy 13 year old gearhead.
 
Back
Top