Willis mill

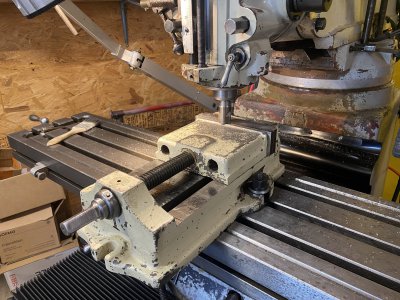
Disassembled the vise today, cleaned it and milled a few thou off of the inside top surface to cut it parallel to the table. The vise has had a rough life. The surface has several drill point divots. I reassembled it and cleaned up the tops of the jaws because they were abused too. I’m going to grind the jaws tomorrow at work. IMG_2388.jpeg
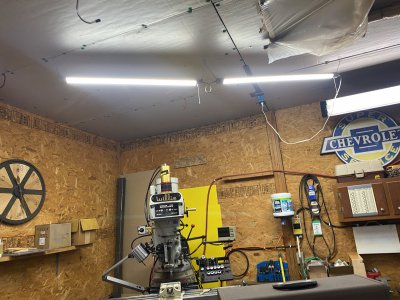
Moved around some lights and hung two LED fixtures over the mill.
IMG_2391.jpeg
 
Today, I adjusted the gibs to tighten up the X,Y and knee ways. I used a mag base and indicator to check the play in each axis. X had .003”, Y had .004” and the knee had .004”. They all now have only .001” play.

Next, I might adjust the backlash on the lead screws nuts. They both have .020-.025” backlash.
 
The work light stopped working soon after I got the mill running. The 120V to 12V transformer had gone bad so I bought a new one which only lasted one day before it died as well. Today, I bought a 120V halogen bulb that fits the socket and re-wired the light to eliminate the transformer. I tried an LED bulb first but it was too tall to fit inside the housing. The light works fine for now. (fingers crossed)
IMG_2957.jpeg
 
I’m going to be re-wiring the mill and adding a line reactor to protect the VFD from incoming voltage fluctuations. A few times now, the VFD has faulted because of an over voltage condition on the incoming power. The line reactor will absorb the spikes and hopefully eliminate the VFD errors. The box I bought is a Vevor 16”x20”x10” and it is a nicely built piece. It has a removable panel on the bottom that I replaced with a piece of perforated steel to allow cool air in and I’ll add an additional vent to the upper edge of the side to let warm air out.

IMG_2965.jpegIMG_2994.jpegIMG_2996.jpegIMG_2997.jpeg
 
The new box is on and the wiring is done. Just need to finish tying up some cables. I’m going to add another 220V outlet to the shop since I’ve been sharing one outlet between the mill and lathe.

IMG_3007.jpeg
IMG_3005.jpeg

IMG_3006.jpeg
 
That control box is much better than the old one.
Professional quality installation.

Ray
 
Thanks Ray.
The ammo can enclosure wasn’t pretty but it did the job. It was kind of a pain to get to between the mill and the wall.
 
I added a quill DRO. It is an Igaging drill press DRO that I stole from my drill press. I was able to use the bracket from the kit to mount the display and I made a bracket and a Delrin piece to hook to the scale. The stop is easy to access with the DRO offset out of the way.
I checked the accuracy with 1,2,3 blocks every inch and it was within 0.001” at each inch.

IMG_3042.jpeg

IMG_3043.jpeg

IMG_3044.jpeg

IMG_3045.jpeg
 
Back
Top