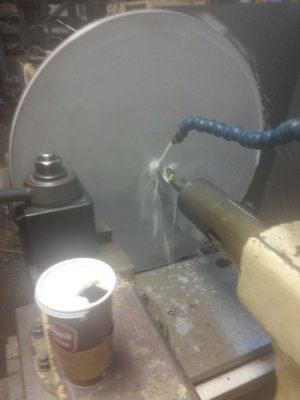
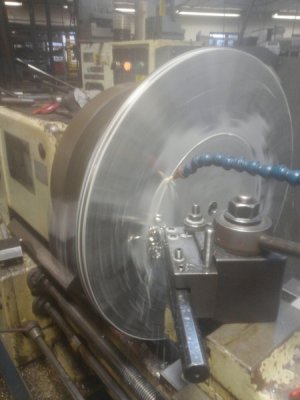
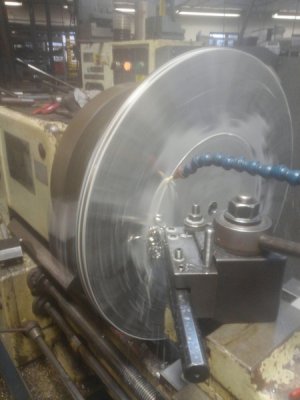
Todays Flying by the Seat of the Pants job that was to big for the machine
1 Remove Gap
2 Install faceplate
3 Turn pilot to center 3 jaw to faceplate (on another lathe)
4 Bolt chuck to faceplate
5 Have one of the guys that run a mill make soft jaws from 2 X 3 1018 bar stock 10" long
6 Weld pads to jaws
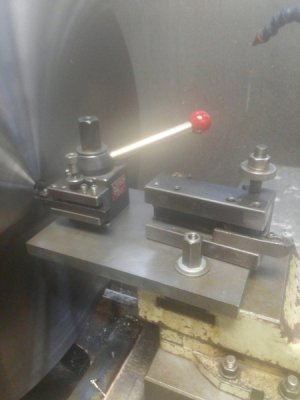
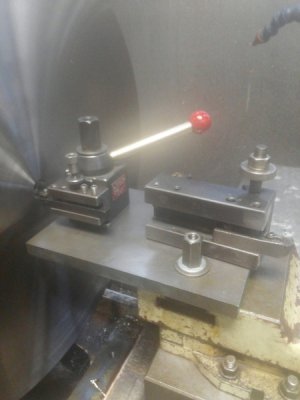
7 Turn the toolpost so that the dovetail is on the operators side
8 I then turned a shallow pocket in the jaws at the minimum diameter that the tool would reach, chucked a piece of 9" Dia. tubing and turned the ID to set the dro X dimension.
9 Chuck a disk on the inside of the jaws to hold them whilst turning
10 Turn a 28" Dia X 3/8" deep pocket in the jaws
11 Weld a hook (I also do the welding in this shop) onto the OD of the part so that I can lift it with the hoist into the chuck, the blank is just over 200 Lb's and is plasma/laser cut 304 SS from plate
12 Chuck part and cut hook off with an abrasive disk in a die grinder
13 Turn boring bar upsidedown, run spindle in reverse to turn slightly more then 1/2 of the thickness. It is a fairly stout 2 1/2" round bar.
14 Reset the tool height because it is now upsidedown
15 Take a cut until it cleans up, dig out the 40" Mitutoyo vernier caliper, measure the OD and set the dro X axis dimension. This is where I left it today, will begin again tomorrow morning, the finished OD is 27.500 ± .015, 15 man hours of setup so far, for 1 part.
The reason that I bolted a chuck to a faceplate is that we do not have a 4 jaw large enough and the largest one does not have 2 piece jaws so I couldn't use soft jaws. The 15" 3 jaw was not meant for use on this lathe so I had to improvise. The reason that I am using a boring bar upside down is that the part is only 1" thick and the gap is 12-14" wide, reaching the part without running the carriage into the gap demanded it, the chuck on the faceplate also gets the part closer to the tool over the gap. I also pushed a live center from the tailstock against the face to make sure that it stays in the shallow jaw pocket during OD roughing.


