- Joined
- Oct 19, 2011
- Messages
- 127
This will be a SLOW going project as I have a couple other projects ahead of this one. I got this lathe from a motorcycle shop I worked part-time at in MS when I was stationed over there around 2002. They let me have it for free with all the tooling in the bench under it. They just wanted it out of there to free up that space in the shop. I toted it around with me till I retired from the Navy 2009, and then finally settled down in MT in 2011. I now have a permanent space I can set it up and work on it and built a sturdy bench for it. After that I got around to breaking it down to asses the overall condition. The bed is pretty worn but I'm going to address that issue after I get it back to being functional again. For now I just removed the worst dings on the edges of the ways so they wouldn't bump the saddle around as it travels on the ways.
When I disassembled it I found a few issues that needed attention:
- The upper side gear door had the lower hinge broken off (I had a local shop weld it back together recently)
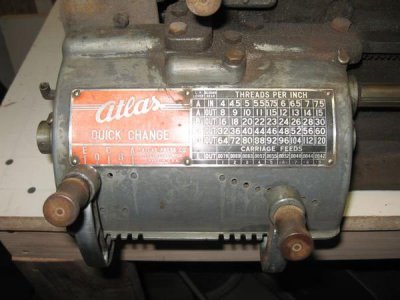
- The QCGB (added sometime long before I got it) had a broken arm under it (this was fixed at the same time by the same shop that fixed the side door)
- The lead screw support bearing at the far end of the bed fell apart during disassembly (bought a beefy aluminum one with a bronze bushing from Ebay already)
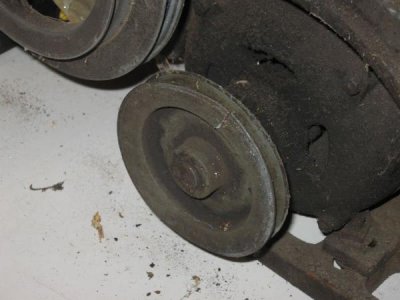
- The electric motor pulley was banged around and will need to be replaced (I'm waiting till I verify that the motor is still good before getting a new pulley)
- The belts are pretty ratty and are long overdue to be replaced (I'm not sure if I want to use those twist belts or not. It depends if I need to take the head pulleys out or not)
I'm sure I'll find more things that need attention as I give the parts a thorough cleaning before repainting.
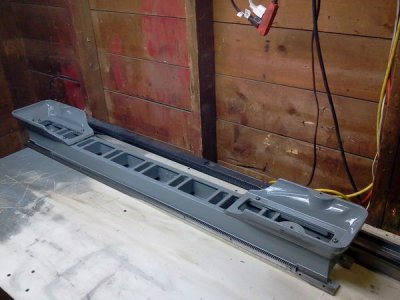
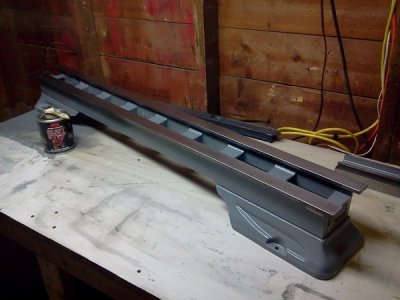
Today I cleaned up the bed and pedestals to get the years of swarf and congealed lubricants out of all the nooks and crannies. I also pulled the gear rack from the front of the bed and got the teeth and mating surfaces back to spotless condition. The teeth look great on the rack and the bed had zero rust on it. I had given it a thorough initial cleaning after I got it and had been keeping it oiled the entire time I had it, so that seems to have paid off. While the pedestals and rack were off I fixed up all the screw slots by tapping them with a small hammer and then cleaning them up with a file. Only one screw looked like it might give me a problem (it did). After degreasing and then wiping down the bed and pedestals I taped off the areas I didn't want painted. For the paint I picked up some Rust Stop paint from Ace in Medium Grey. So far I have a single coat on the bed and pedestals and let it dry enough for me to put the pedestals back on the bed. After I pulled the tape I then reinstalled the rack. This is where one of the screws that looked iffy gave me a slight problem. As I tightened it down the screw slot peeled away from both sides as it was brought to full torque. The screw is tight, but can't be made any tighter. Luckily the sides of the slot needed to remove the screw are still intact so I should be able to pull it out easily enough when I get a replacement screw. Since it's tight, I'll let it stay in place for now.
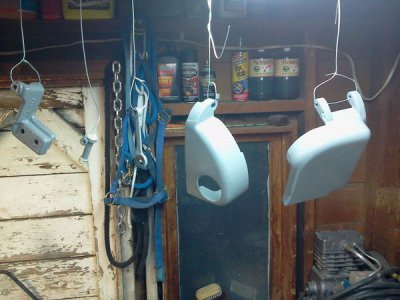
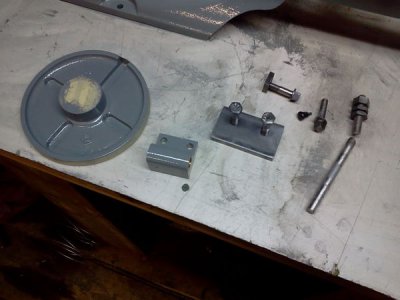
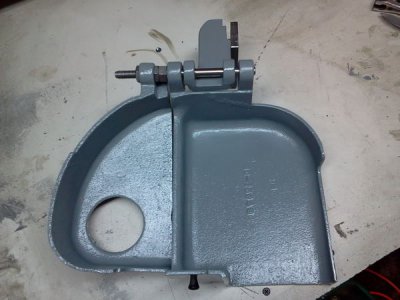
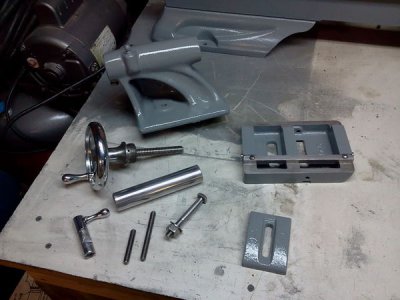
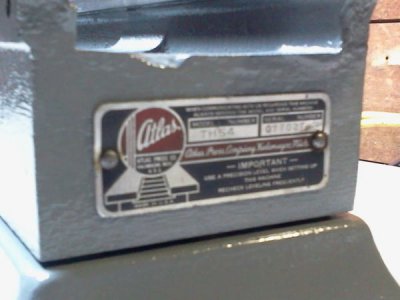
Here's the progress so far:
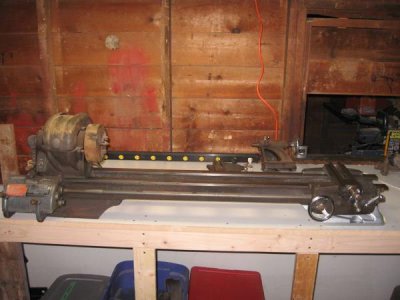
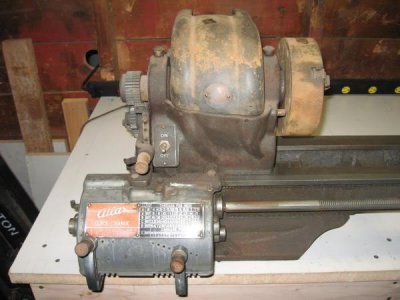
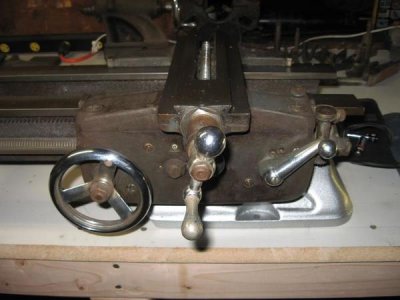
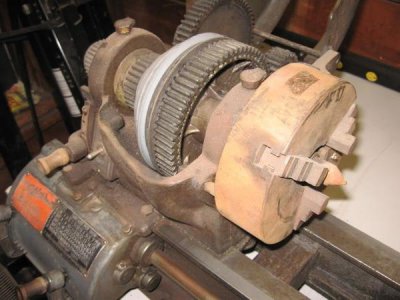
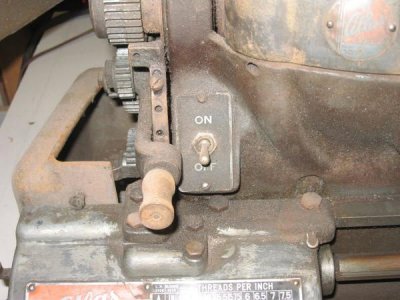
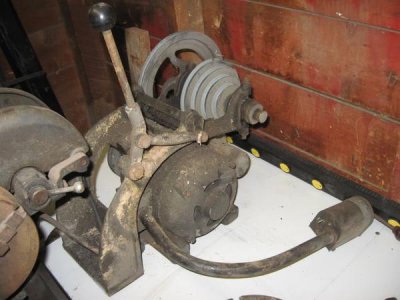
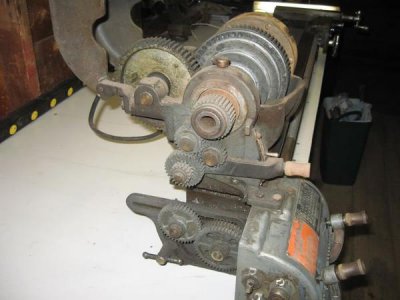
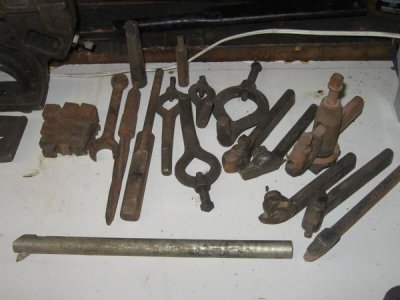
I found a bunch of photos from before the teardown that show what I had to start with, as well as a bunch of the accessories that came with it.
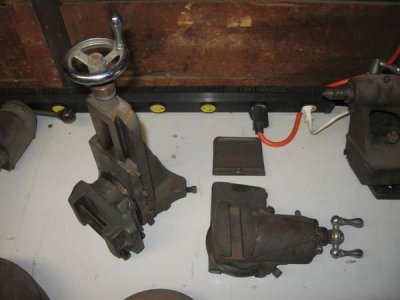
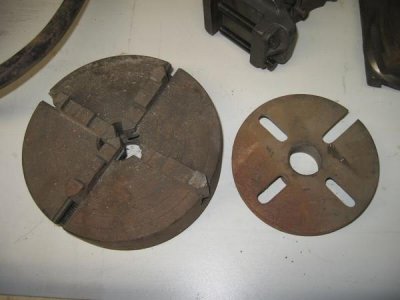
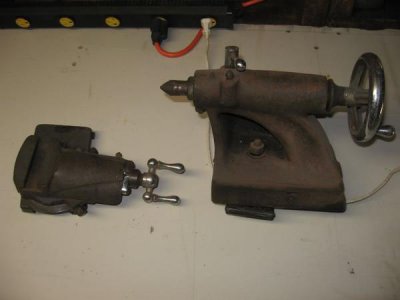
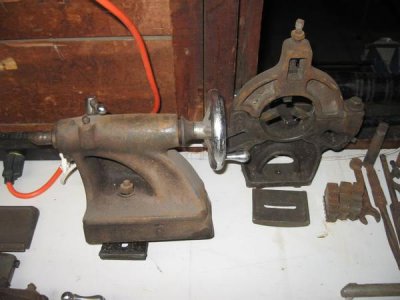
I'll update this thread whenever I make progress on this project. The goal is to try to get it up and running this summer before I have to go back to school in August. I'm taking classes to get an AAS in Drafting Technology (mostly for the AutoCAD training).
When I disassembled it I found a few issues that needed attention:
- The upper side gear door had the lower hinge broken off (I had a local shop weld it back together recently)
- The QCGB (added sometime long before I got it) had a broken arm under it (this was fixed at the same time by the same shop that fixed the side door)
- The lead screw support bearing at the far end of the bed fell apart during disassembly (bought a beefy aluminum one with a bronze bushing from Ebay already)
- The electric motor pulley was banged around and will need to be replaced (I'm waiting till I verify that the motor is still good before getting a new pulley)
- The belts are pretty ratty and are long overdue to be replaced (I'm not sure if I want to use those twist belts or not. It depends if I need to take the head pulleys out or not)
I'm sure I'll find more things that need attention as I give the parts a thorough cleaning before repainting.
Today I cleaned up the bed and pedestals to get the years of swarf and congealed lubricants out of all the nooks and crannies. I also pulled the gear rack from the front of the bed and got the teeth and mating surfaces back to spotless condition. The teeth look great on the rack and the bed had zero rust on it. I had given it a thorough initial cleaning after I got it and had been keeping it oiled the entire time I had it, so that seems to have paid off. While the pedestals and rack were off I fixed up all the screw slots by tapping them with a small hammer and then cleaning them up with a file. Only one screw looked like it might give me a problem (it did). After degreasing and then wiping down the bed and pedestals I taped off the areas I didn't want painted. For the paint I picked up some Rust Stop paint from Ace in Medium Grey. So far I have a single coat on the bed and pedestals and let it dry enough for me to put the pedestals back on the bed. After I pulled the tape I then reinstalled the rack. This is where one of the screws that looked iffy gave me a slight problem. As I tightened it down the screw slot peeled away from both sides as it was brought to full torque. The screw is tight, but can't be made any tighter. Luckily the sides of the slot needed to remove the screw are still intact so I should be able to pull it out easily enough when I get a replacement screw. Since it's tight, I'll let it stay in place for now.
Here's the progress so far:


I found a bunch of photos from before the teardown that show what I had to start with, as well as a bunch of the accessories that came with it.


I'll update this thread whenever I make progress on this project. The goal is to try to get it up and running this summer before I have to go back to school in August. I'm taking classes to get an AAS in Drafting Technology (mostly for the AutoCAD training).

