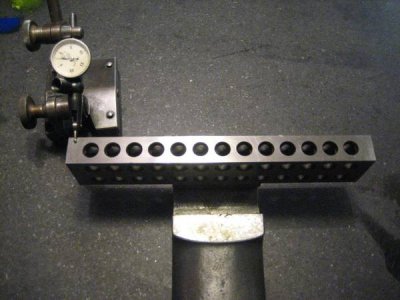
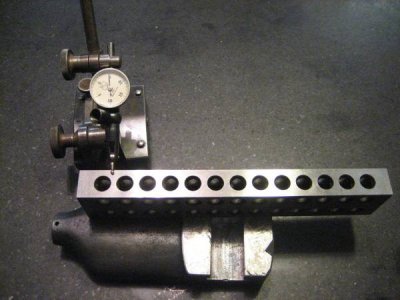
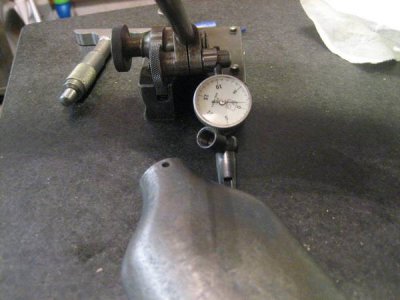
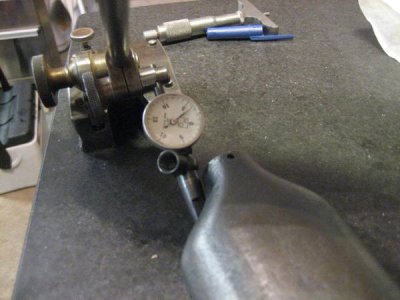
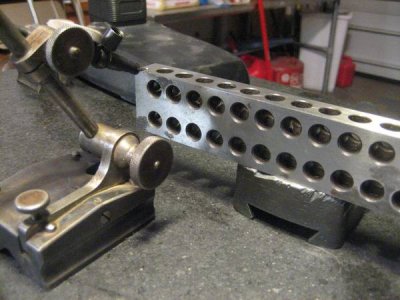
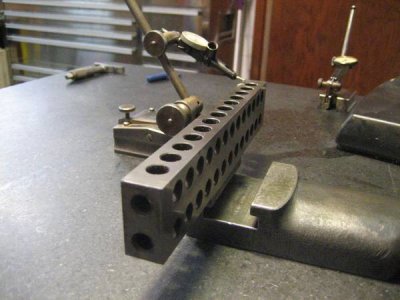
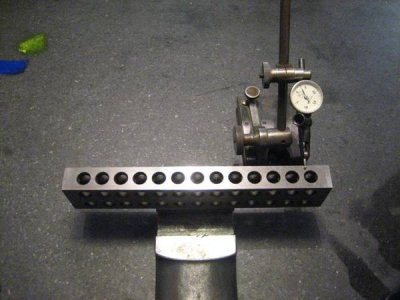
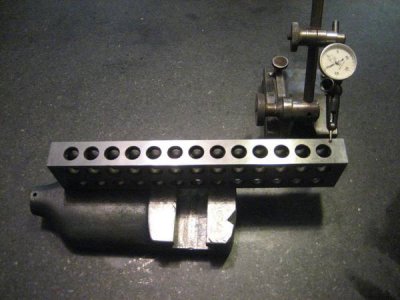
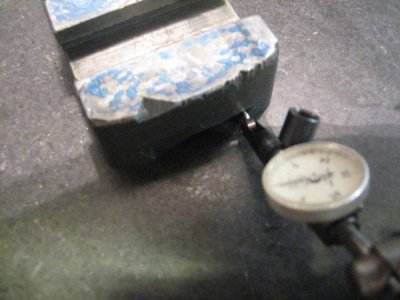
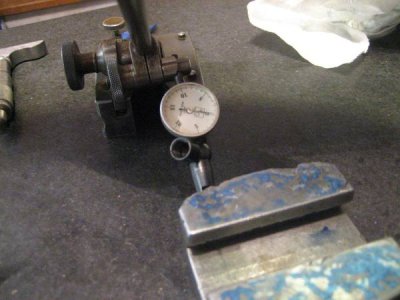
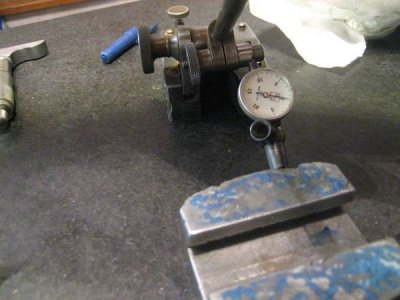
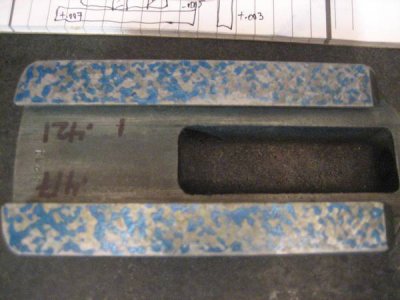
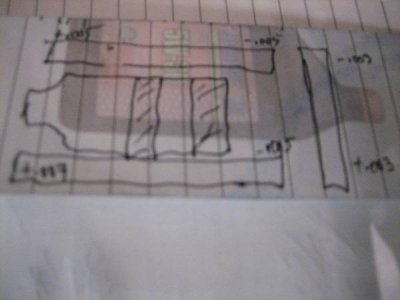
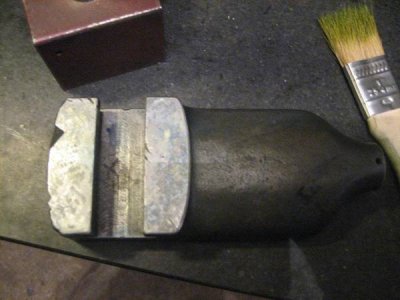
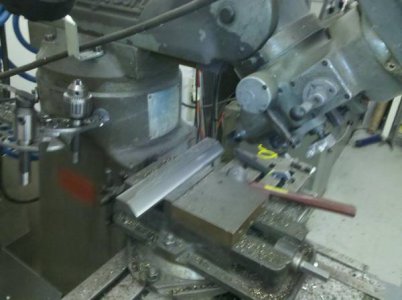
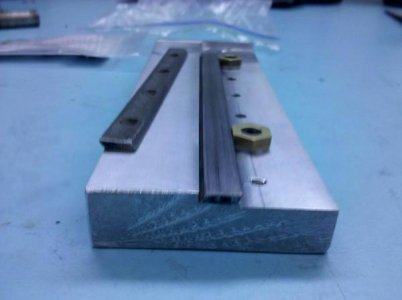
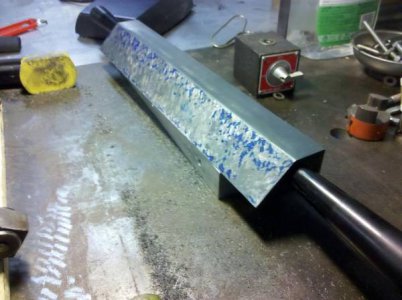
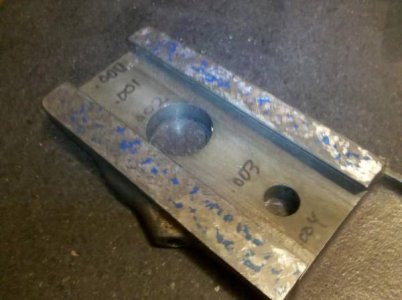
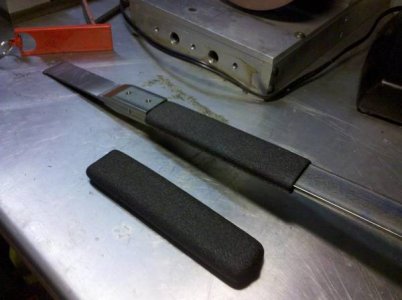
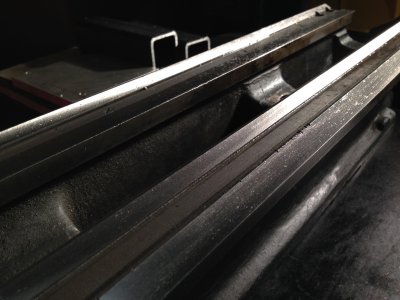
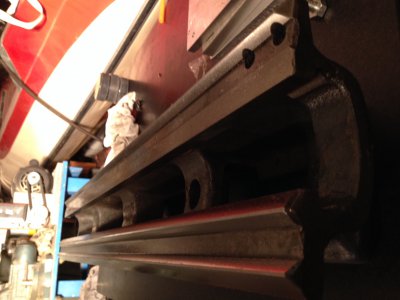
I am glad you figured out what I told you on the phone.I like that test better, on the bottom of the compound even though it's a clearance surface, but if you think about it, the factory machined that at the same set-up when they machined the ways. I did a school at a GE plant in Cincinnati and one of my students had been a machinist at Cincinnati Millicron and he said that is what they did, one set up 2 surfaces cut, accept the ways were a slower feed rate. Plus your using a dial indicator and not a depth mic, it's easier to read. One other thing, for the guys who don't know plus / minus on the indicator please mark it in the pic's.
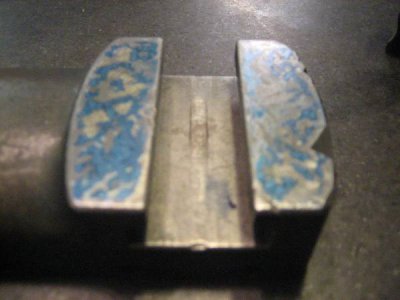
I'm not real excited with the test bar check, you're introducing multiple error into it. It might look impressive, but it is to confusing. indicate the top not the test bar. Plus your not working on a jig bore your working on lathe. I would rather trust the bottom check where 3 of 4 of the checks are close. I would get the bearing better on the ways and then grind the top of the compound on a surface grinder. If you don't have a grinder, mill it. That's good enough. Per the call, be sure when you stone the scrape marks, only dry stone it with a MS-24 Norton or a small medium grit Indian stone t knock off the burrs and not flatten of the high spots you just created by scraping. The hind on the left side is what you want. Remember to take your soft blow hammer and tap the top and "listen" for the same sound when you hit it. When it is flat you will hear the same sound a thud when its flat. If it has a ring sound it is not flat. If you not sure what I mean slide a .001" feeler gage under one corner and tap it, you will see what I mean about the sound. I know you want to get it perfect, but it's only a lathe and the spec is .0002 per 12". It's a waste of time to get it better then that. 18-20 PPI / 50% POP. It probably was 12 PPI / 40% when new. (PPI = points per 1 ") and POP = percentage of points).
Keep up the good work. Rich


