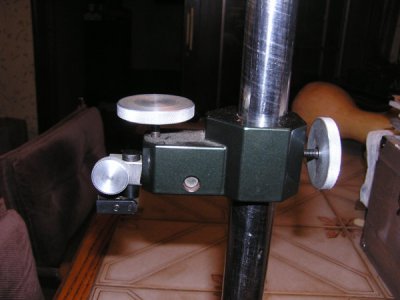
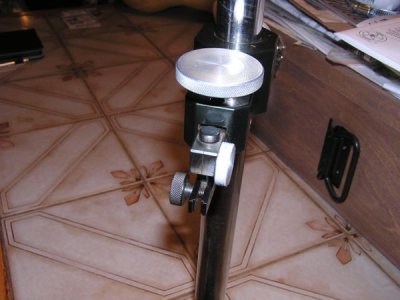
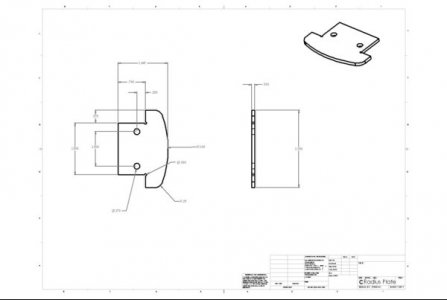
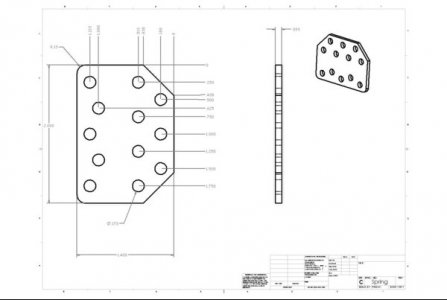
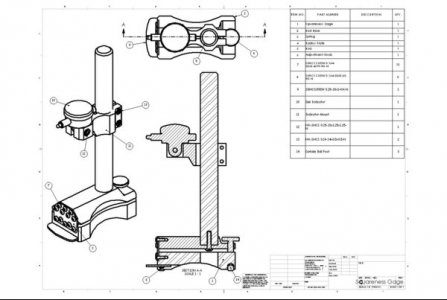
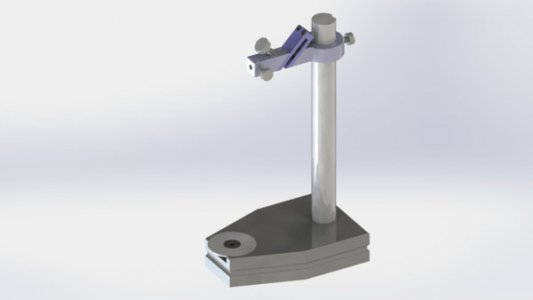
if I understand you correctly, you are thinking that the screws in front of the Herman Schmidt height gauge are for holding the item to be checked a fixed distance from the indicator? That is not why the screws are there. They are only to attach the flex plate that allows the upright stem to tilt for the fine adjust. We had those stands were I worked and they are very nice, but only way to check squareness with them is the slight strip that is on opposite end near the fine adjust screw (not shown in photo).
You do not set the indicator to zero then change the height location of the indicator. Once indicator is set to zero you leave it there and run the part against the radius of the stand. If you need to adjust the height, then you need another block of correct height to use to reset the indicator to zero.
The block to be used for setting the indicator does not need to be perfectly square, but it does need top be parallel and flat for the 2 sides you will use. I generally used a angle plate square. Get a reading on one face, then rotate 180 and get another reading on opposite face. Zero will be midway between the readings. We typically worked to .0002 per 12" high for squareness without any precision set blocks.
difficult to use something like a precision try square to set zero, as no opposite face to use for the double check. If you trust the try square you just use it..
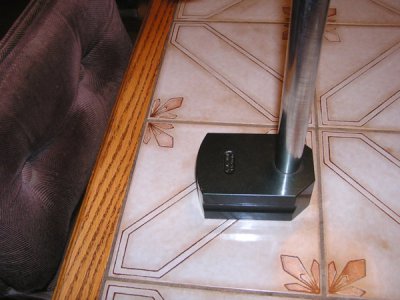
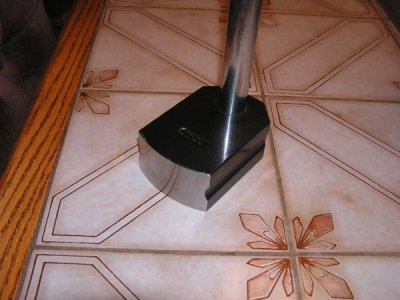
These are some old photos of the gauge I built, one for me and one for my dad (now both mine). The hole that the upright stem fits into was jig ground square to the base and flat on bottom, and the radius was ground square to the base. Theoretically the stem is perfectly square to the base so you could change the height of the indicator without affecting zero, but I never trusted it and always reset zero every time. Base is releived on bottom about .03 deep so there is 3/16 lip around entire outter perimeter with one small air slot thru that wall to help it slide.
base


fine adjust feature
