Single Point Threading Between Centers

Beautiful threads! Nice work. Single point threading gets a lot faster after the first 10-20 times you try it. Starts to become routine.

For chamfering the corners of a hex head, I like to use a threading tool. Each side is a 30 degree chamfer tool and you can hit both edges in the same setup (assuming of course the dog wasn't there). It ends up looking pretty darn close to factory.

I did that at the beginning and end of the threads. Thanks for the tip.
6C62D050-F780-4A44-BA2A-D95B1FB596D5.jpeg
 
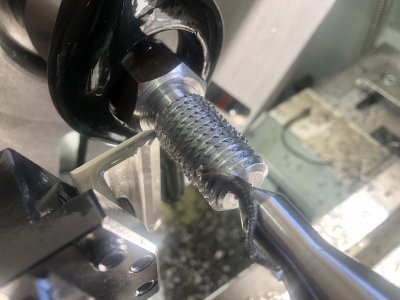
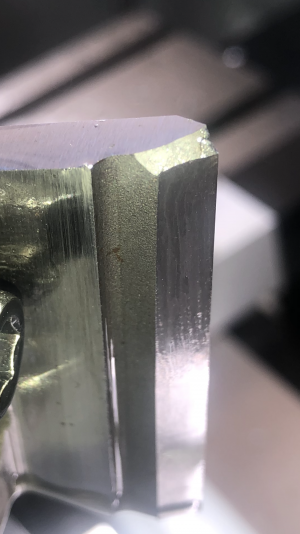
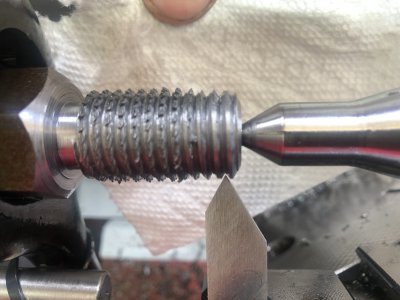
I had a problem. I saw that I was able to make cuts as deep as .20 mm (10 divisions on the metric scale). After taking my son to work and then returning to the project, I dialed in 10 divisions on the Imperial scale. This is 30% more of a cut, and it busted my threading blade. Look at this carnage:

EC1AFE71-387C-42B4-BE0D-FBB78F63A51C.jpeg
 
I will try to recover from this, but I think part of the OD is gone.

This is why I can’t have nice things.

B8F4440A-939A-4776-BF8D-E64DC35C42E7.png

3F4D205A-8FD5-46F6-8CC9-80E97853371C.jpeg
 
Last edited:
Erik,

I think we can blame your son for this one for "taking you out of the zone". ;)

That's the type of tool that just gets ground flat on top to present a new edge, right?

-brino
 
My Dad came over, saw this & said that I have scrapped the work. Just as a learning experience, I am going to try to recover.

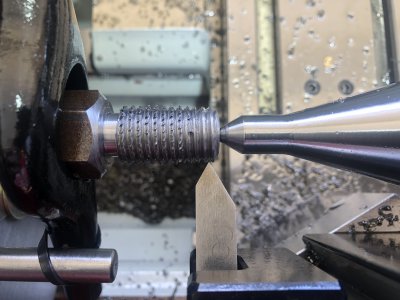
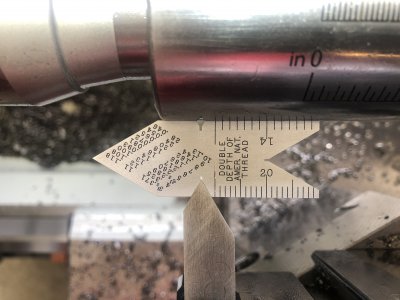
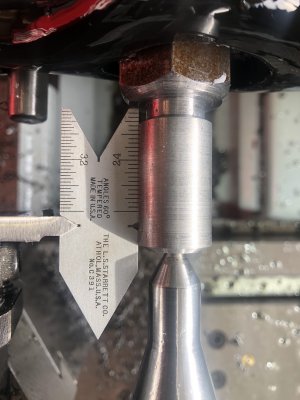
I grabbed this 60° preground HSS bit, and I put it in the tool holder so that it fits into the threads that I have cut so far. My half nut remains engaged.

Looking at the photo up close, I can see that I need to make an adjustment.

3DFFC30E-7676-41AC-BD76-3F3BCF288013.jpeg
 
Erik,

I think we can blame your son for this one for "taking you out of the zone". ;)

That's the type of tool that just gets ground flat on top to present a new edge, right?

-brino

Yes, it must be ground flat on the top, just as it came from the factory. That’s what the mill & carbide end mills are for.
 
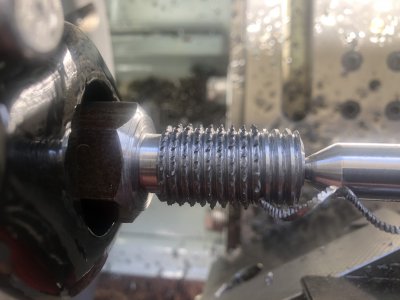
There we go. Hopefully the fishtail on the tailstock quill is good enough. At present, the OD of my threads are serrated.

E0C5E6B2-4B48-4D7D-8ED3-DC899B55B028.jpeg


E763E2C4-B4EE-45A0-A97A-E042762556EF.jpeg
 
Last edited:
Yes, it must be ground flat on the top, just as it came from the factory. That’s what the mill & carbide end mills are for.
You sure about that......???

Dressing it flat using a grinder (or belt sander if you've got one) is the way to go for these.

Trying to do it on the mill sounds like a recipe for disaster.

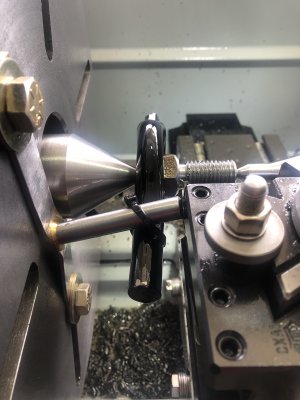
Well, at least I crashed into the dog driving pin.
Oops...

+1 for just holding it in your 3-jaw.
 
Using a hammer and a bench vice, I temporarily fixed the offset dog driver pin bracket. It will be re-engineered.

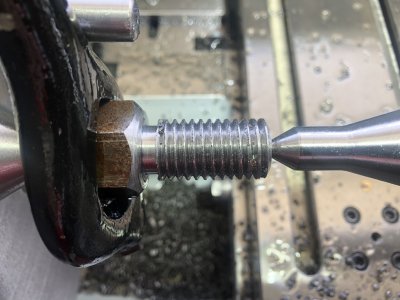
I carefully made some cleanup passes, and I went in another .10 mm (in two passes). I tested the nut, and it was too tight.

I wanted to file the OD, but since the half nut remains engaged I had to move the tailstock quill all the way out (6”) and do the filing as the carriage advanced.

Here it is before I clean it up more.

36F1DF5B-DF1F-48BC-9FD2-05D793D7319D.jpeg
 
Last edited:
Back
Top