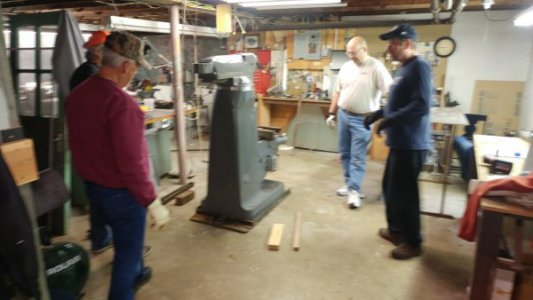
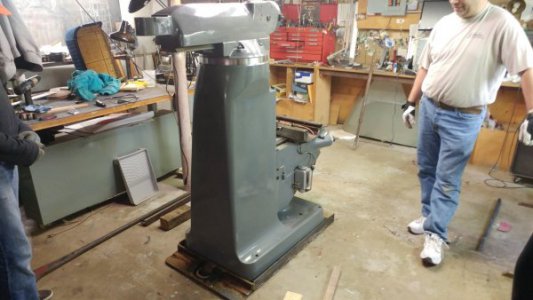
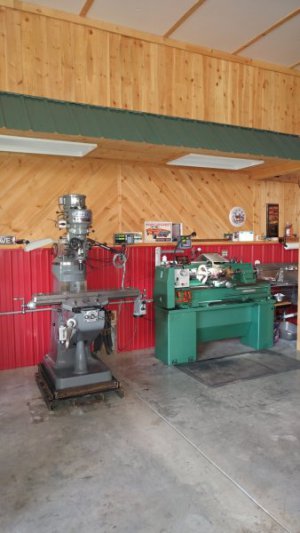
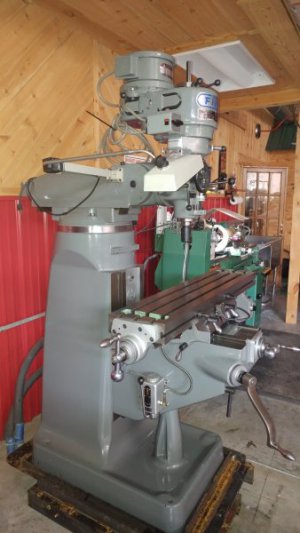
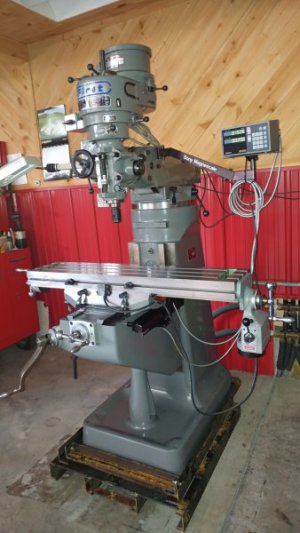
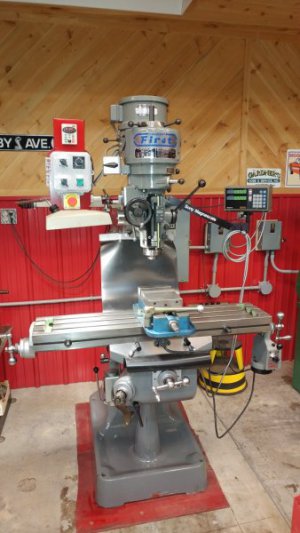
Wrangled up some friends ...and got Mr Chang to its new home...
The Story......
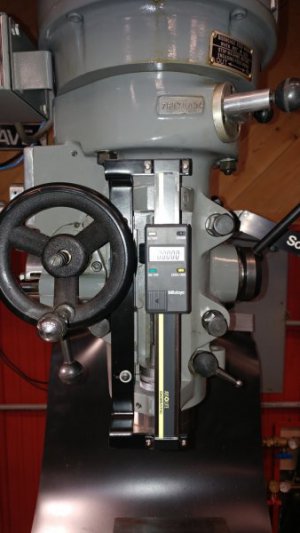
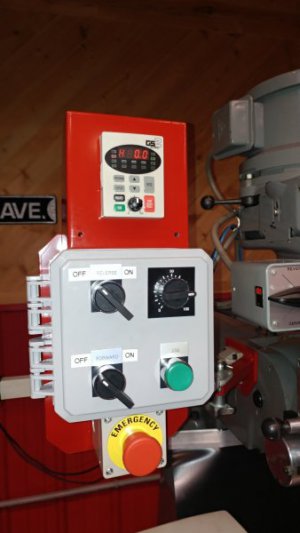
First i removed the light, Sony DRO, then the electric motor
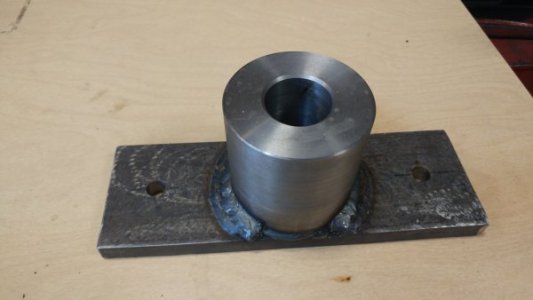
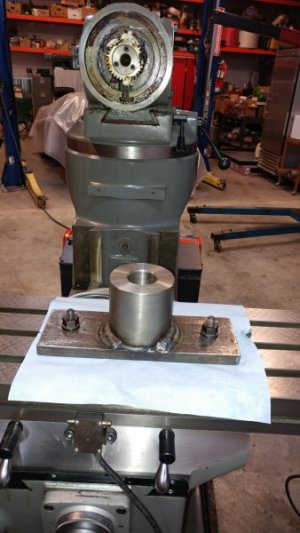
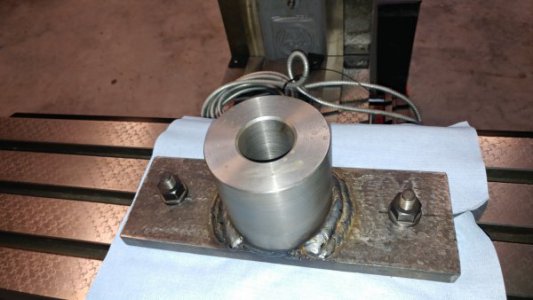
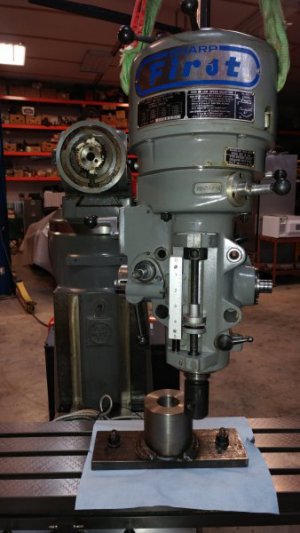
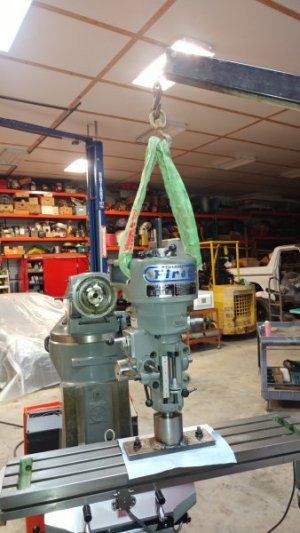
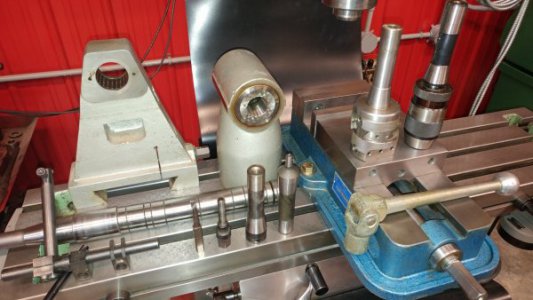
I had made a stand to remove the quill head and fastened it to the table
Inserted a cutter holder into the quill and brought the table with the attached stand up over the cutter holder
Undid the four bolts and and cranked the table out away from the ram
Then i lifted the quill head off the stand.
Next we removed the table so we could travel the mill through the 29" door way.
Set the knee down onto a supporting block
We tipped the mill up with a pry bar enough to insert a 1" solid steel rod under the mill base just at the tipping point.
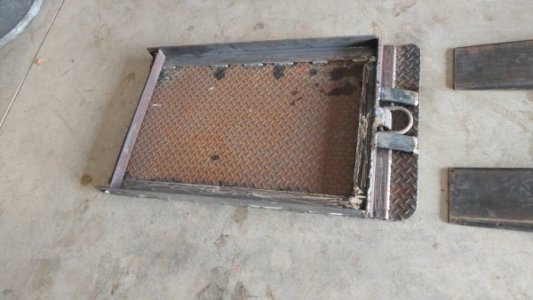
We held the mill at the tipping point and slid the steel shoe i had made 2/3rds of the way under the base or until the shoe contacted the steel rod.
The mill base was tipped forward onto the plate , then slid completely forward to contact the stop i welded onto the shoe.
Then i secured the rear of the shoe with a stop that was bolted in place to keep the mill from possibly sliding out the back.
Now we tipped the shoe and mill up and placed solid 1" rods under the shoe, this allowed the mill assembly to be rolled easily towards the door way.
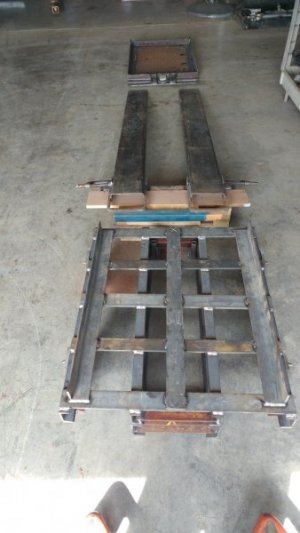
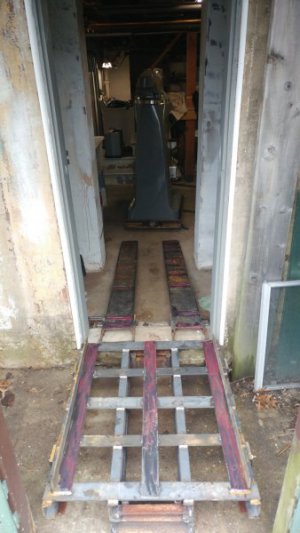
Nearing the door way to exit the room we placed the 1" rods on angles so when rolling the mill it allowed us to turn "align" with the door way and metal ramps..The ramp was constructed to overcome a 7" cement door sill..
I had placed grease on the ramps so the metal shoe would slide easy, so no need to continue with the 1" rods.
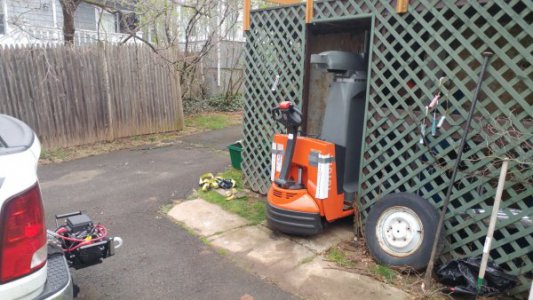
An electric winch was placed into the tow hitch on the truck and the cable hook was secured to the mill shoe by a "D-ring" i had welded onto the front of the shoe.
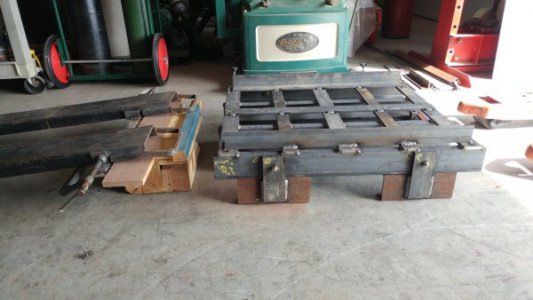
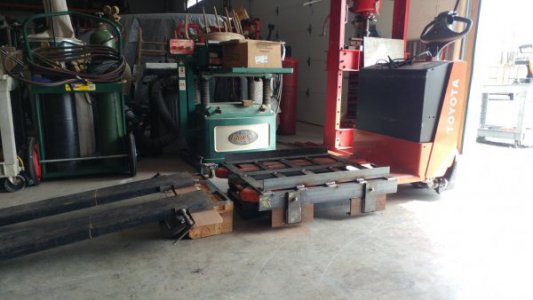
My team of friends guided the mill as it slid effortlessly up the ramps then onto a stand that i constructed to match the same height of the door sill...then the cable was disconnected and i moved the electric pallet jack under the stand to pick up the entire assembly and carry it to the Drop deck trailer i had rented.
Everything went really well..! No one got hurt..the only casualties were two ratchet tie downs from the travel home, the pot holes in the road would swallow a smart car...
I have included some pictures of the move
