Setup and Continuing Saga of the Charter Oak 12Z

I'm just being anal probably. I would like this thing to last longer than I do and if the oiling system is installed correctly I would like to believe that it would be better than squirting oil on the ways like I do now. :)

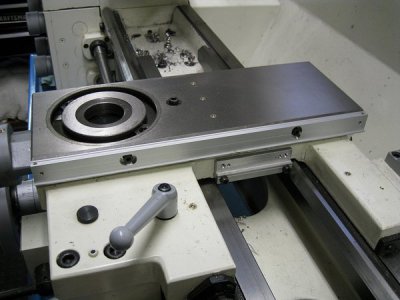
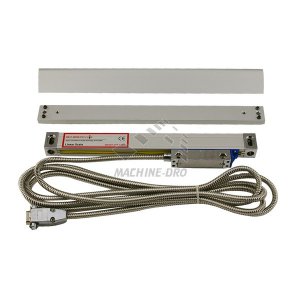
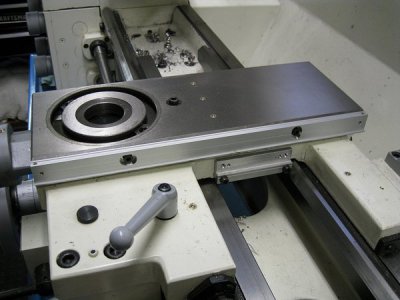
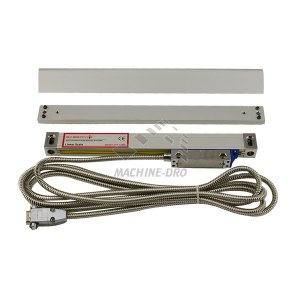
Yea, I figured this out when installing the same DRO on my PM25. But fortunately all of the scales for that system came with backing plates. For the one I ordered for the 12Z, only the 350mm came with a backing plate (for Y axis). The other two: the 600mm and 700mm came without backing plates. After doing a quick visual, i.e. held the scales up to the machine, I quickly realized that I need to order some aluminum flats to use as backing plates or risk damaging the scales. Thanks for the heads up.
 
The scales on both my lathe & mill are mounted on backing plates that came with the scales. The backing plates on my lathe is what the chip guards bolt onto. The backing plates have a guide on them so I leveled the backing plates & the scales both right on aligning with the guide.

Some scale backing plates have set screws at the corners of them & also in the middle if really long. They allow you to adjust the plate for uneven surfaces. My lathe only needed minor shimming on the bed only but on my mill the leveling screws made the installation so much easier. If you make some & have pretty uneven surfaces, I would add leveling screws.


Img_7520_zps7640a05b.jpg

imgp6392-web_2_3_3.jpg

Img_7520_zps7640a05b.jpg

imgp6392-web_2_3_3.jpg
 
Yup, those are the leveling plates that came with my DRO for the PM25, and I received one with the shorter scale this time but none with the longer scales. Same scales too. :)

I also got the same covers are you show, but this time they came with these huge ugly things that if I can use them at all will have to be trimmed extensively. I may just throw them out. :angry:
 
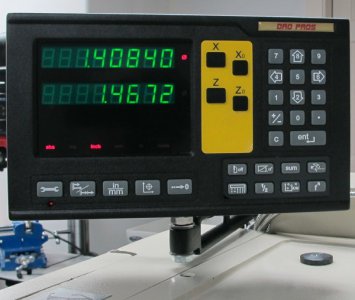
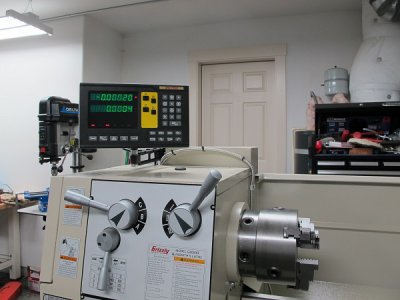
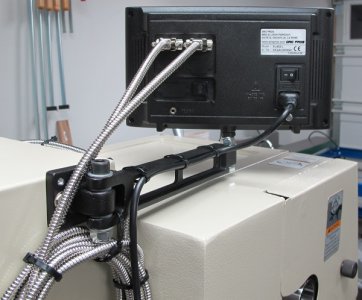
Lets talk displays, one thing I like about the EL400 kit is the display housing is thick powder coated cast aluminum vs plastic.

dr25.jpg

dr24.jpg

dr23.jpg

dr25.jpg dr24.jpg dr23.jpg
 
Last week I talked to CO about the excessive (30+ thou) backlash in the Y-axis to ask them if there is a backlash adjustment for the Y axis like there is on the X. Paul says yes, and you get to it from the bottom of the machine. So we kinda had a Duh! moment when I mentioned that my chip tray prevents me from gaining access to this. (Paul is going to investigate putting in a access panel on future ones) My fix was a 4" hole saw...

I also was getting a bit tired of the head shifting when the Z-axis locks were engaged/disengaged. I think I remember Jon (MakerOfThings) saying something similar. Got thinking about this and came up with an idea: I took a piece of metal and lowered the head so that the front came to rest on the metal piece that was between it and the mill table. Then adjusted the gibb strip (almost 3 turns) tighter and presto, no more nodding of the head when the locks are loosened. Interestingly, the effort to crank the head up and down did not increase at all. :)

Just FYI for those folks who own or are thinking of getting one...

So I have a question out of ignorance. Is this a 12z issue or a typical rf45 issue? Just curious. Thanks!
 
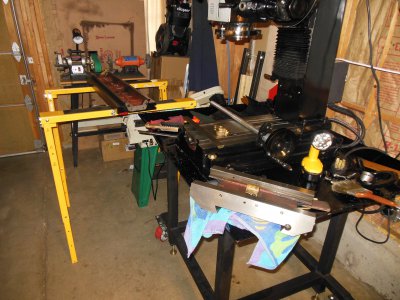
Hi Bill. I definitely would put drawers in the open space under your mill. You probably cant see it but I made a box of sorts with a single drawer. It holds all my endmills and cutters. I also have a tool box next to it. I definitely know what you mean about going back and forth. I love my tool drawer. Its handy. I could have gotten fancy with it as I am a wood worker also but I figured it would get oiled and ruined so I just used plywood and painted it except for the inside. So just my 2 cents! Hope all is well.


A friend of mine who is handy with woodworking tools suggested we put a couple of dovetailed drawers in that open space in my stand with a shelf at the bottom for the heavier stuff.
 
So I have a question out of ignorance. Is this a 12z issue or a typical rf45 issue? Just curious. Thanks!

Cannot speak specifically to the question of it being a rf45 issue, other than the 12Z is of a similar design, and having a 300 lb. non-counterbalanced head hanging solely from a dovetail might be a problem on any machine of this design. :)


Hi Bill. I definitely would put drawers in the open space under your mill. You probably cant see it but I made a box of sorts with a single drawer. It holds all my endmills and cutters. I also have a tool box next to it. I definitely know what you mean about going back and forth. I love my tool drawer. Its handy. I could have gotten fancy with it as I am a wood worker also but I figured it would get oiled and ruined so I just used plywood and painted it except for the inside. So just my 2 cents! Hope all is well.

Hey! How are you? Haven't seen any new pics of your machine lately. Get it set up OK? Yes I could vaguely make out that you had a drawer or door on your stand. I've just gotten spoiled from having a tool box lower right under my machine to keep all my Stuff in.

A friend is working on a insert with a couple drawers and a lower shelf for me. But now that I've cut a hole in the middle of my chip tray I'm going to have to make a little wire frame gizmo that I can slide a aluminum pie pan into to catch the chips and oil. :)
 
Ok, Ok...so I can't leave well enough alone. :)

But after coolidge started posting issues with his mill I was like "why not take a peek?"

The only thing of major note that I found had to do with the ball oilers. I've always been concerned about not being able to get much oil into the machine via these things and now I know why: The hole that the oiler feeds on the table for example, just terminates as a straight hole. There are no galleys for the oil to follow to get to more of the bearing surface. I will be adding some minor galley lines with a carbide burr so that oil is better distributed.

It is interesting to note that everything fits very well. The ways are Very Nicely ground and the gibbs are true and flat and fit well. I did find one minor nick/high spot on one of Y-axis ways. Tried giving it a light touch with a file and it left a bright mark on my file (!?). Don't remember reading anything about hardened ways and this isn't a cheap file. I had to stone it down. One other thing was the Y-axis nut retaining bolt was loose when I took the machine apart and the nut was cocking a bit when feeding the table towards the column. I thought I was feeling a difference. Some of the threads inside the nut look thinner in spots than others, so I'll ask Paul to send me a replacement (he has them in stock, thankfully).

Other than that, I'm just happily making a mess at the moment. :))

DSCN4245.JPG

DSCN4245.JPG
 
Bill I am looking forward to seeing what you do with the oiling. It seems that using the stock gits locations would be a pain for one shot system. The hoses on the x would have to be able to move a really long distance and not get snagged if I am thinking about it right. I had originally planned to do one shot, but have thought the opposite lately. I was planning on poking holes in the saddle and milling the oil grooves in the saddle too.

I based my plans on what Bob Warfield did on his old skool 12z http://www.cnccookbook.com/CCMilllOneShot.htm.
 
Back
Top