- Joined
- Mar 21, 2013
- Messages
- 4,120
Bill if you get a chance one day can you post a close up pic of your replacement right hand mill handle? I'm wondering how you integrated with that three jaw like dial. I suppose you could chuck that in a lathe or mill and machine that off. I'm just curious no hurry.
I WAS going to mill the end of the replacement handle to fit that three-jaw like dial (thanks, didn't know how to describe that). Then decided that was probably overkill and more work than I wanted to just replace the handles. Then after talking to Paul and realizing that I no longer need the dials after installing the DRO I thought about taking the whole shebang off and making some spacers to replace the dials.
But then I decided that I don't want to replace and/or modify the original setup 'just in case' I might someday need it. So...after taking one of the handles off and just looking at the end of the shaft (about 3/4" sticking out) I decided to bore the handles for a snug, slop free fit, drill and tap a 10-32 hole perpendicular to the bore, file a flat on the side of the leadscrew shaft for the setscrew interface and simply slide this puppy on there.
It slides right up to the dial sleeve and the setscrew cinching down on the flat will prevent the handle from turning on the shaft. The handle is not an interference fit but it is snug with no tilt/slop once it's on. Even without the setscrew.
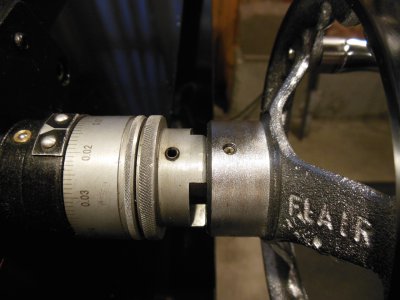
As you can see, there is plenty of engagement between the shaft and handwheel.
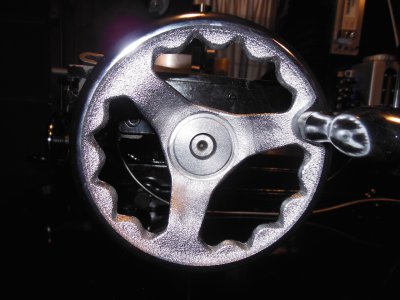
Not the most elegant solution, but it is simple yet functional and doesn't destroy/modify the original design in case I ever need to use the original handwheels again. One benefit of doing it this way is that it gets the Y-axis handle a little further away from the edge of the chip tray and the end of the vise.


