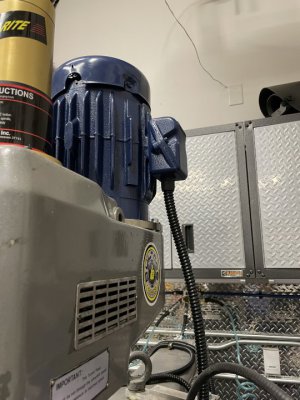
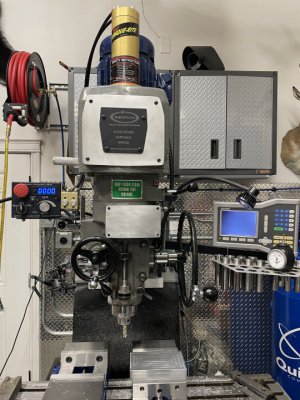
With the mechanical side of the install complete, it's time to play sparky and hook up the power/controls. The model I chose, requires a 3P/240V supply. You can also order it in a 3hp 1P/240V if you don't have 3P power in your shop. Since I have a 3P load center fed with a 10hp Phase Perfect, I went with the 5hp/3P option in the hopes of preserving more low RPM power in the Hi/direct drive range.
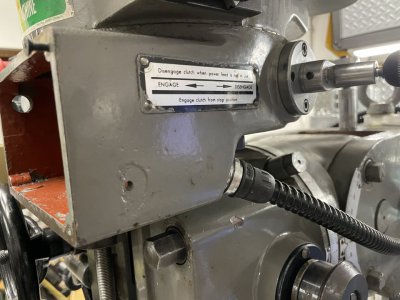
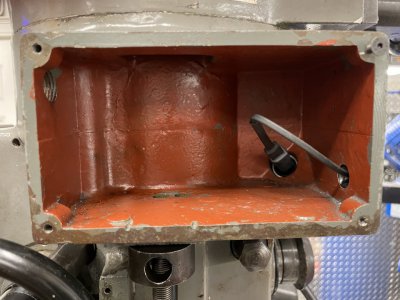
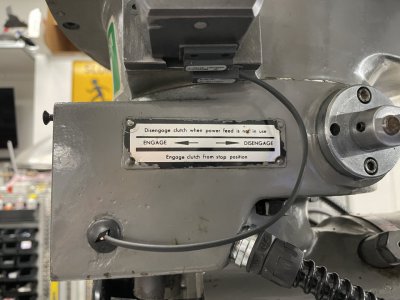
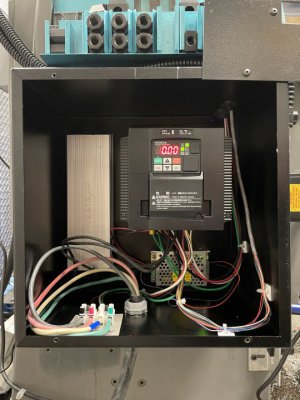
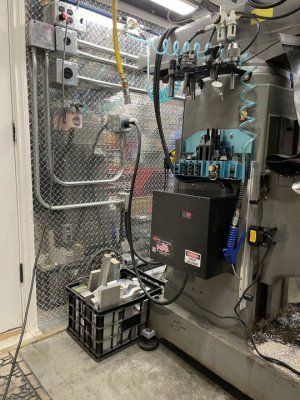
So, I piped in a 3P/240V/30A circuit to a twist lock outlet behind the mill, and used 10 AWG SO cord to go from the outlet to the input of the Servo main box; the heart of which is a good old tried and true Hitachi WJ200 VFD. That's about all there is to it on the electrical side, as the unit comes with the control wiring already done, and run in flexible non metallic tubing between the main box and the control box, and another to feed the 3P power to the peckerhead.
I mounted the main box on the left side of the mill column, as it was the most convenient/accessible location for me. I don't use flood coolant, so there's no risk of liquid getting in it, and while it's not a sealed box, it's tight enough that chips/swarf won't be an issue. If you commonly tilt/knod the head of your mill, you'll want to carefully choose where you mount the box, and you may find that you'll need to extend the control and power leads. Same if you run your mill wet.


